It’s Our Tricenbloggial!

Hey, are you still here?

– Lenny

This is our 300th post!

Dancing-Homer-Gif

If you hang around here (and if so, welcome and thanks!), you know that we’re blog hobbyists (blobbyists?) with full-time jobs — pushing out 300 posts over 2.4 years is actually something to celebrate.

Here are a few random items since the last time we marked a milestone.

Project Cage Match

Every day, it’s a toss-up between the floating bedside table and the fake fire crackler for the most page views.

bedside fireplace

Later this year, we’re going to wire a floating fire table for sound and break this corner of the internet.

Biggest Blogging Sin

rocky horror waiting

So, anyway, this bedroom project…

We should really stick to one project until it’s done. But at least we’re giving you a good idea of a realistic old-house DIY pace for people with day jobs and a long to-do list.

(You buying that?)

Favorite Negative Comment

“Eat poop.”

ugly baby

Apparently, we really aggravated someone!

Our Favorite Post Since the Last Time We Picked a Favorite Post

The Kev is a practical man, so he likes the time I saved the house from burning down by being a light sleeper prone to noise-induced panic.

sadf

Something in this picture is about to go very wrong.

As for me, the project I’m grateful for every day is our DIY quartz counters.

sdf

No pain, no gain.

Most Surprising Traffic Spike

Doh on AT

Apartment Therapy unexpectedly used our floating table project in a post, which was gratifying and fun. Before we realized they’d done that, though, we had five or six outlier-traffic theories in quick succession, including one involving Skynet. Thanks, AT!

And thank you for stopping by! It’s very much appreciated. If there’s something you’d like to read about here before our next random sortofversary, please drop us a line.

Posted in D'oh! | Tagged | 6 Comments

Fear No Veneer

So you see yourself more as a buffet-style intellectual.

– Declan Desmond

200px-Angry_DadWe bought our Duncan Phyfe dining set and buffet from an angry man. “This stuff is classic, but my wife wants oak,” he fumed. He was annoyed that we wanted to sit in the chairs before buying, and irritated that we could not fit everything into the truck for one trip. We had to leave the excess pieces outside so we didn’t bother him when we returned.  But he gave us a good price, and between that and his mood, we didn’t do an in-depth inspection on each item.

We did notice that the veneer on the buffet (UK: sideboard; Chez D’oh: cyborg) seemed to have some superficial water damage, but the piece was solid otherwise. The veneer was all there, just bleached out and loose. And so it has been ever since.

We intended to fix this quickly, but the YEARS fly when you have 40,000 home projects in the queue. Recently, I further damaged the veneer, so it sprang to the top of the list.

Sideboard before

Sideboard before

Close-up on the damaged veneer (and some stray Christmas cookie decorations?)

Close-up on the damaged veneer (and some dust bunnies, why not)

I’ve never repaired veneer, but fortunately, this damage is far enough from the eye that my newbie imprecision won’t be noticeable (or at least not as noticeable as the existing problem).

I emptied the sideboard and flipped it on its back. After cleaning the whole piece thoroughly, I carefully scraped out the old glue from underneath the loose veneer.

A razor blade did the trick.

A razor blade did the trick.

I pressed the veneer down to make sure it would go back into place and hadn’t warped beyond use. I spread clear-drying carpenter’s glue underneath the veneer as evenly as possible.

Same razor blade

Same razor blade

I pressed the veneer into place, clamping as I went. I also glued in and clamped the broken bits, which were (luckily) shaped distinctively enough to be able to place them definitively. (Here’s info on replacing veneer if you don’t have the detached pieces.) Then I used a WHOLE LOTTA CLAMPS to press evenly around the curved front.

All the clamps we own, plus a couple of rocks

All the clamps we own, plus a couple of rocks

There were still a few voids after gluing. I used wood filler on those areas. I always way-overfill, but you need some overfill to allow sanding back smooth with the wood surface.

Gloopy overfill

Gloopy overfill

And here’s where I screwed something up so you don’t have to! After the wood filler set up, I decided to take the palm sander (with very fine sandpaper) to the whole area. I barely touched one corner and almost ran through the veneer.

No. Nonononononono.

No. Nonononononono.

So…after that, I used very fine sandpaper by hand very carefully to achieve a smooth(ish) finish on the base.

Same area with wood filler sanded in

Same area with wood filler sanded in

I’ve had some practice matching stain colors. I used a combination of cherry and ebony gel stain to match the existing finish. It isn’t perfect, but it blends pretty well considering the extent of the damage.

Finally, I rubbed down the whole finish with some Howard Restor-a-Finish in Cherry on super-fine steel wool (UK: wire wool). I love this stuff, but be aware that you can’t use polyurethane stains or finishes over it.

howard cherry

Howard’s is super-easy; apply with the grain using steel wool (to take out minor white spots like those on the door), then wipe off with a clean rag. MADE OUT OF OLD UNDERPANTS. Keep that in mind next time you come for dinner. Then I top-coated with Howard’s Feed ‘n Wax. I put it all back together, and here it is.

OLYMPUS DIGITAL CAMERA

In natural light (the Howards just adds to the original stain, doesn’t change its color)

I know it’s not perfect, but I’m pleased with the improvement on the bottom left corner, where the veneer was the worst.

Formerly broken veneer

Formerly broken veneer

I also took a dent out of the top from the wayward mirror — super-easy! Next time.

sideboard b and a

Posted in American vs English, Before & After, Furniture, Repair & Maintenance | Tagged , , , , | 6 Comments

No Veneer? Have No Fear!

Actual year may vary. Consult calendar for current year.

– Commercial Voiceover

I’m working on a post about reattaching loose veneer, which would be done except the finish doesn’t want to dry during 2015. All the veneer was still there — it was just hanging off with a detached corner.

It looks better than this now, and wetter.

It looks better than this now (and wetter).

But not all loose veneer can be saved, and sometimes, veneer is just gone. While I watch gel stain dry, I decided to start on the other veneer post.

Veneer chipped? Broken? Missing entirely? Well, then, consider these options:

1. Paint It!

If you are going to paint a piece, you don’t really need to fix the veneer. Instead, you could just level off what’s there:

Painted dresser with replaced drawer fronts

Painted dresser with replaced drawer fronts

2. Patch It!

Maybe you don’t want to paint. If you want to keep the stained-wood look, here are resources on how to patch in new veneer pieces:

  • Second Wind of Texas has a good tutorial on patching veneer, including stain ideas for when you are forced to use a different wood species. (She also suggests that you could replace small pieces of veneer from the same piece by removing a bit from the back of a leg or other unseen area — great idea.) The before was a real mess, so the after is remarkable:

Second Wind of Texas Mahogany Dresser Redo

3. Paint Part of It and Patch Part of It!

You can also do a combined approach, painting part of the piece while keeping intact areas stained. There are a variety of examples on this Apartment Therapy post, including these examples:

AT dresseraf

AT project 1

When done right, these pieces look terrific (I especially like the blue outline).

4. How and Where To Get It!

If you need to patch veneer, you need to know the thickness that you are trying to match. Ideally, use some calipers to get the thickness — if you have no calipers but do have a detached piece, you could take the piece to a big-box caliper-seller and furtively measure it. Judging by my observations of the Menards measuring area, that’s a well-known technique.

Our calipers. I don't know where they came from.

Our calipers. I don’t know where they came from.

Earlier in my veneer project, I thought I would need to patch some of the veneer, so I did a little shopping. A variety of thicknesses and types are available. If your local place doesn’t have what you need, try:

  • Rockler (woodworking and carpentry supplies)
  • Certainly Wood (veneers for people who really know what they are doing)
  • Amazon (mainly focused on adhesive edging)

If you only need a small piece, consider eBay for off-cuts and leftovers that might be plenty big for your purposes.

(Or you could buy more furniture.)

Posted in Decor, Furniture, Repair & Maintenance | Tagged , , , , | 1 Comment

And Then I Threw the Looking Glass

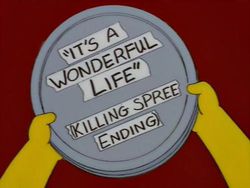
We had such a beautiful dream. What went wrong?

– Lisa Simpson

All I wanted to do was move a mirror. Not even move it — just change its orientation.

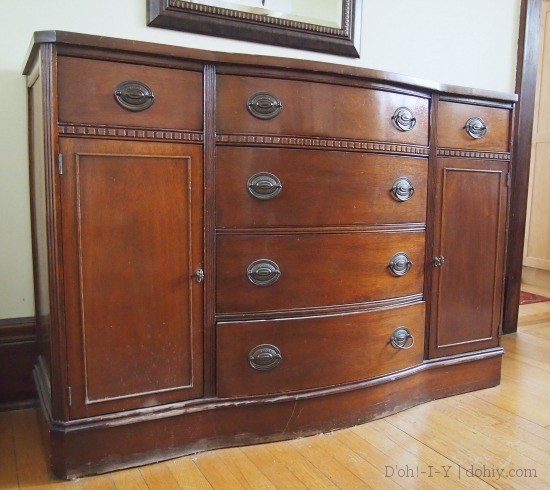
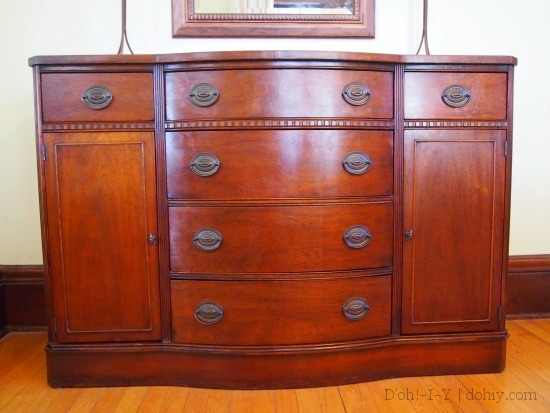
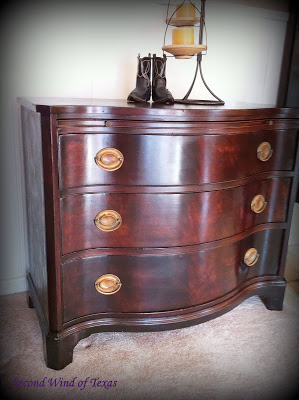
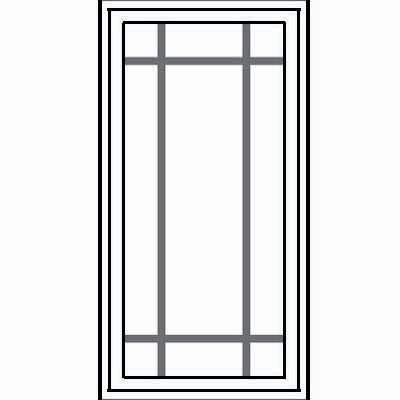
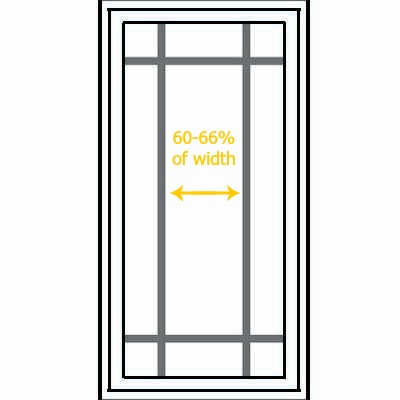
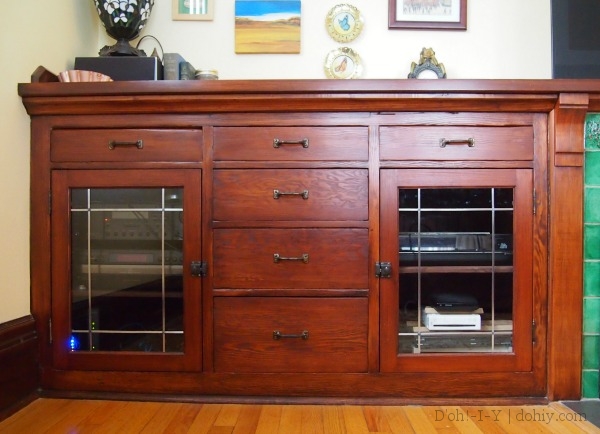
The relevant mirror is over the sideboard in the dining room. The sideboard is 52 inches wide, the mirror is 33 inches. According to designers, a mirror over a credenza should be two-thirds to three-quarters the width of the furniture. The mirror didn’t quite make it to two-thirds. A bigger issue was that it was too short. When tall people wandered by, their headless torsos followed.

sdfd

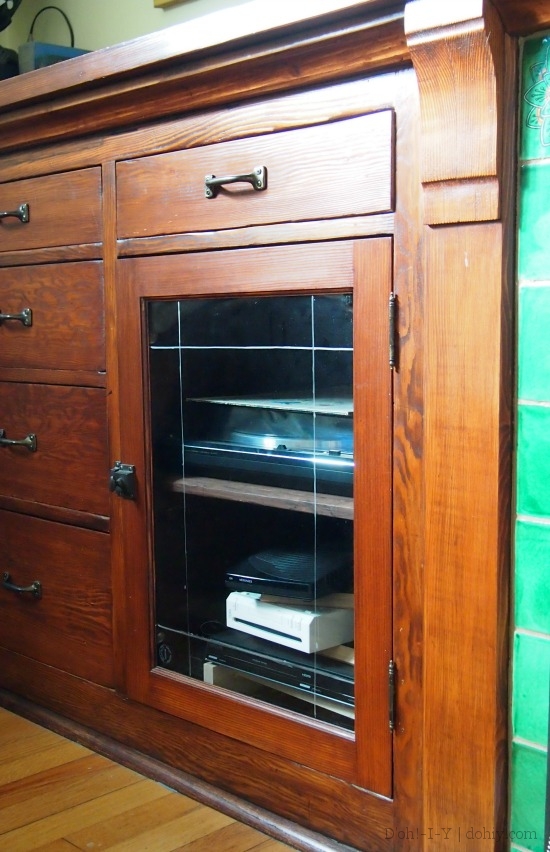
An awful late-night, artificial-light shot showing the proportion issue.

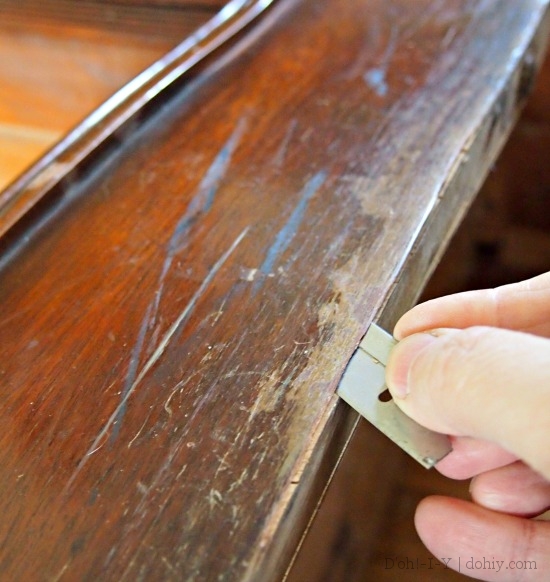
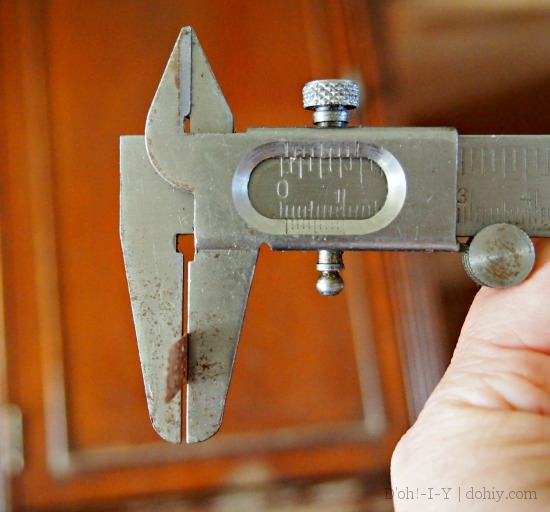
I decided to go nuts and turn the mirror to vertical. I measured everything, then held up the mirror to check how far above the sideboard it should hang (designers say 4-6 inches). It’s heavy, Kev was out, and I’m a klutz. The mirror slipped and banged into the sideboard, leaving dents in both pieces.

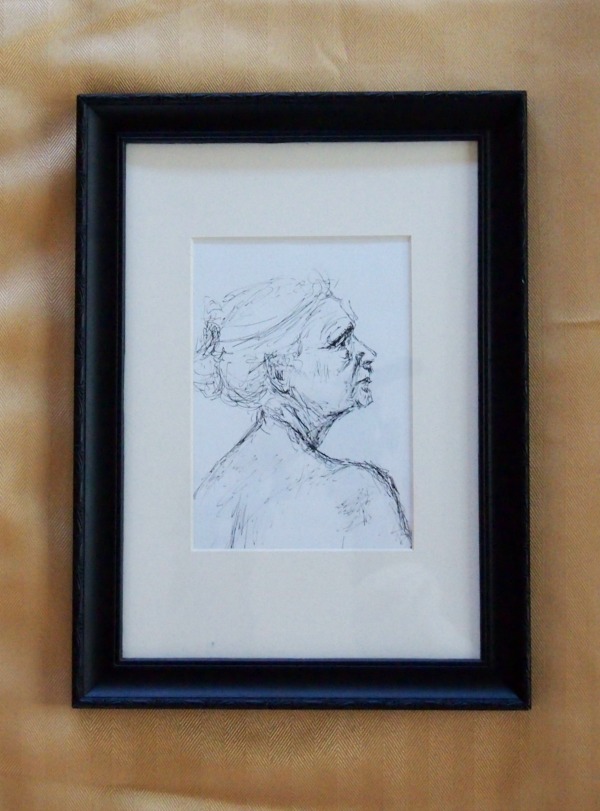
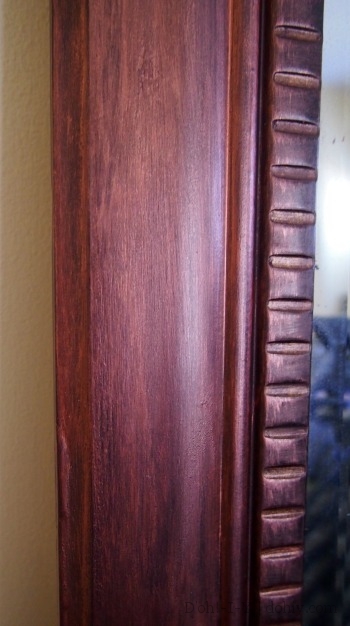
This not the queen of mirrors, but I like the beveled glass and the frame is a good width. It’s also relatively simple, which we wanted for the dining room. One dent does not trash make — let the fix begin!

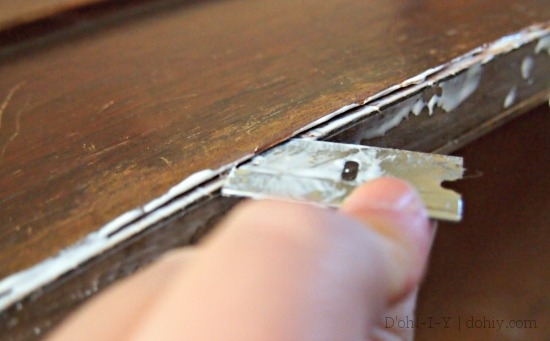
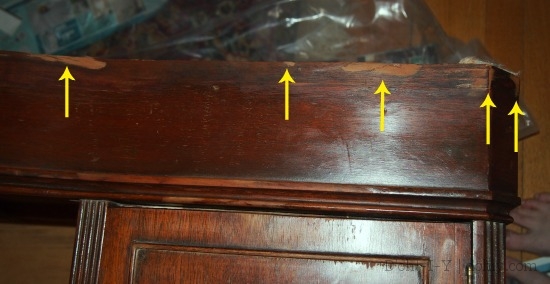
I applied wood filler over the dent, and sanded into shape, and ended up wrecking the surrounding finish with my overenthusiastic sanding.

Wood filler in process. Mirror is leaned against the sideboard, with its actual dentil trim; the mirror has grooves that are dentil-esque.

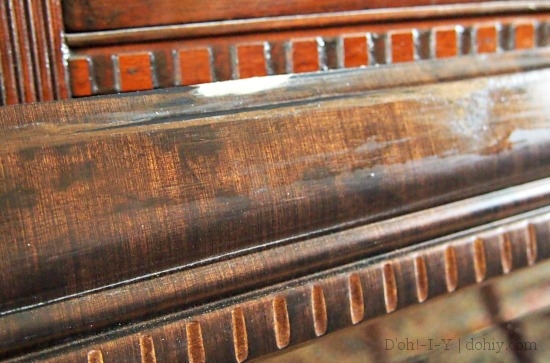
Wood filler and ruined frame finish (leaning against the sideboard, with real dentil trim).

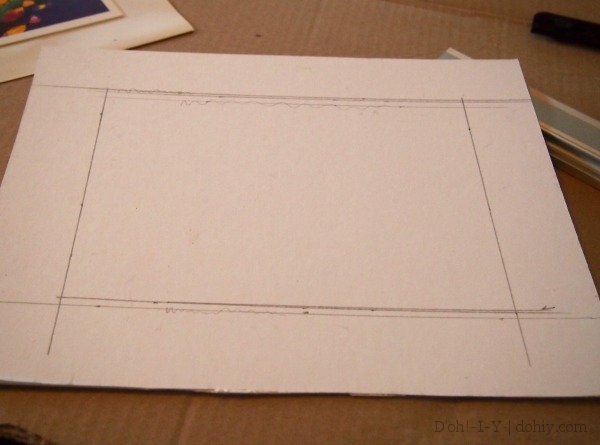
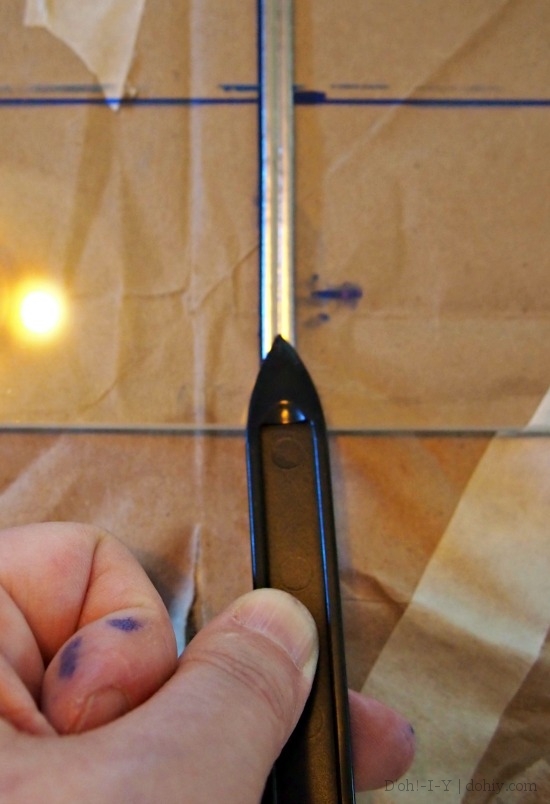
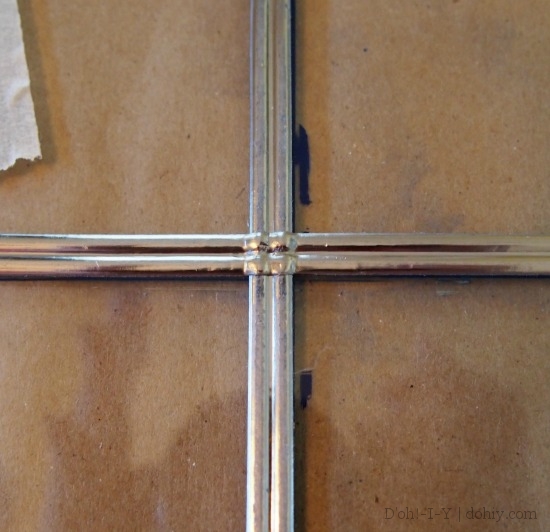
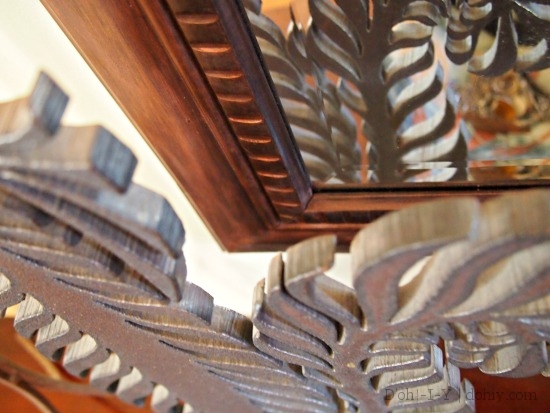
I was in frame-refinishing territory anyway (which was fine. FINE), so I decided to go all in. The frame features quasi-dentil molding, but the pattern only lined up in one corner. I Dremelled new grooves to match up, then applied wood filler to the “bad” grooves.

The original grooves did not line up at all the corners. Even though I have actual things to worry about in my life, this bothered me

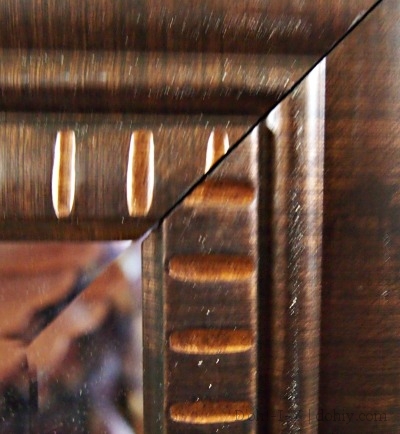
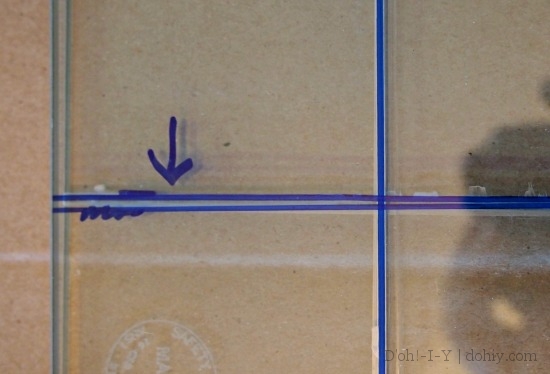
The grooves did not line up (and caused unfocused photos?). I have real things to worry about, but this still bothered me!

Late night shot of the wood filler curing (pre-sanding) on a re-grooved corner.

Wood filler curing (pre-sanding) on a re-grooved corner.

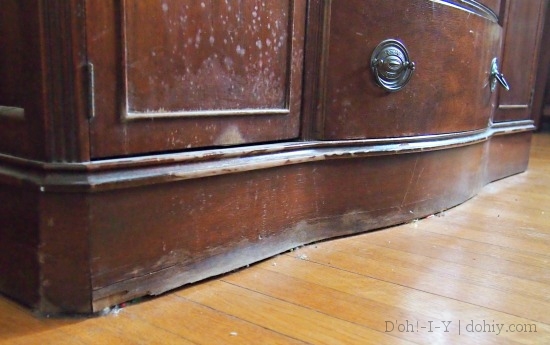
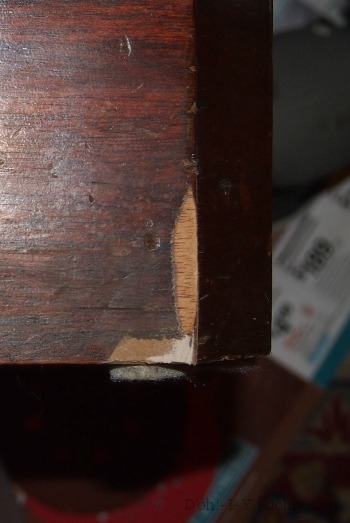
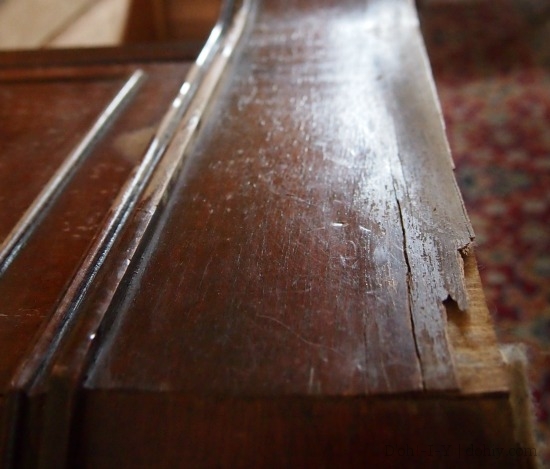
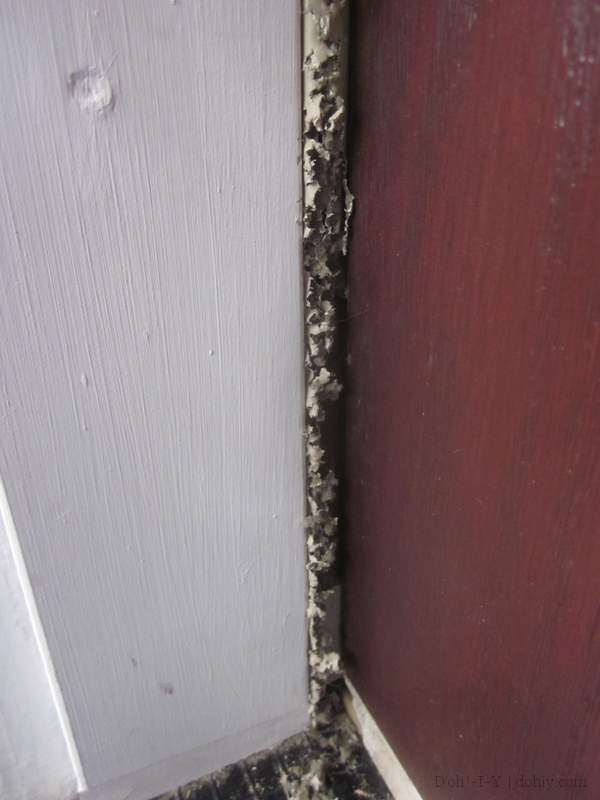
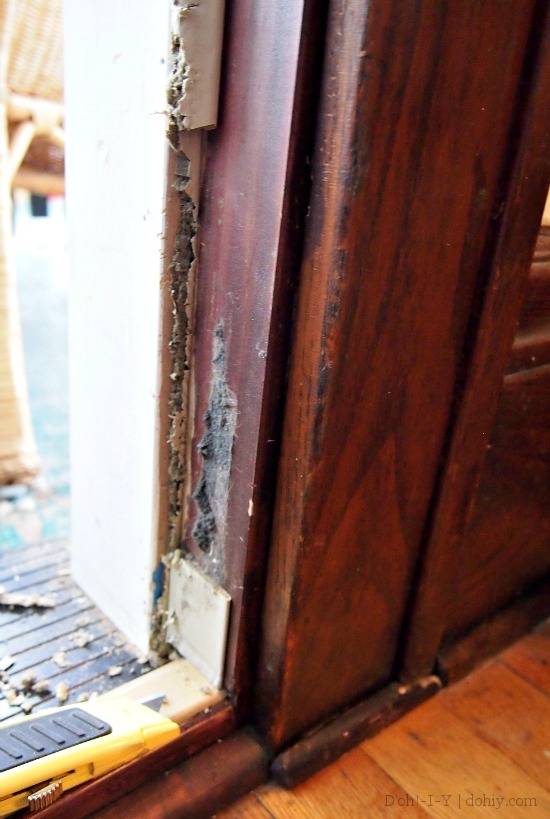
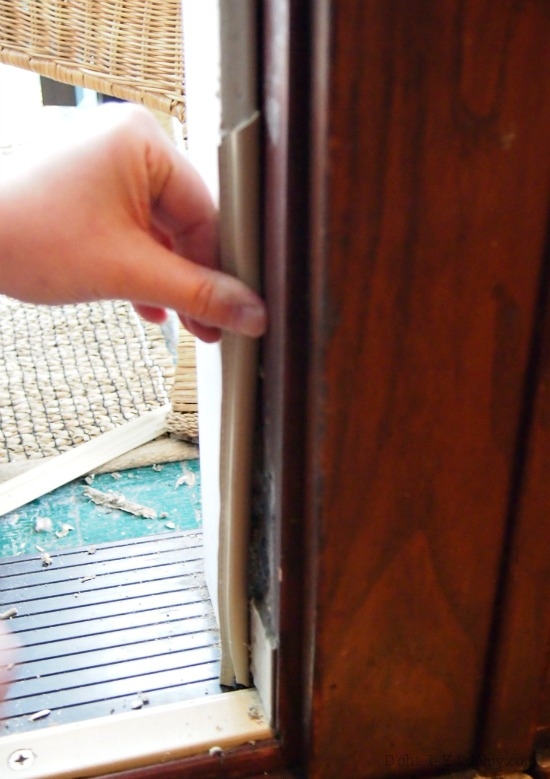
I used leftover primer and paint to vaguely match the old finish. While that dried, I cleaned my measuring marks off the wall. In the process, my toe caught and broke some loose veneer on the sideboard.

Oh, well. I’ve always intended to fix that. Deep breaths.

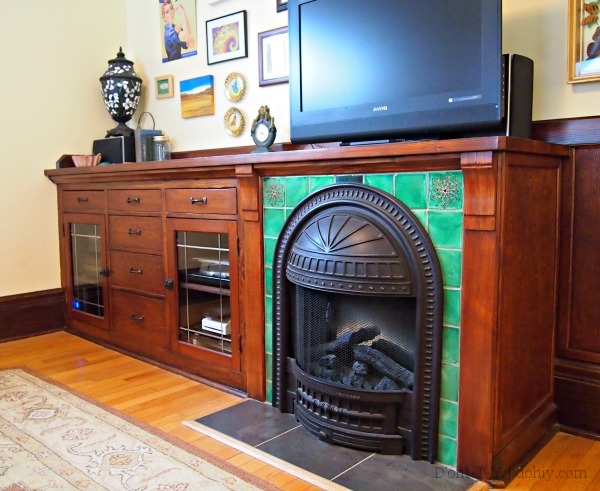
Next, I touched up the wall to cover the old nail holes. This color is Glidden’s Honeytone. I later discovered Benjamin Moore, but I still like this color. It changes with the light, and it’s a cosy, soft yellow without being banana-esque. Or lemon-y. It doesn’t resemble any yellow fruit, is my point.

sdfds

It shifts from soft yellow to creamy, depending on the light.

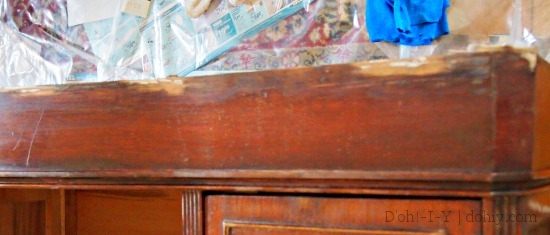
I decided to apply “Spanish Copper” Rub-n-Buff to the frame. There are a few copper-y things in the living/dining room, and I thought the worst outcome would be painting over it. Thus girded, I started rubbing/buffing.

spanish copper rub n buff

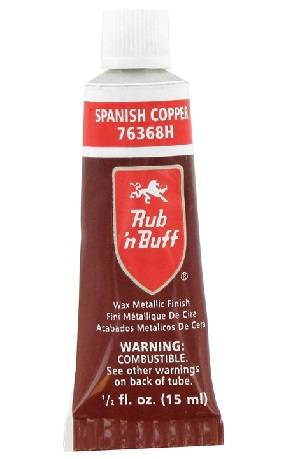
After application, “Spanish Copper” just looked…brown. Tending toward purple.

OLYMPUS DIGITAL CAMERA

Maybe I got a bad batch (looks more coppery online) or I picked the wrong color. I probably should have gone for Autumn Gold and/or Ruby.

Pick by the color rather than by the name.

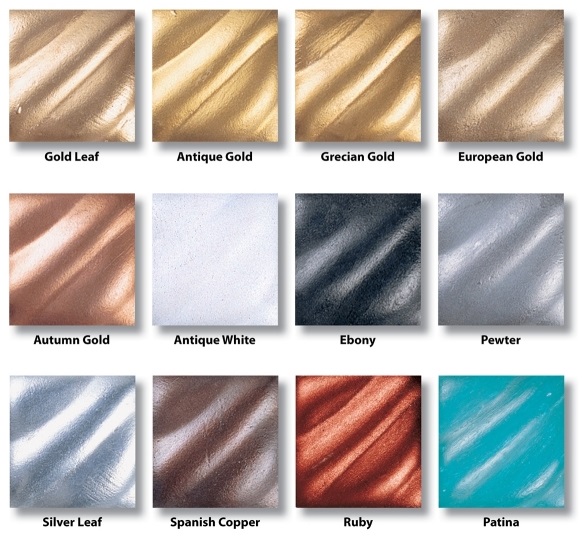
Pick by color rather than name.

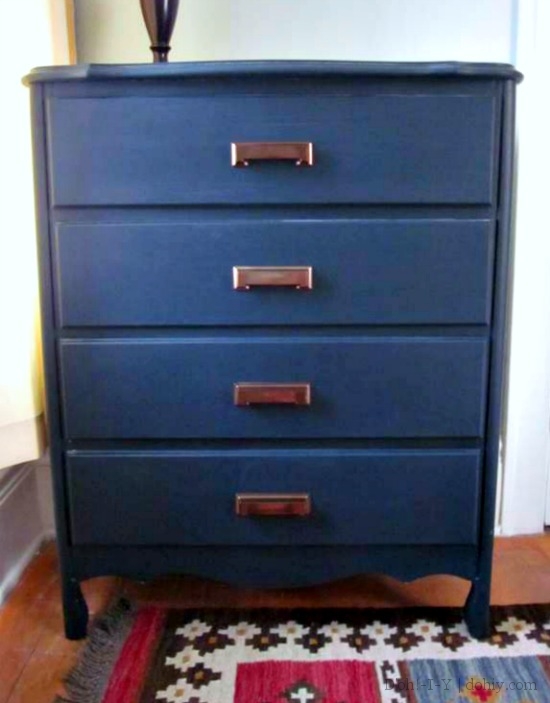
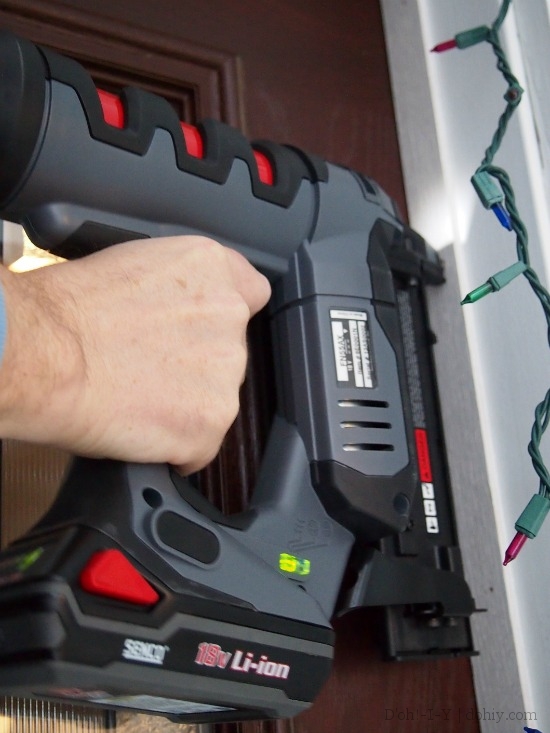
Dangit! And Michael’s stopped selling Rub-n-Buff in their stores in some sort of deal with the devil. Instead, I picked up metallic acrylic paint. I’ve used acrylics over wax before for polychroming old light fixtures, so I knew the paint would stick. I lightly brushed on the acrylic, then rubbed it to blend. I did two coats like that, leaving some of the wax showing.

OLYMPUS DIGITAL CAMERA

I thought after I got it back on the wall, I could try our tall candlesticks with it. Could I find them? No, I could not. I looked through many storage bins, ultimately finding them in the bin with the label reading “tall candlesticks.” Seriously. I despair.

I cleaned up the mess, and started to re-hang the mirror. And then I dropped it. I AM NOT EVEN JOKING. I DROPPED IT. It’s not even fun to write about anymore!
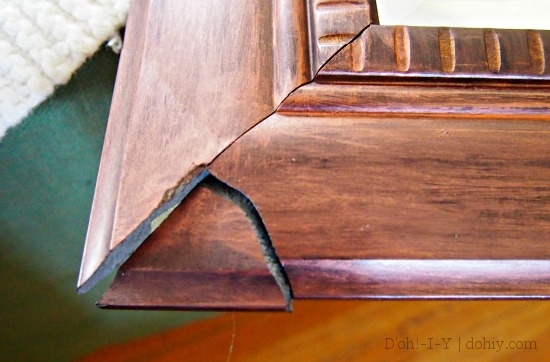
OLYMPUS DIGITAL CAMERA

Son of a…

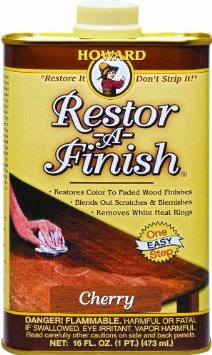
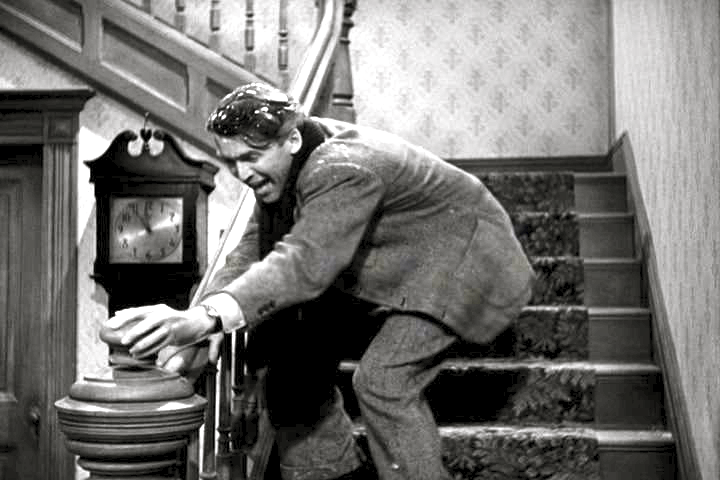
@#$(@*&^*%^#@$(&%$#*#@$#@*#@(!!! Time for the Krazy Glue.

Businessandkragle

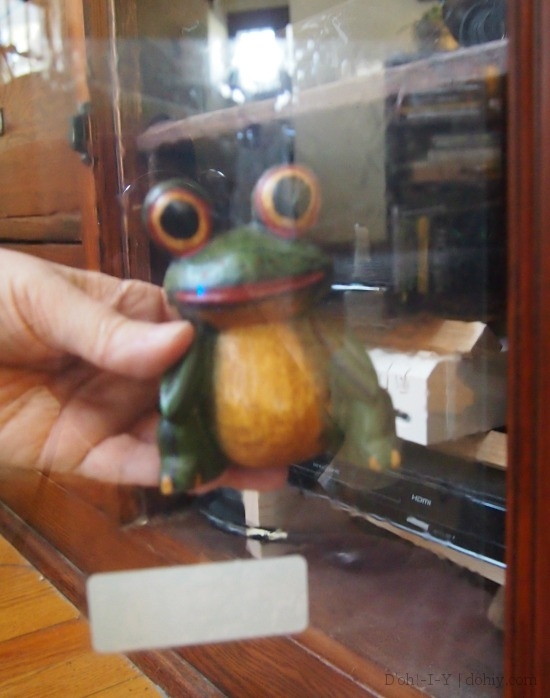
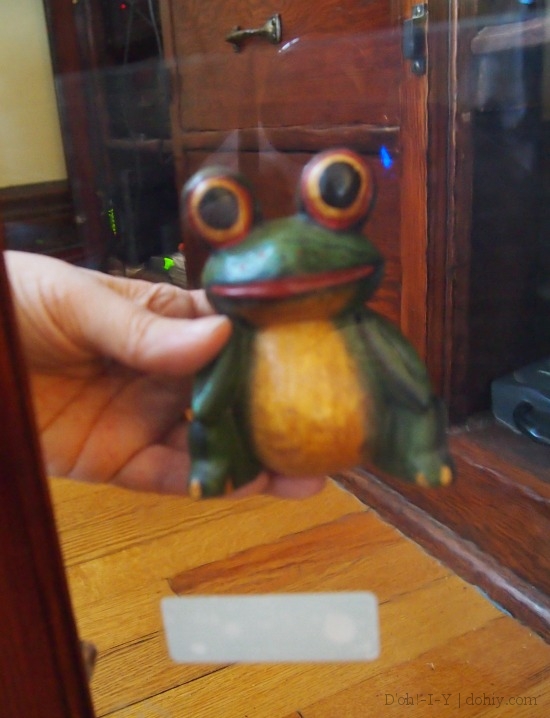
Accurate facial expression.

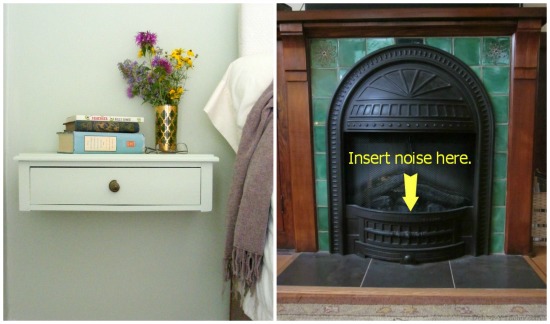
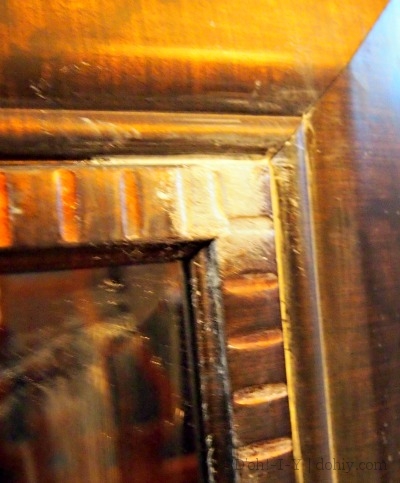
Putting the corner back on was relatively easy, considering my mood. It’s not an obvious fix, and I will touch up the paint later. For now, I’ve hidden it behind a cat sculpture BECAUSE ENOUGH ALREADY.

OLYMPUS DIGITAL CAMERA

The mirror flip should have taken 20 minutes. Several days later, the mirror is back.

OLYMPUS DIGITAL CAMERA

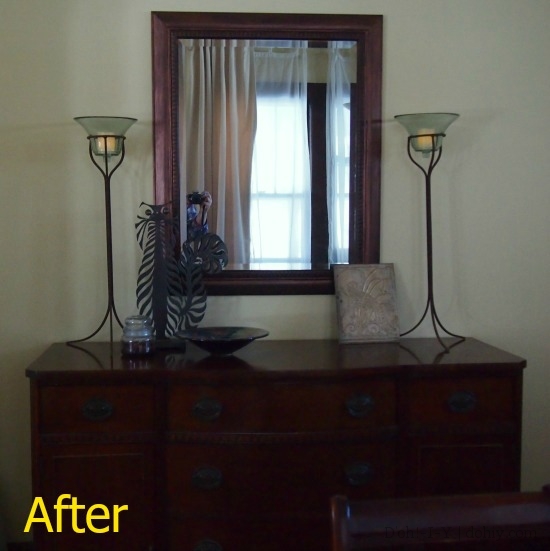
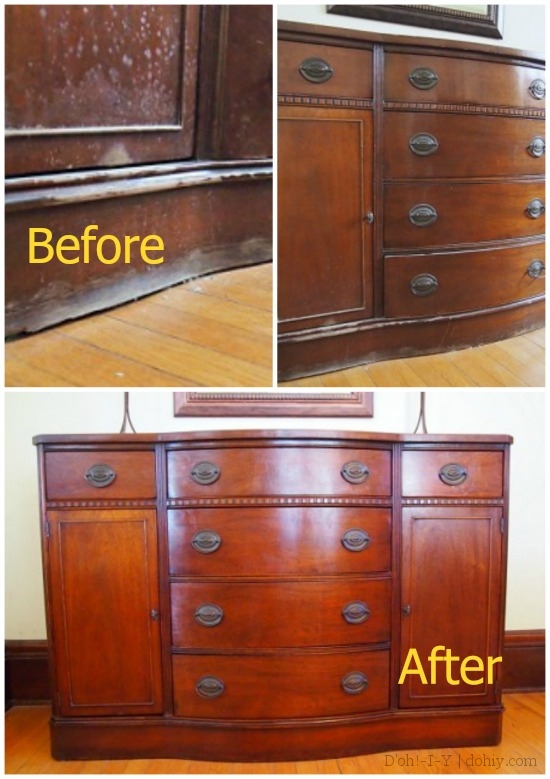
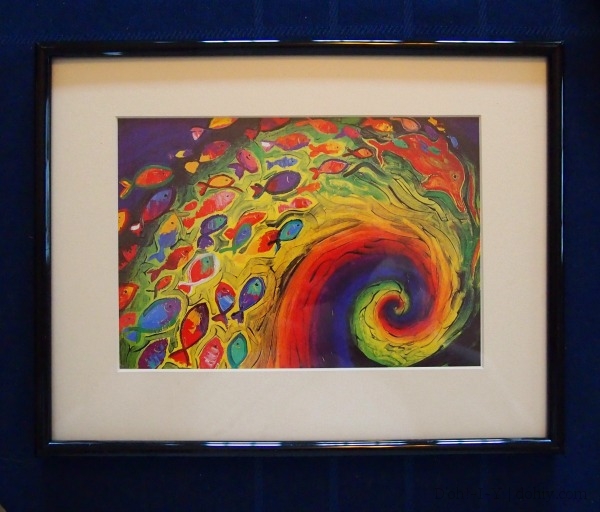
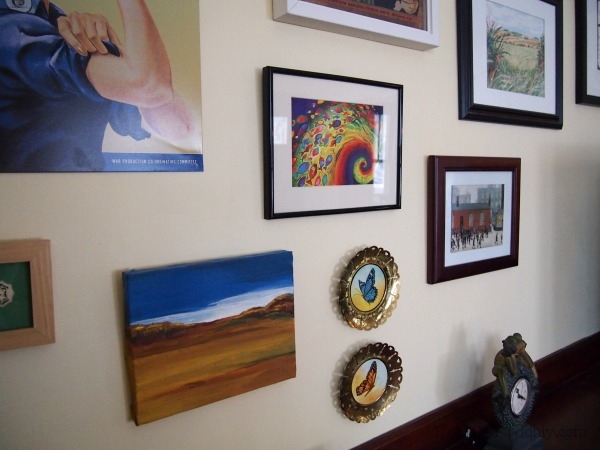
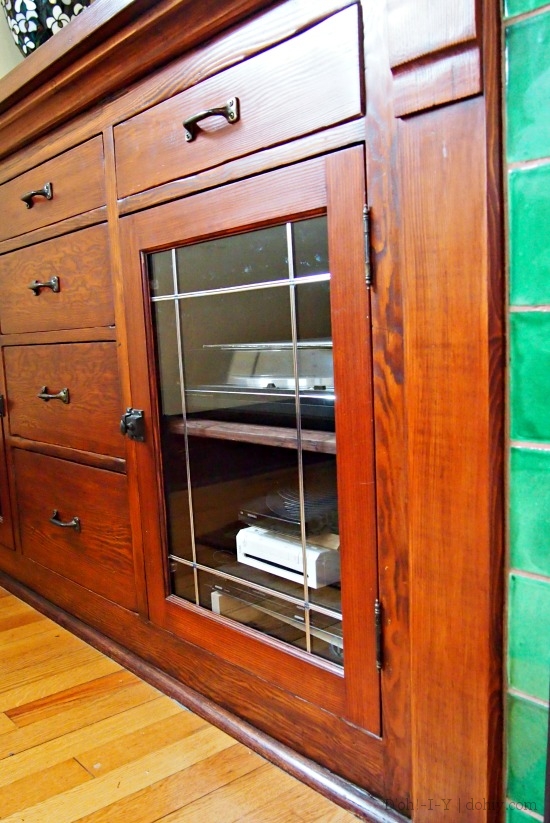
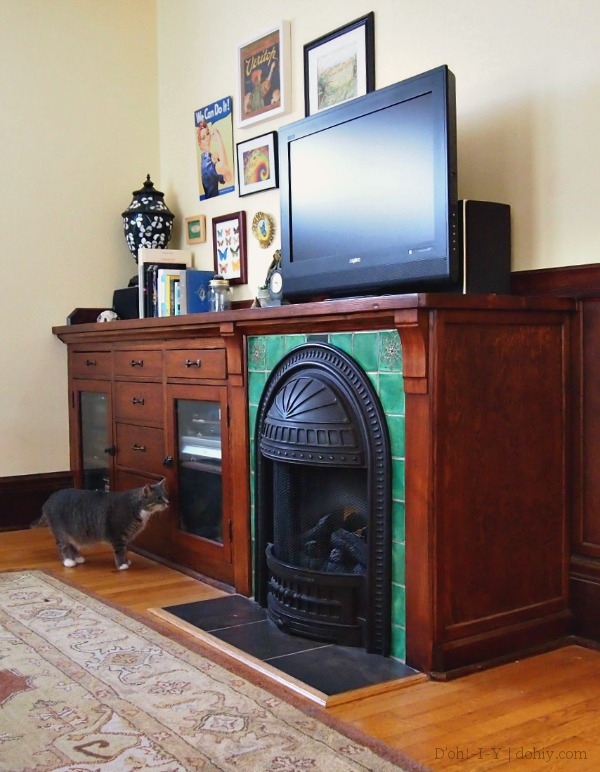
That’s the formal after. Here’s the real after:

OLYMPUS DIGITAL CAMERA

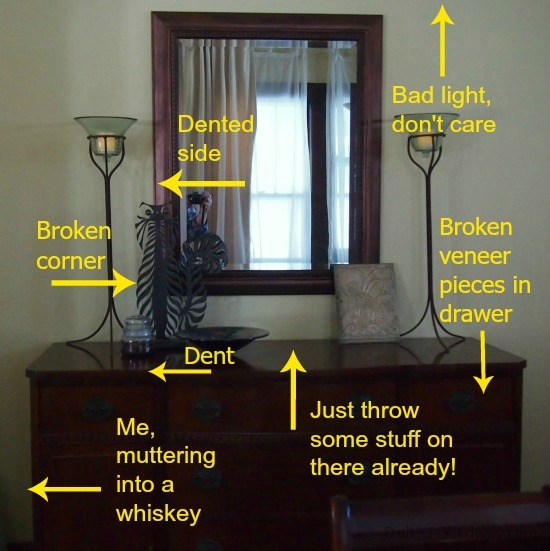
But, hey! I eliminated the floating torso effect!

Posted in Before & After, D'oh!, Decor, Walls & Floors | Tagged , , , , , | 3 Comments

The Internet Versus Paper Sizes

Ooh, pads of paper!

– Homer Simpson

We received a lovely original drawing from Ben’s girlfriend Lois for Christmas.

OLYMPUS DIGITAL CAMERA

“Lesley”

We were and are delighted. Sometimes give her a little kiss for luck in the morning! Lois also paints and sculpts and arranges flowers, in addition to being employed and just generally terrific. (Hey, Lois!)

Lesley arrived matted, so all we had to do was pop her in a frame. I was a little surprised to find that the frame was a little tricky to find; the drawing was matted to A4 size, which (apparently) is not readily available in the states.

Here’s some fodder for your next cocktail party. You know how everywhere in the world uses metric as the primary measuring system except the U.S., Liberia, and Myanmar? I mean, yeah, we still use it, but not as the primary system, I know not why. But did you know that there’s an International Organization for Standardization (ISO) standard for paper sizes? There IS. And only the U.S. and Canada don’t use it.

via

I go to some nerdy cocktail parties (via).

The most commonly used paper size in most of the world is A4, which is 210 mm x 297 mm (8.3 x 11.7 inches), while in the states, it’s “Letter” size, 8.5 x 11 inches (216 mm x 279 mm). Canada’s equivalent size is P4, which is Letter size rounded to the nearest 5 mm (215 x 280, which is still almost exactly 8.5 x 11 inches because millimeters are small).

Why should you care, other than cocktail party chitchat? Online shopping. If you are decorating your home, you might peruse Etsy or similar for original artwork or prints, and buy something in an unusual (to you) paper size. A4 and Letter sizes are pretty close, so you might try to display your new acquisition in an off-the-shelf frame and mat. When I was shopping U.S. sites for A4 frames, I saw product reviews saying that the frames were the wrong size — people were buying them to frame letter-size prints.

Don’t do that! I mocked up a few mismatches using a friendly giraffe (via) to show you why it doesn’t work. Here’s a letter-size print in an A4 mat:

Letter-sized giraffe

Letter-sized giraffe in A4 mat: mat on the sides, gaps at the top and bottom

That’s not great, but this is worse–A4 giraffe in a letter-size mat. The mat cuts off the top and bottom of the page, but leaves gaps at the sides (or only just gets to the edge of the mat, depending on how generous the mat is).

A4 giraffe

A4 giraffe in a letter mat

Another standard framing size in the states is 8 x 10 inches (common for photo printing), which is a complete disaster for an A4 print. That giraffe is totally boxed in! Maybe he can lick his way out.

A4 matted 8x10

A4 matted 8×10

And of course an 8 x 10 print would rattle around in an A4 or letter-sized mat. That’s not a problem, though, because 8×10 frames and mats seem to be pretty available most places.

Our Christmas present was already matted to A4 size, and I was able to find an A4 frame online. Frames can be a little expensive and fragile to ship from overseas, but there are several A4 frame options in the states or Canada:

  • Frame shops can do A4 frames and/or mats all day long.
  • Amazon lists a few options.
  • A few Etsy and eBay sellers sell A4 frames stateside.
  • A larger frame can be matted down to the desired size (make your own mats for whatever size you like).

If you are outside the U.S. and Canada and want to frame a letter-sized item, use the same ideas country-specifically.

Thanks for the lovely drawing, Lois!

Posted in American vs English, Decor, Family | Tagged , , , | Leave a comment

Cut a Mat, Just Like That

Blowing off steam in the crafts room, Marge?

– Reverend Lovejoy

A while back, I completely and utterly failed to cut a picture mat freehand. A reader suggested that I use a mat cutting kit, swearing it was easy. My craft kit history is festooned with bandages, cursing, and glued-together fingers, so I was skeptical. The reviews for such kits made them sound too good to be true, but I hesitantly put one on my wish list and received it for my birthday.

Each kit is going to have its own directions. I used this Logan kit (there are other options), and I cannot improve on its simple instructions.

logan mat cutting kit

Accordingly, this post is not a tutorial — it’s an encouragement to the crafting-impaired. If I can cut a mat, almost anyone can cut a mat.

We have this psychedelic fish print that the Kev had in the Before Times. I’d bought a frame for it, but it wasn’t matted, so I just set the print on top of a sheet of white paper and pretended that it didn’t bug me.

Psychedelic fish before

Psychedelic fish before

The first step is to cut the mat board to size. You are supposed to mark the lines on the back of the mat board, so that was my first mistake. I erased my errant pencil marks after cutting, but they would have been hidden by the frame in any event. My first cut was too tentative, and ended up wavy. I had to trim it up to fit into the frame, but again, this cut was under the frame, so no biggie.

Next, measure and mark (on the back) the edges of the opening for the picture. I measured the edges of the image and added a sixteenth of an inch so the mat would overlap the image with no white edges. I marked up the back of the piece, then re-measured and re-checked, then made sue everything was square. I ended up with quite a few pencil lines!

But they are on the back, so it's ok.

But they are on the back, so it’s ok. (You can see my first messy cut on the bottom edge.)

The bevel cuts involve an angled holder for the blade that hooks into a straight edge. For the Logan kit, keep the bulk of the mat to the right of the straight edge to avoid a reverse bevel. Unless you want a reverse bevel. It’s your thang, do what you wanna do.

I reckoned that I would screw up cutting the opening. And I did! I stuck the bevel knife through another part of the mat board. But the knife is really sharp, and the cut didn’t show when I pulled the blade out. Striving for even pressure and no over-cuts, I bashed out the rest of the mat.

OLYMPUS DIGITAL CAMERA

What do you know? It worked! (The extra cut is in the mat at the lower left. I can’t see it, but that’s where it is. You can definitely see that first bad cut at the bottom, though.) I popped the psychedelic fish back into the frame.

I can haz mat?

After: I can haz mat?

Well, hey — I cut a mat! No blood was spilled or anything!

OLYMPUS DIGITAL CAMERA

I might even pick up a whiter mat board for this image and tempt fate by cutting it again — the mat board I had on hand is a little beige for the fancy fish. Either way, I’ve got plenty of candidates for matting around here.

Of course, I would still go to a professional framer for something valuable or  fragile, or for fancier treatments. There’s no way this kit replaces that skill and experience. But for simple jobs, a kit really does the trick! Color me surprised.

Posted in Before & After, Decor, Family | Tagged , , , | 1 Comment

Faking Leaded Glass in Cabinets

Marge: My address?! It’s…umm…1-2-3…Fake Street!
Chief Wiggum: 123 Fake Street. Got it!

When we finished the built-ins, I intended to gussy up the glass cabinet fronts. One idea was making the glass look old, but I really wanted to emulate the leaded glass often used in 1920s cabinets.

This rendering of a Sears kit house from 1919 shows leaded glass doors in the cabinetry.

This Sears home included leaded glass cabinet doors.

The project required tempered (UK: toughened) glass, so I research ways to fake leaded glass. I bought Pebeo adhesive lead strip, doubted myself, and procrastinated for two, maybe three years.

vitrail

I was shaken from my torpor by reading a post by Kristen at Storefront Life about her installation of the same product on her front windows. Reassuringly, Kristen also procrastinated, but her results were terrific!

The storefront of Storefront Life

From Storefront Life: Kristen added Vitrail to the upper panes; the left side was completed earlier, showing how the lead ages nicely.

(Actually, all their results are terrific — definitely add Storefront Life to your feed.)

Thus encouraged, I decided to (a) wait another half-year, and then (b) follow an easier pattern: the prairie grill.

pella prairie grill

(Image: Pella)

I measured the proportions on several images, and found that the whole pattern depends on the width measurement.

prairie grill proportion

The central section measures 60 to 66 percent of the overall visible glass width. The sides split the remainder, then the top/bottom strips are the same height as the side width. Simply measure the width, mark the center line, and array the pattern evenly around the edges. See our Golden Ratio calculator for why this works — the ratio of the full width to the inside width is close to Φ (1:1.618).

The visible glass on our cabinet doors measures 13.5 x 19.5 inches. Sixty-six percent of the total visible width (9 inches) made the sides 2.25 inches each. To test how this proportion would look, I marked the pattern and drew in the lines.

sdf

This step allowed further procrastination.

The measurements looked right to us, so I kicked my butt in gear and finished the dang project!

1. Preliminaries

If possible, remove the glass to install the lead strips; it’s easier and the strips can be run under the door edge.

I fussed over my lines to ensure they were square and straight,

OLYMPUS DIGITAL CAMERA

Double-checking is advised.

Then, I flipped the glass over and cleaned it thoroughly before application. If your pattern is not reversible, tape a paper pattern to the back.

The strip was really stuck down, so I needed a razor blade to pry it up, but it unrolled easily after that. The adhesive is paper-backed, so I pre-cut all four pieces for each pane, making each piece a titch longer than needed.

2. Application

Longer pieces are applied over shorter ones, so I started with the horizontals. The lead is flexible, so it can be nudged into place to follow the pattern on the reverse side. If handled gently, the adhesive had a short open time for repositioning before smooshing it down.

The kit includes a pointed tool. Once a strip is pressed down by hand, run the pointed end along the groove on the top, then flip the tool over and use the flat edge to smooth down the whole strip. I repeated these steps at least twice per strip.

OLYMPUS DIGITAL CAMERA

Use a razor blade to trim the excess at the edges.

3. Intersections

Use the same technique for the longer strips, but press carefully on either side of intersections with the horizontal strips. Don’t drape the material; make sure there are no gaps between the glass and the lead. After pressing down a strip, use the tool again all around — and on top of — the intersection.

OLYMPUS DIGITAL CAMERA

Intersection after this step

4. Optional Fakery

To be extra-fake, I used a blend of acrylic paints to create solder marks at the overlaps.

fake lead solder

5. Clean-up

Lead is toxic, so I bagged the trimmings with some other detritus for the hazardous waste site. Do not eat or drink while working with Vitrail, and wash your hands thoroughly after clean-up. The stuff is safe enough once installed, unless someone starts licking it.

OLYMPUS DIGITAL CAMERA

Nail polish remover removes the marker, and then it’s time to re-install the panes.

6. Done!

OLYMPUS DIGITAL CAMERA

OLYMPUS DIGITAL CAMERA

OLYMPUS DIGITAL CAMERA

I love how it turned out, and it was not a tough project at all. I need to review my list of neglected projects and decide what else no longer merits procrastination!

Posted in American vs English, Before & After, Calculators, Decor, Furniture, Windows & Doors | Tagged , , , , , | 6 Comments

Window Films for the Look of Old Glass

Ice to see you.

– McBain

When we added the built-in cabinetry to the living room, we used glass doors for two reasons:

  1. It breaks up the expanse of wood.
  2. It allows remote access to the electronics.
OLYMPUS DIGITAL CAMERA

3. It allows the cats to see inside the cabinets.

The vintage cabinet unit we used had lost its original doors, so we ordered glass-ready doors. Since we often have other people’s kids running around here, I wanted to use tempered glass (UK: toughened glass). Tempered glass is stronger than regular window glass, and it breaks into rounded pieces rather than into jaggedy glass knives, like the one that killed the bad guy in Ghost. Do you remember the bad guy in that film? Or just the pottery-related snuggles?

Ghost_pottery_wheel

“I, too, enjoy clothing-optional crafts.”

It turns out that building codes mandate use of tempered glass in some situations. Codes vary, but you generally need safety glass for:

  • Any glass in a bathroom.
  • Glass within a yard of a door.
  • Huge tracts of glass (square yard and up).
  • Glass installed within 18 inches of the floor.

These all make perfect sense (except tempered glass would have spared the Ghost villain). Our cabinet doors fall firmly into the “floor” category. We ordered our surprisingly affordable glass from a local fabricator (the whole order was under $50), but there are also online places for ordering or for learning about corners and finishes you might want.

Ok, but new glass looks NEW, and I thought it might be nice for it to look a little wavy and antique for two reasons:

  1. This is an old house.
  2. Wavy-looking glass allows access to the electronics while slightly obscuring their electronic-iness.

I’ve used misting spray on some windows (the neighbors’ stair landing is not improved by views of us watching re-runs in PJs), but I wanted a real glass look here. I found numerous window film options, but most are patterned or opaque.

(via)

Nice, but it doesn’t look like old glass (via).

The internet eventually led me to Decorative Films. Or maybe it’s called Solyx, or Decorative Films sells Solyx films — the site is a little confusing. Anyway, “the company” makes patterned and colored glass films, but it also offers “SimGlas” — clear, textured window films. I ordered four samples (up to five free with $2.95 shipping) to try.

OLYMPUS DIGITAL CAMERA

SimGlas uses adhesive rather than static cling like some films, but the adhesive is water-activated instead of stick-to-everything-NOW. The trickiest bit was freeing a corner to peel the backing.

OLYMPUS DIGITAL CAMERA

VICTORY!!!

Application kits are available, but a spray bottle, some rags, and a credit card are plenty for the samples. Spray the film and the glass, stick the sample on, and use the edge of the credit card to smooth out bubbles. I put all four on the same door in a haphazard fashion.

OLYMPUS DIGITAL CAMERA

Clockwise from upper left: Ice Melt, Mottled, Chipzite, Antique Glass.

I photographed the individual samples, but poorly — they are not easy to capture. Happily, the shots I took featuring the cheerful toad were the best of a bad lot. I also included product shots off the Decorative Films site.

OLYMPUS DIGITAL CAMERA

Ice Melt

OLYMPUS DIGITAL CAMERA

Mottled

OLYMPUS DIGITAL CAMERA

Chipzite

sdf

Surprise: Chipzite

OLYMPUS DIGITAL CAMERA

Antique Glass

In my photos (and in real life), the diffusing effect is less pronounced than seen in the company’s images. That’s good if your goal is a glass-like look! Whatever you are looking for, though, definitely order samples first — the actual material is almost $30/foot (by four feet wide), which could get pricey if you have a large area to cover.

I left the samples on the door for a month. My favorite was the most subtle: Antique Glass. It did a good job of replicating the look of old glass. The depth of texture shown on the site was not as prominent in person — the film was virtually invisible, with the film lending a slight wavy effect.

The Antique Glass film was what I thought I wanted for the cabinets, and it would be a good possibility for that or for windows. Ultimately, though, I decided against glass film for two reasons:

  1. The best film for a believable look did not obscure electronic-iness at all.
  2. I came to terms with the fact that it’s 2015, and we own electronics.

Removal instructions recommend using water to loosen the film, but once I pried up a corner, the samples pulled away neatly and easily.

Although I didn’t choose films here, I was impressed by the effect and how easily they went on and off. If you want to achieve the old-glass look, try some samples and stop back to tell us what you think. If you know of another way to fake old glass, please comment!

Posted in American vs English, Decor, Windows & Doors | Tagged , , , , , | Leave a comment

It’s a Wonder We Didn’t Fix This Sooner

250px-WonderfulLifeKillingSpreeWhenever I watch It’s a Wonderful Life (under protest*), I cringe over the recurring problem with the loose newel post finial. You know, the little annoyance that drives Jimmy Stewart’s character completely bonkers until he sees the light and realizes it–and everything else–is completely endearing.

My reaction, every time: JUST GLUE IT ALREADY! It would take FIVE MINUTES. They probably have glue at the store right down the street from the building and loan. Problem solved!

wonderfullifestairs

Ever notice that rich people make movies about how you should be satisfied with what you have? Not that I’m dissatisfied, it’s just an intriguing source for that particular oft-repeated message.

We have an ongoing problem with our front door, and that issue is never going to be Capra-esque. It’s crapra-esque at best. You know how a door is supposed to keep the outside out? Well, the cats have other ideas…

IMG_0711

THIS IS OUR NEWEL FINIAL. IT IS NOT ENDEARING.

The world’s most spoiled cats have a TUNNEL from inside the house onto the porch, through which they can sashay at will in either direction. Despite this, they believe that they can enter through the door if they just chew through the weatherstripping. The sad result is that there’s a draft-ready gap that the weatherstripping no long plugs. You may recall we (sort of) dealt with this before: we temporarily closed the gap with extra nail-on weather-stripping, but the cats also chewed that up, for some daft cat reason.

I had a bunch of ideas about how to fix the problem, most of which involved rebuilding the door frame and incorporating rubberized insulation with integrated cat deterrent gel. Then Kev said, “Why don’t we just add trim that covers up the weatherstripping so they can’t get to it?”

Ok, that sounds like a better plan. First, we trimmed up the chewed weatherstripping so we could replace that piece. Hard to cut, even with a new blade; must have been a bitch to chew through. JUST USE THE TUNNEL, YOU DWEEBS.

OLYMPUS DIGITAL CAMERA

Then we cut a new piece to replace it and stapled it into place.

OLYMPUS DIGITAL CAMERA

We picked up some 1/4-inch-thick trim for the job.

OLYMPUS DIGITAL CAMERA

Kev cut three lengths. The cats are not yet chewing around the top of the doorframe, but the trim will look better if it goes all the way around. We used a metal measuring stick as a spacer from the closed door so the trim didn’t hit the door every time it closed.

OLYMPUS DIGITAL CAMERA

Butt up the trim against one side, use the spacer, then pop a nail near that end to start, then use the spacer again along the length of the piece.

OLYMPUS DIGITAL CAMERA

Finish nails are plenty for this trim weight.

The trim forms a channel for the weatherstripping so it’s protected, but not compressed until the door closes against it.

OLYMPUS DIGITAL CAMERA

Door frame from the inside.

The trim is only primed for now, pending a porch repainting in the spring.

OLYMPUS DIGITAL CAMERA

At long last, no hole in the house!

OLYMPUS DIGITAL CAMERA

*The reason I watch under protest [spoilers follow]: As I said to my dad, “The moral of the story is that you should give up your dreams and settle. The only thing he ever achieves is marrying a good woman.” My dad snorted and said, “Well, a good woman makes up for a LOT.” Which is a much better takeaway; probably, I should be less critical of predictable messages in holiday movies!

Posted in D'oh!, Repair & Maintenance, Windows & Doors | Tagged , , | Leave a comment

Hey, We Still Blog!

Anything to get me out of that house, away from all that nagging and noise…of a family of love. Tra-la-la-la!

– Homer Simpson

“I’m doing a post,” I just told the Kev. “About WHAT?” he asked, stunned. “About us still…existing,” I replied. He suggested the title “We Do Being.” Appropriate, since we certainly haven’t been doing much DOING. But there are Reasons for the lack of post-able DIY:

  • The Kev started a new job.
  • I kept doing my old job, only it became much jobbier in recent months.
  • I injured a tendon in my right arm (my hammerin’ arm), and then did something painful to my left knee (my standin’-upright knee).
  • Winter came early, and we lost the will to live.

Right when we might have pulled ourselves together, we just up and left the house (and its associated DIY and its winter) in favor of my parents’ house in Arizona.* It’s a lovely place, and everything is finished already! That leaves much more time for fun.

Arizona Christmas!

FUN! And silliness.

We had a very merry Arizona Christmas!

Despite picking up some sort of airplane bug on the way back, we should return to some sort of regular posting schedule in the new year. Here are a few things in the hopper:

  • Making your own stereoscope cards (with template!).
  • Protecting weather-stripping from cats (see this project).
  • Changing the finish on metal furniture.
  • Replacing knob and tube wiring.

And new for 2015: no resolutions OR “priorities”!

* For Mom and Dad: Our trip was magnificent (and crepuscular). Thanks!

Related Posts Plugin for WordPress, Blogger...
Posted in D'oh!, Family | Leave a comment