Blowing off steam in the crafts room, Marge?
– Reverend Lovejoy
A while back, I completely and utterly failed to cut a picture mat freehand. A reader suggested that I use a mat cutting kit, swearing it was easy. My craft kit history is festooned with bandages, cursing, and glued-together fingers, so I was skeptical. The reviews for such kits made them sound too good to be true, but I hesitantly put one on my wish list and received it for my birthday.
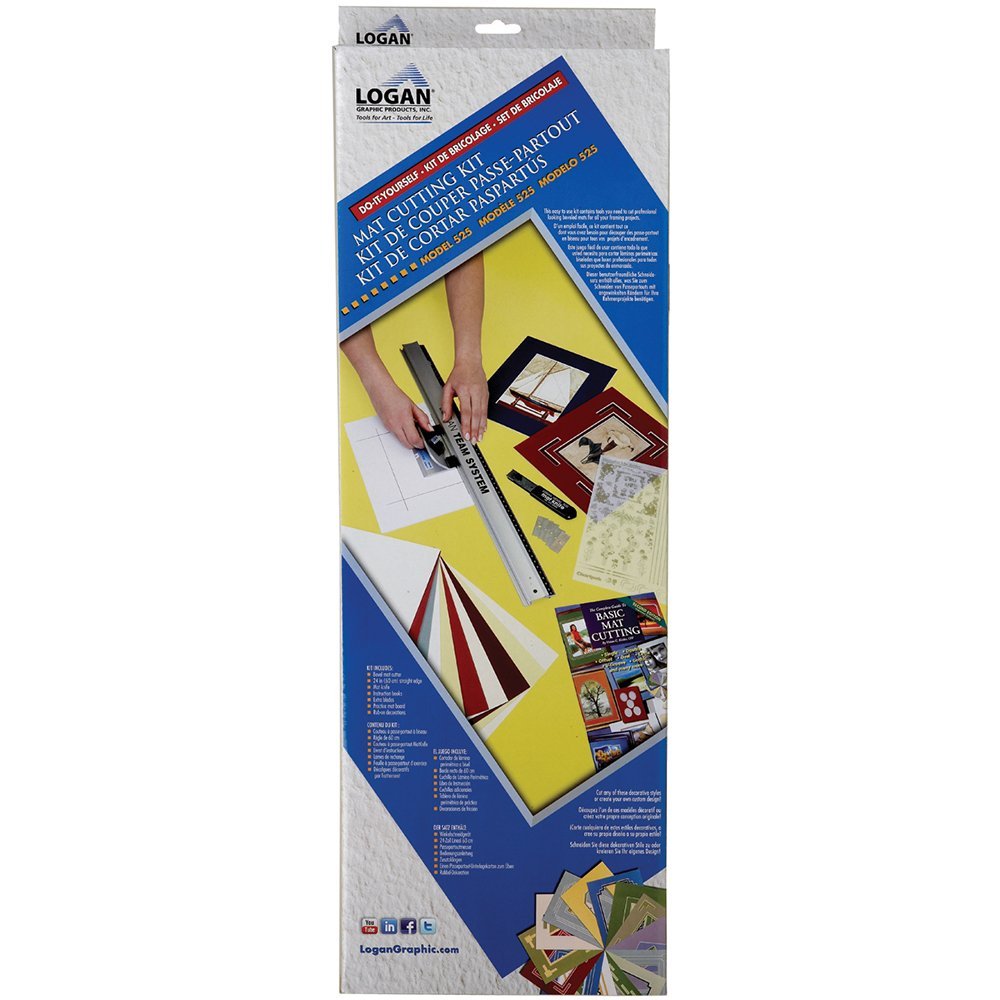
Each kit is going to have its own directions. I used this Logan kit (there are other options), and I cannot improve on its simple instructions.
Accordingly, this post is not a tutorial — it’s an encouragement to the crafting-impaired. If I can cut a mat, almost anyone can cut a mat.
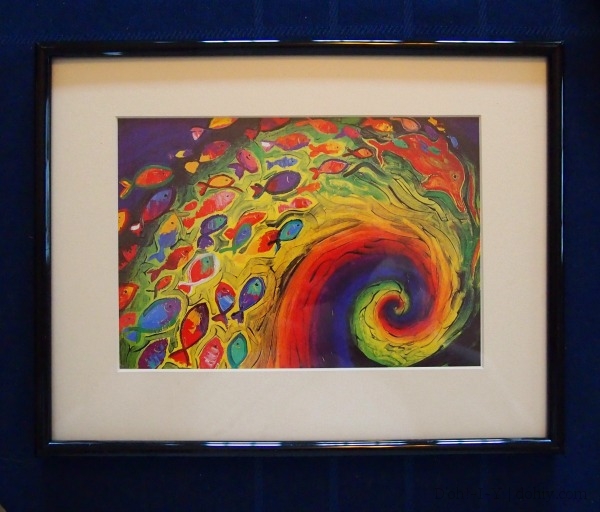
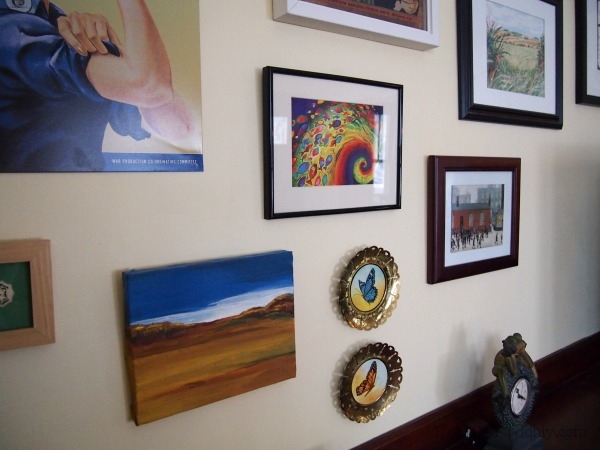
We have this psychedelic fish print that the Kev had in the Before Times. I’d bought a frame for it, but it wasn’t matted, so I just set the print on top of a sheet of white paper and pretended that it didn’t bug me.
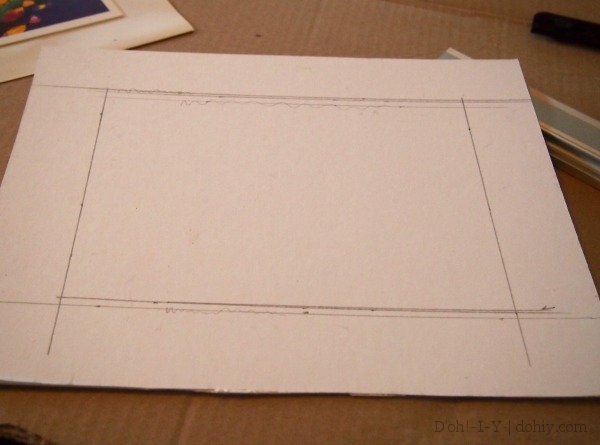
The first step is to cut the mat board to size. You are supposed to mark the lines on the back of the mat board, so that was my first mistake. I erased my errant pencil marks after cutting, but they would have been hidden by the frame in any event. My first cut was too tentative, and ended up wavy. I had to trim it up to fit into the frame, but again, this cut was under the frame, so no biggie.
Next, measure and mark (on the back) the edges of the opening for the picture. I measured the edges of the image and added a sixteenth of an inch so the mat would overlap the image with no white edges. I marked up the back of the piece, then re-measured and re-checked, then made sue everything was square. I ended up with quite a few pencil lines!
The bevel cuts involve an angled holder for the blade that hooks into a straight edge. For the Logan kit, keep the bulk of the mat to the right of the straight edge to avoid a reverse bevel. Unless you want a reverse bevel. It’s your thang, do what you wanna do.
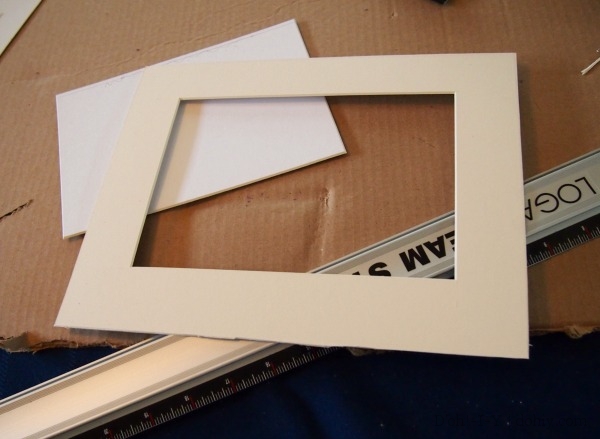
I reckoned that I would screw up cutting the opening. And I did! I stuck the bevel knife through another part of the mat board. But the knife is really sharp, and the cut didn’t show when I pulled the blade out. Striving for even pressure and no over-cuts, I bashed out the rest of the mat.
What do you know? It worked! (The extra cut is in the mat at the lower left. I can’t see it, but that’s where it is. You can definitely see that first bad cut at the bottom, though.) I popped the psychedelic fish back into the frame.
Well, hey — I cut a mat! No blood was spilled or anything!
I might even pick up a whiter mat board for this image and tempt fate by cutting it again — the mat board I had on hand is a little beige for the fancy fish. Either way, I’ve got plenty of candidates for matting around here.
Of course, I would still go to a professional framer for something valuable or fragile, or for fancier treatments. There’s no way this kit replaces that skill and experience. But for simple jobs, a kit really does the trick! Color me surprised.




One Response to Cut a Mat, Just Like That