We had such a beautiful dream. What went wrong?
– Lisa Simpson
All I wanted to do was move a mirror. Not even move it — just change its orientation.
The relevant mirror is over the sideboard in the dining room. The sideboard is 52 inches wide, the mirror is 33 inches. According to designers, a mirror over a credenza should be two-thirds to three-quarters the width of the furniture. The mirror didn’t quite make it to two-thirds. A bigger issue was that it was too short. When tall people wandered by, their headless torsos followed.
I decided to go nuts and turn the mirror to vertical. I measured everything, then held up the mirror to check how far above the sideboard it should hang (designers say 4-6 inches). It’s heavy, Kev was out, and I’m a klutz. The mirror slipped and banged into the sideboard, leaving dents in both pieces.
This not the queen of mirrors, but I like the beveled glass and the frame is a good width. It’s also relatively simple, which we wanted for the dining room. One dent does not trash make — let the fix begin!
I applied wood filler over the dent, and sanded into shape, and ended up wrecking the surrounding finish with my overenthusiastic sanding.
I was in frame-refinishing territory anyway (which was fine. FINE), so I decided to go all in. The frame features quasi-dentil molding, but the pattern only lined up in one corner. I Dremelled new grooves to match up, then applied wood filler to the “bad” grooves.
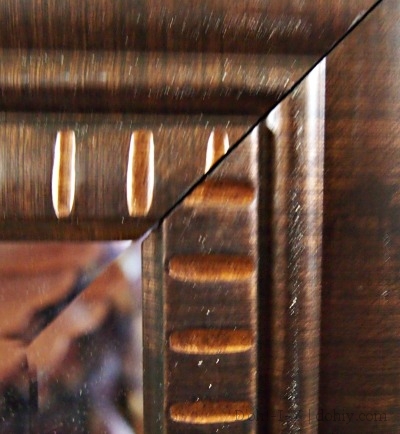
The grooves did not line up (and caused unfocused photos?). I have real things to worry about, but this still bothered me!
I used leftover primer and paint to vaguely match the old finish. While that dried, I cleaned my measuring marks off the wall. In the process, my toe caught and broke some loose veneer on the sideboard.
Oh, well. I’ve always intended to fix that. Deep breaths.
Next, I touched up the wall to cover the old nail holes. This color is Glidden’s Honeytone. I later discovered Benjamin Moore, but I still like this color. It changes with the light, and it’s a cosy, soft yellow without being banana-esque. Or lemon-y. It doesn’t resemble any yellow fruit, is my point.
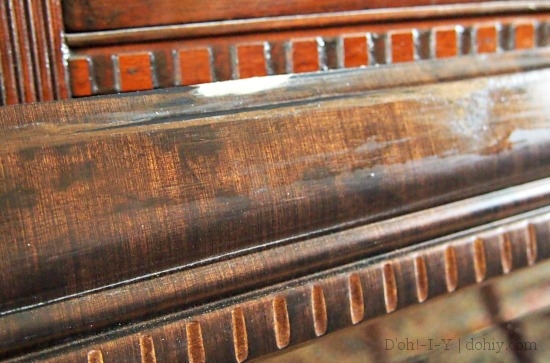
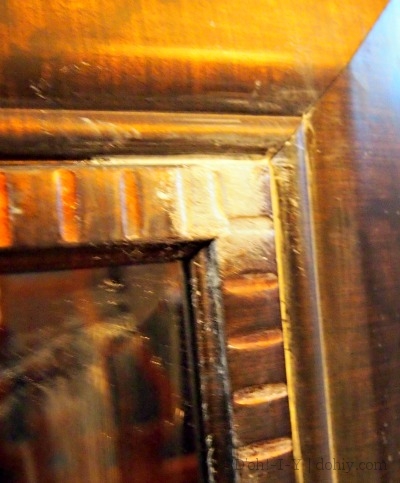
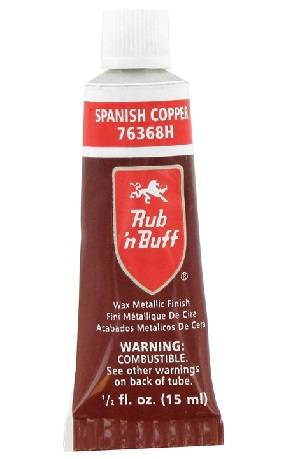
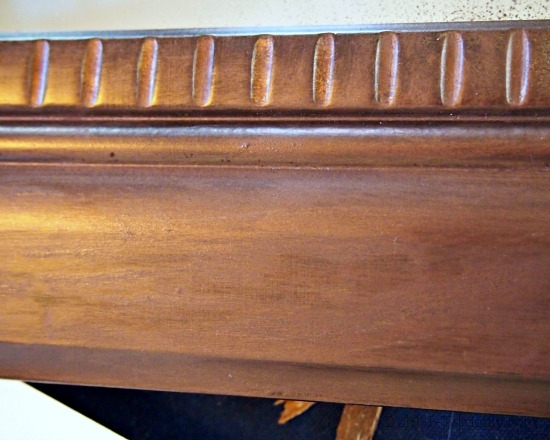
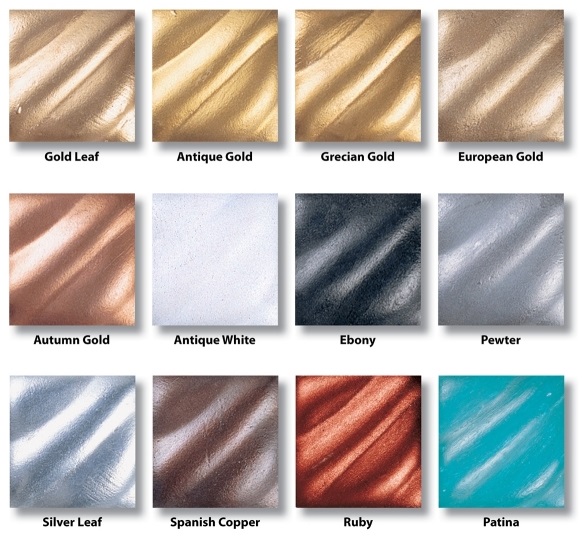
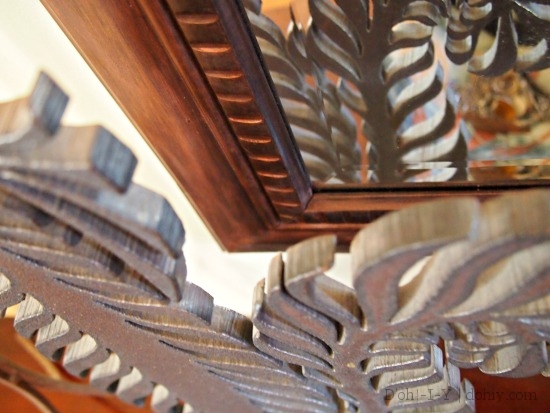
I decided to apply “Spanish Copper” Rub-n-Buff to the frame. There are a few copper-y things in the living/dining room, and I thought the worst outcome would be painting over it. Thus girded, I started rubbing/buffing.
After application, “Spanish Copper” just looked…brown. Tending toward purple.
Maybe I got a bad batch (looks more coppery online) or I picked the wrong color. I probably should have gone for Autumn Gold and/or Ruby.
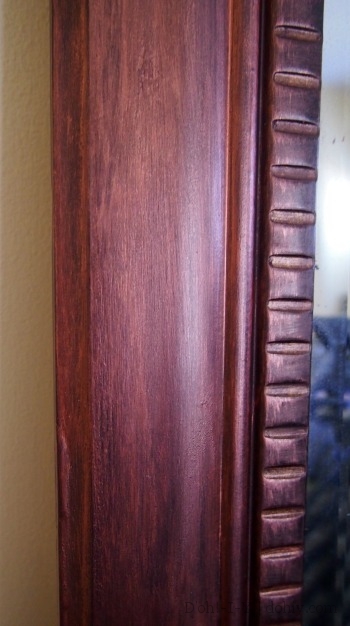
Dangit! And Michael’s stopped selling Rub-n-Buff in their stores in some sort of deal with the devil. Instead, I picked up metallic acrylic paint. I’ve used acrylics over wax before for polychroming old light fixtures, so I knew the paint would stick. I lightly brushed on the acrylic, then rubbed it to blend. I did two coats like that, leaving some of the wax showing.
I thought after I got it back on the wall, I could try our tall candlesticks with it. Could I find them? No, I could not. I looked through many storage bins, ultimately finding them in the bin with the label reading “tall candlesticks.” Seriously. I despair.
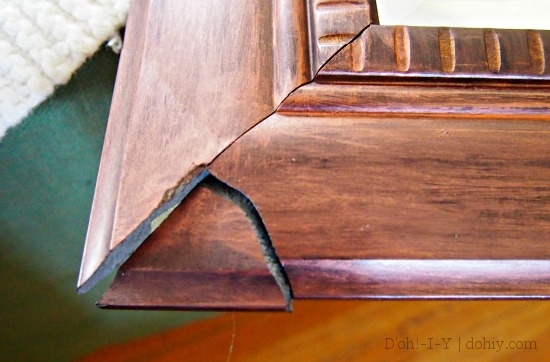
I cleaned up the mess, and started to re-hang the mirror. And then I dropped it. I AM NOT EVEN JOKING. I DROPPED IT. It’s not even fun to write about anymore!
@#$(@*&^*%^#@$(&%$#*#@$#@*#@(!!! Time for the Krazy Glue.
Putting the corner back on was relatively easy, considering my mood. It’s not an obvious fix, and I will touch up the paint later. For now, I’ve hidden it behind a cat sculpture BECAUSE ENOUGH ALREADY.
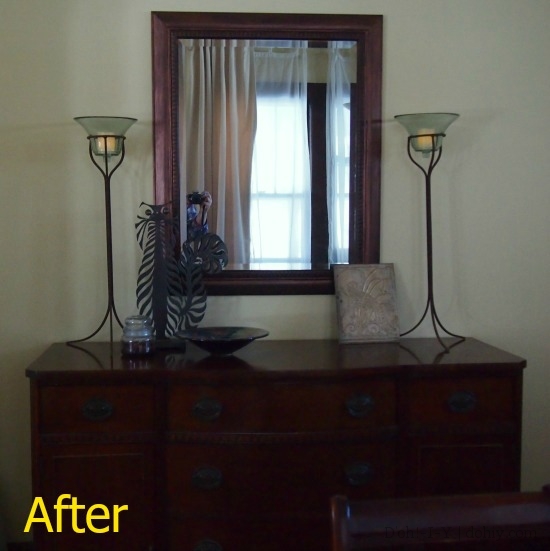
The mirror flip should have taken 20 minutes. Several days later, the mirror is back.
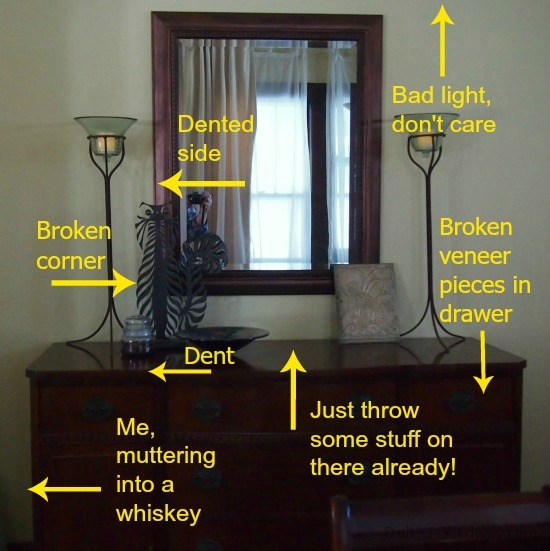
That’s the formal after. Here’s the real after:
But, hey! I eliminated the floating torso effect!






3 Responses to And Then I Threw the Looking Glass