Ok, roll film…tip the acid vats…aaaaand action!
– Director of Fallout Boy
I recently canned beets (UK: beetroot), a job that wins first prize in the category “Incredibly Messy Kitchen Event.” The kitchen ends up looking like a scene from Dexter. The Kev and I took turns shouting “BLUUUUUUUHD!” and “NOT FUNNY!” at each other. Days later, my fingernails are still bright pink.
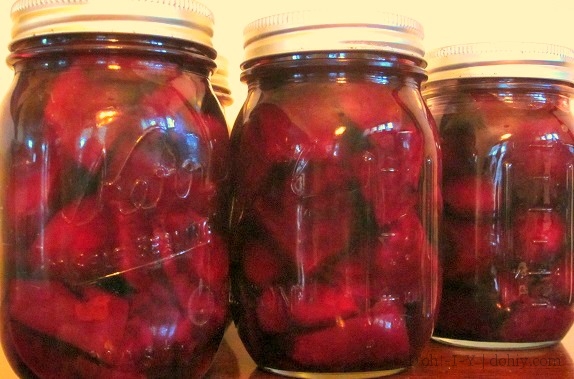
But on the upside, we have pickled beets!
I’ve been canning (UK: bottling or preserving, I believe) for about four years now. My experience means that when I start a canning session, I now feel as if I have a good chance of surviving the process. It’s messy and injury-prone work, with copious knives and glass and steam and boiling water, all designed to prevent poisonous microbes. So there are a fair few things to be worried about!
If I knew then what I know now, I’d still start canning! But I’d also give myself the following tips.
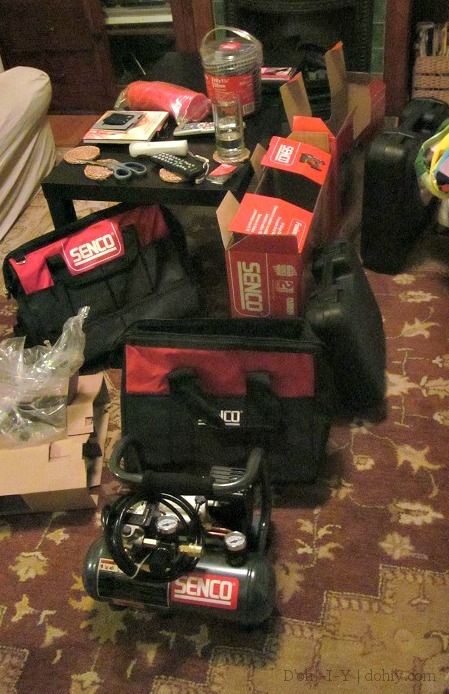
1. Just buy the canning kit.
If you are starting out, it’s tempting to make do with what you have or with a few canning tools. But as a novice canner, the first few times are pretty chaotic. A canning kit has several well-thought-out gadgets that help move things along. You just feel like you know what you’re doing when you use a jar lifter, and that little bit of confidence makes a difference.
Also buy lots of paper towels (UK: kitchen roll) — did I mention? it’s a messy, messy job.
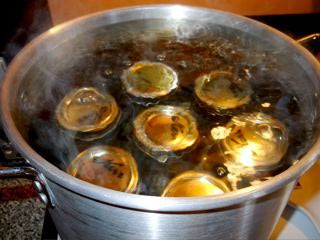
2. Seamless silicon mitts are your friends.
Canning is a hot, wet business. Silicon oven mitts are a great way to avoid being burned. For even more protection, choose a seamless version — steam and water can seep through seams, I’ve painfully found.

3. Double the brine.
I’m not sure what it is I do wrong when packing jars for pickles, but I seem to use much more brine (the liquid around pickled things) than the pros. So I stopped stressing about it and started making a double recipe of that part. That turns out about right for the way I pack the jars (obviously wrongly, but it gets the job done), and another couple of cups of vinegar is not going to break the bank.
If you do run short, top up with a little apple cider vinegar cut with water. Works in a pinch!
4. Lock up the pets and get a sitter.
Canning has a wholesome image. We’d probably all like to think of it this way:

Their pinafores match! It’s so delightful! Or camp, either way. But the reality of canning is KID DANGER GALORE:
Gallons of boiling water being heaved about with children underfoot is just not a fabulous scenario. Involve kids in labeling after everything’s cooled down — or, better yet, have them clean the kitchen when you are done! That’s a super way to get them involved! Let me know how that goes.
I don’t have any rugrats scooting about the place (that I’ve noticed), but I do have cats. And they want to Be Where I Am most of the time. I suspect they are secretly dogs. During the Long Night of the Pickled Beets, Inigo took a dive between my legs while I was moving a pot of boiling vinegar. It could so easily have been nasty for both of us, but I managed to regain my balance. Next time, the cats will be locked in another room while the pickles get made.
I can can. Can you can too? If you can can, can you please share your tips for the can-do canners of the future in the comments?