Kumiko: The walls are covered with garbage.
Homer: Oh, not garbage! Americana.
– The Simpsons
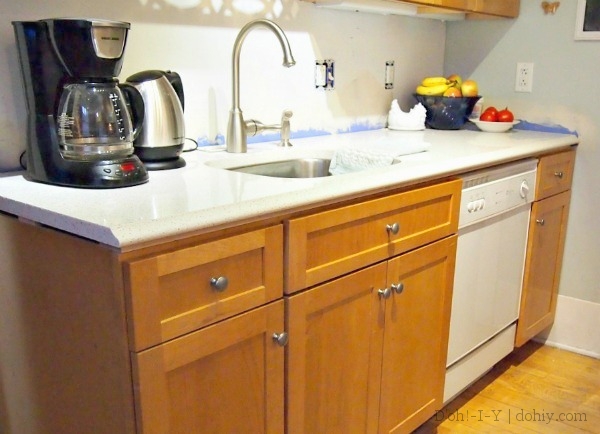
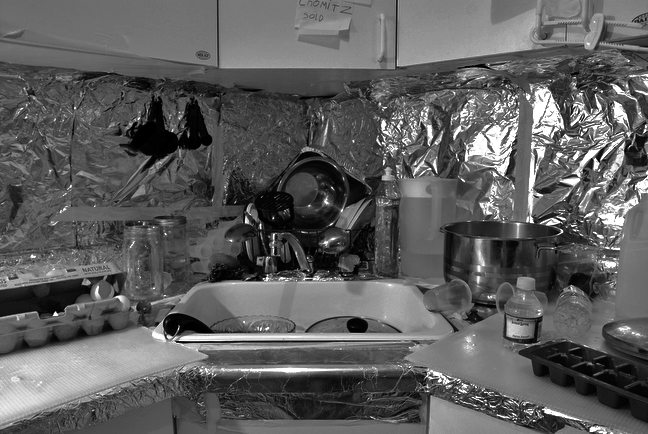
Every time a contractor or inspector visits our basement, they point to the sink in the corner and say, “That’s a nonconforming sink.”
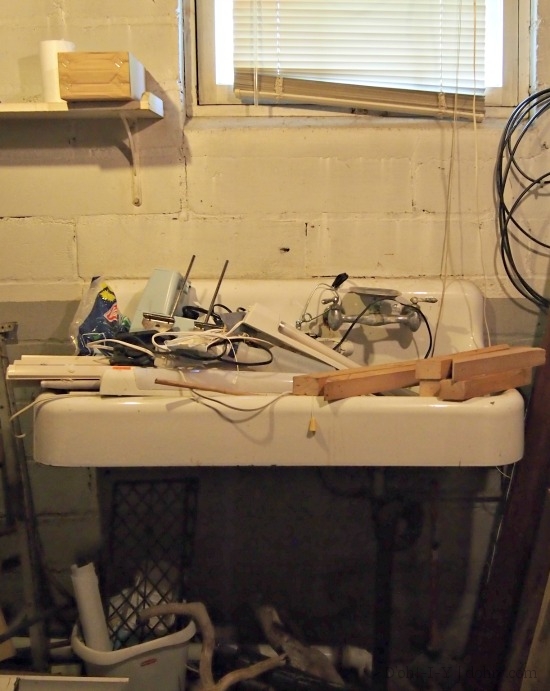
The nonconforming sink is under there somewhere.
The sink itself is fine, but the drain isn’t vented, so it’s not up to code. It used to have a gas ring on the wall next to it, and one builder guessed that it was installed specifically for laundry use. Others reckoned it was the original kitchen sink. Since it wasn’t vented (nonconforming!) and the faucet barely worked, we’ve mainly used it as a shelf for miscellaneous basement junk without regard to its provenance.
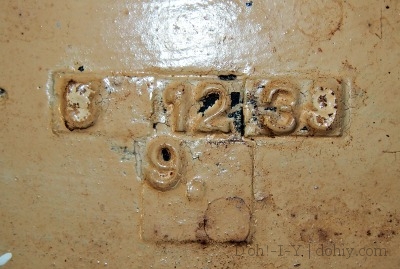
This is the date stamp on the flip side; I’m guessing this means the sink is from December 1939, so not original to the house (built 1922).
When the Kev started work on a storage project in that area (yay, Kev!), I said we should finally take the shelf-sink out to free up usable space. He said, “It’s a pretty cool thing. We could probably sell it.”
“Or we could use it as the sink in our master bathroom when we remodel the loft!” I responded energetically.
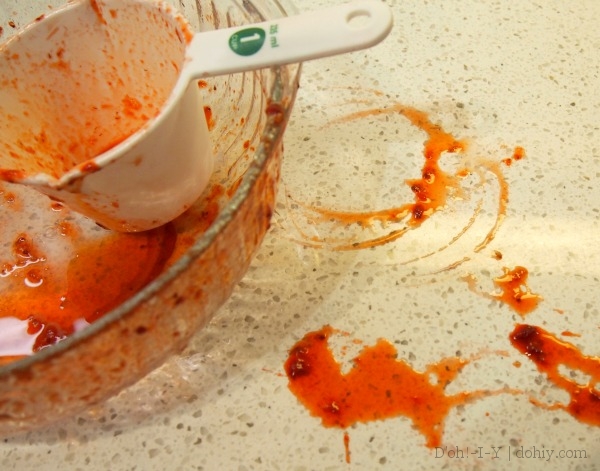
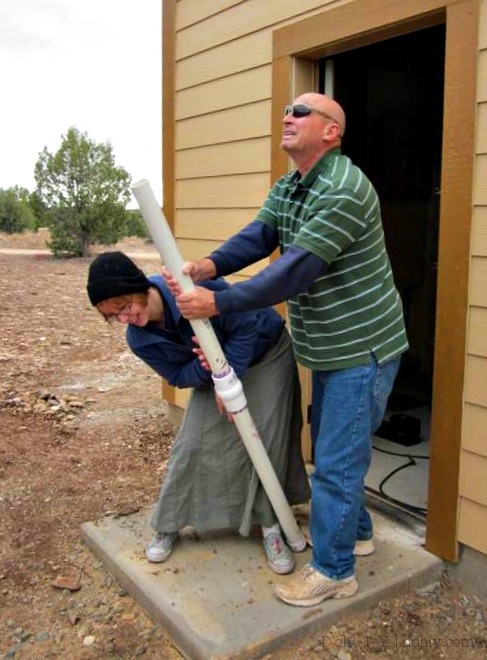
And then he made a face much like this:

Ok, yes, it’s a sink with a drainboard, so it’s clearly a kitchen (or laundry) sink. But it’s old and it’s so cool and it could work in a bathroom! IT COULD WORK. Other people think so too. Professional designer people.
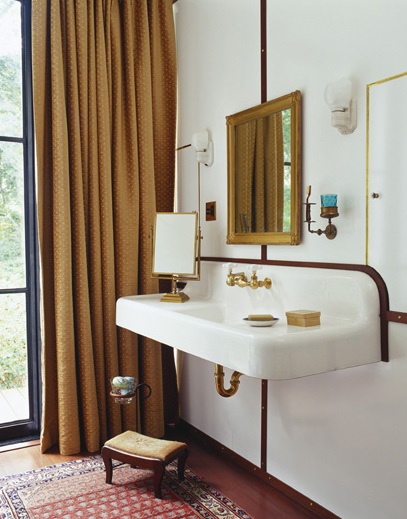
Michael Haverland Architect (via)
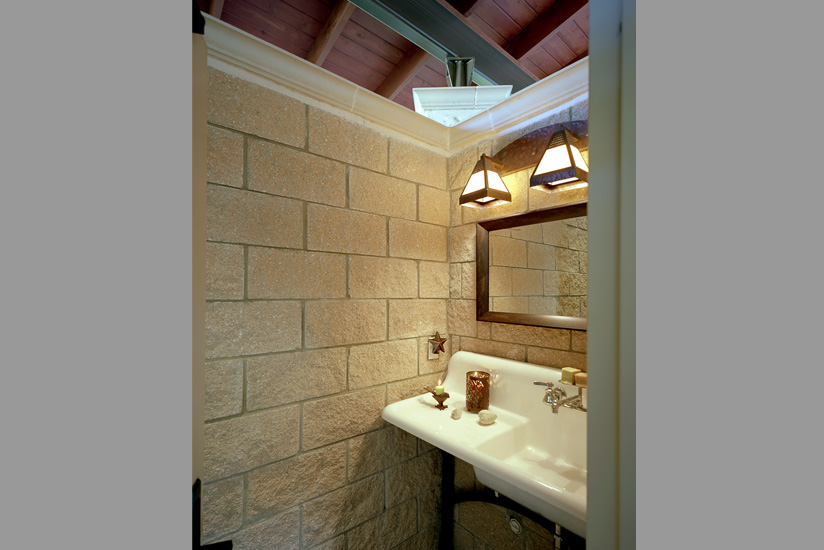
CG&S Design-Build (via)
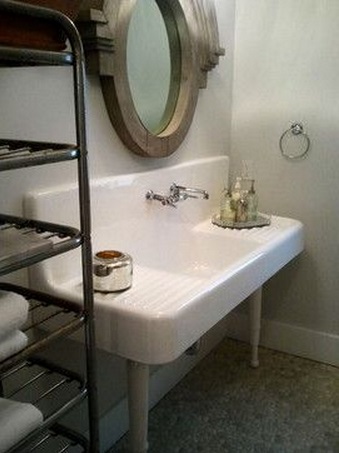
(via)
SEE!?!?
I would have considered using this sink in the kitchen proper if work surfaces weren’t at such a premium there. I’ve had kitchens where drainboards make up the majority of the flat space, and it’s just not a great option in a tiny area. But in a bathroom, that’s another matter.
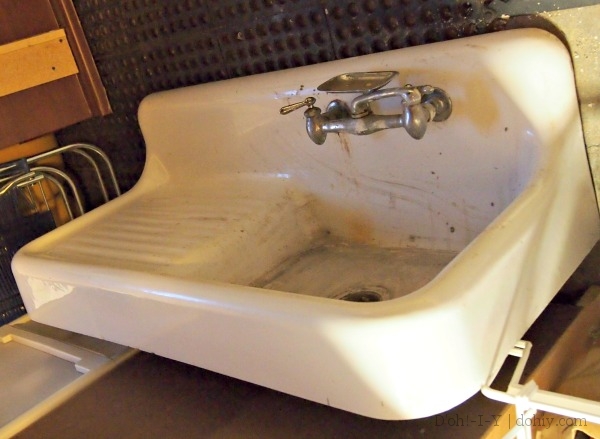
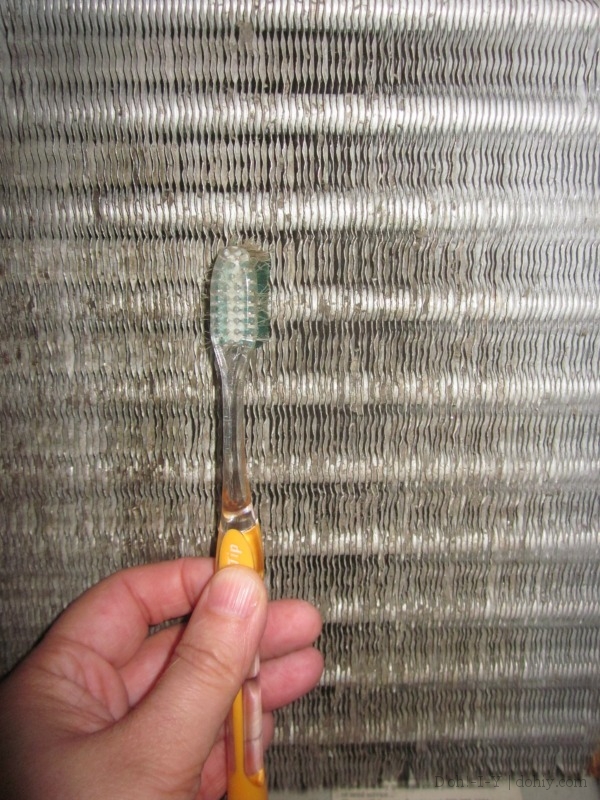
The sink with less stuff on it after we took it off the wall.
We knew it would need to be cleaned up and re-coated or patched if we decided to keep and eventually use it. But once we took it off the wall (and by the way: HEAVY, sooo heavy), I had some misgivings. It’s very much in what’s sometimes called “as-found” condition. The enamel is scratched, and it has substantial rust.
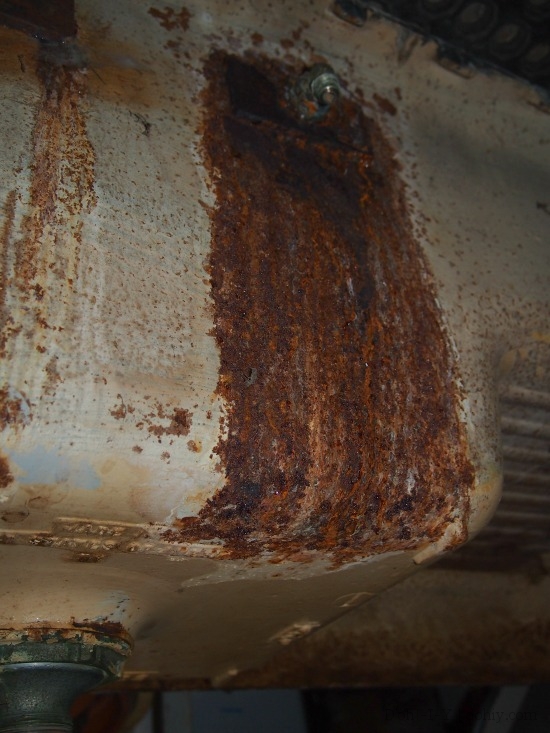
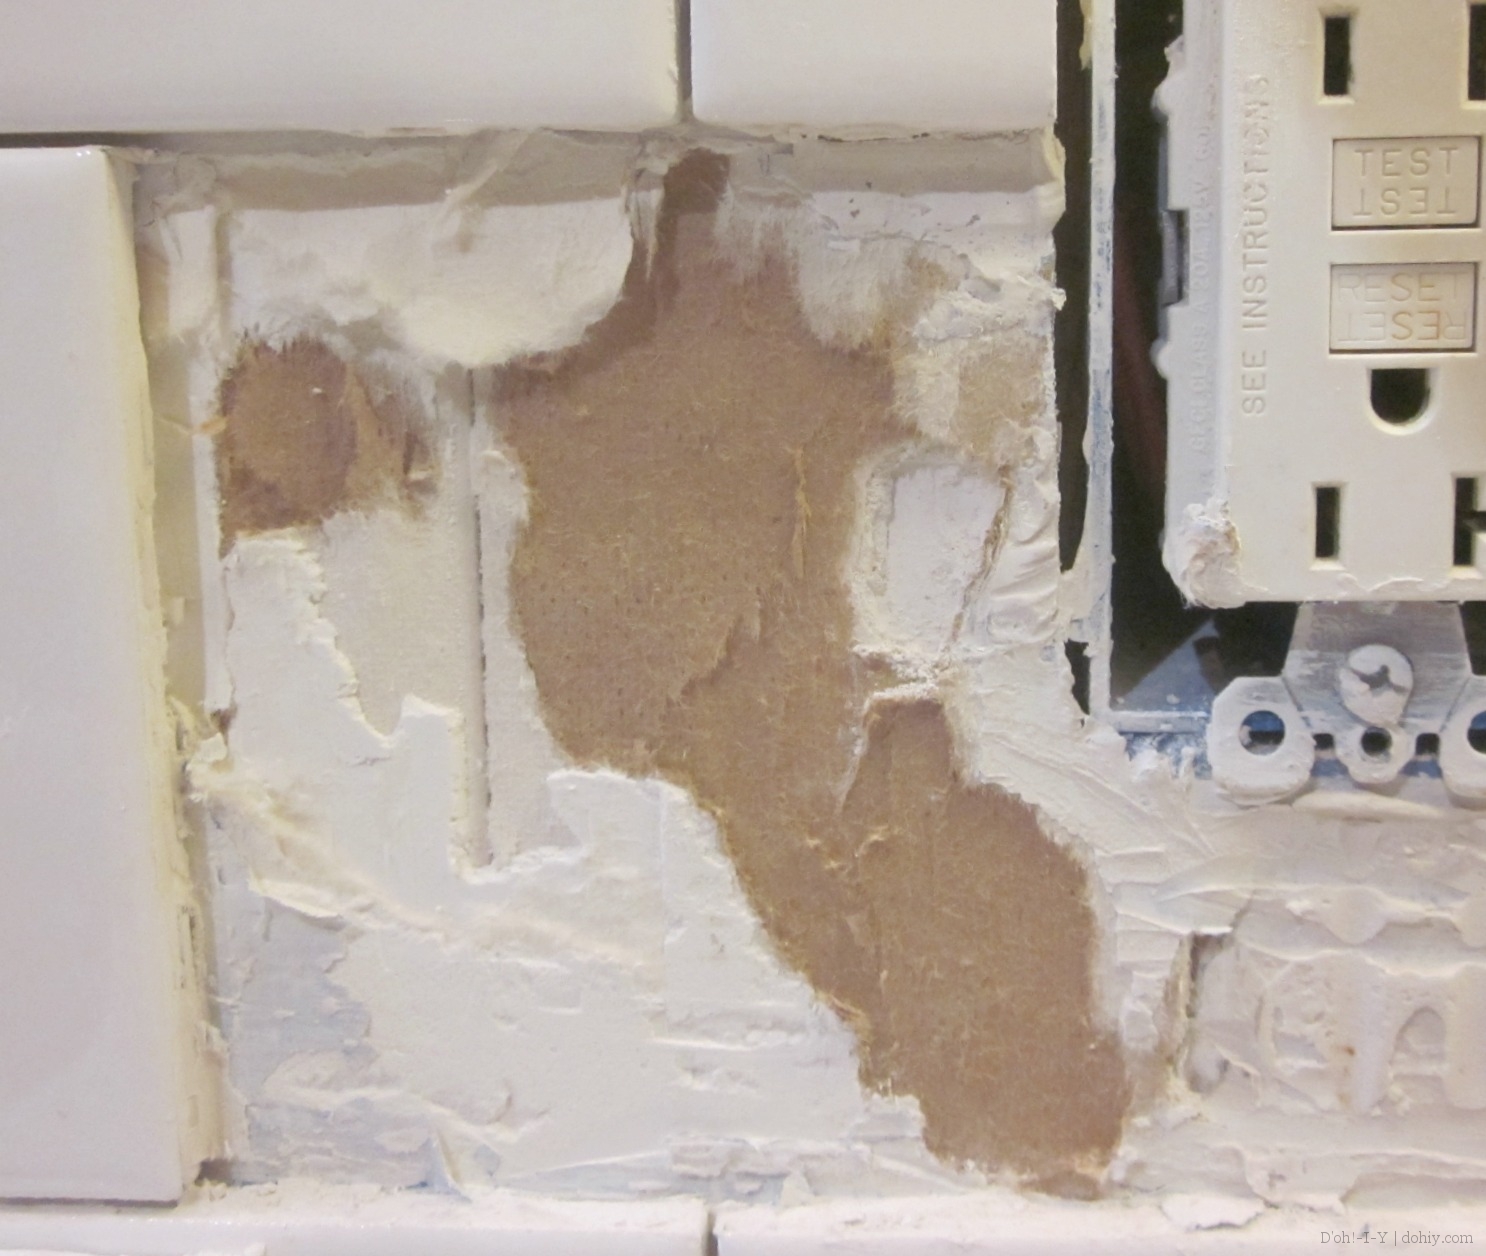
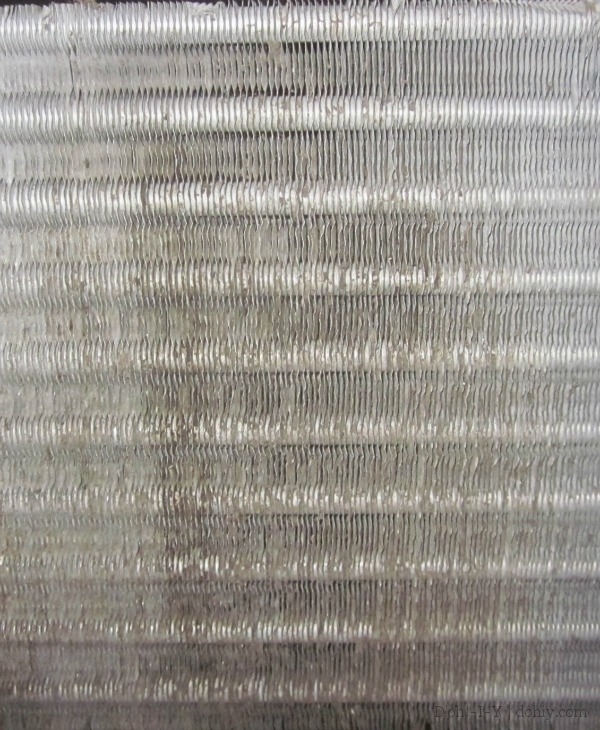
Rust on the back of the sink behind the tap.
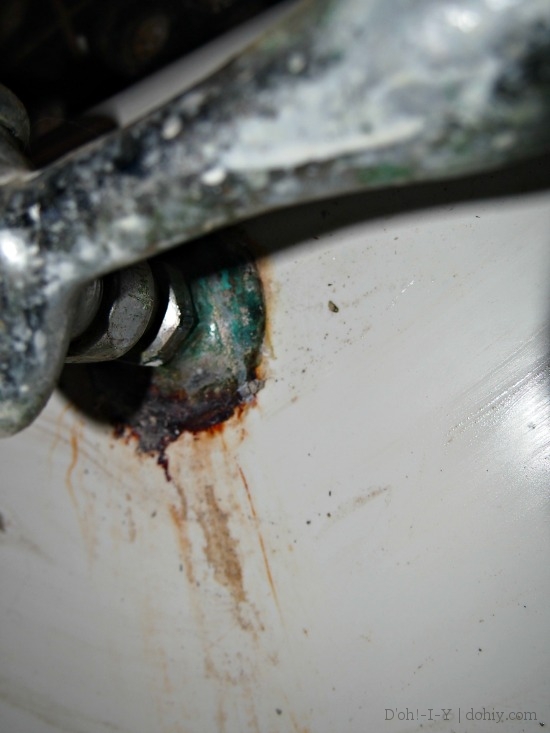
Same hole, same rust, but on the front.
How much rust is too much rust? This is a very lot of rust. Kevin is a former blacksmith…
[ COMPLETE AND UTTER ASIDE:
When I mention that Kevin used to be a blacksmith, ladies sometimes get a faraway look in their eyes. At this point, I often comment sagely, “I know, right??!”
Because I, too, have read a romance novel or two in my time.
Kevin will probably edit this passage out of the final post, so back to sinks!]
…anyhoo, the former blacksmith (I know, right??!) thinks we’re ok on the rust front. The rust is extensive, but it’s all on the surface. The bulk of the original, thick iron is intact, so the rust can just be ground off. I did a little research, and the area around the faucet can be touched up as well. Then the sink could be rehung or placed on a vanity table. Or both — this puppy is so heavy that I would feel better backing up the sink bracket with table legs.
If you are following along, you know that the master suite/loft renovation is on hold, so it would seem to make very little sense for me to be talking about sinks. But in order to clear the area for the storage project, we had to move the sink. The sink needs to be either stored or gotten rid of, so even though it’s out of sequence, it’s sink-thinking time. Old houses have this perverse way of rearranging the intended schedule.
There hasn’t been enough sink-thinking for a final decision, but enough to determine that it’s worth keeping for now. Fortunately, Kevin is creating a storage area that will fix the worst of the organizational chaos, so we should be able to stash it with minimal risk of toe-stubbing. In the meantime, we’d love to hear about your experiences with restoring and reusing old sinks.