FINALLY!
– Bart Simpson
Done and dusted. AT LAST. I would have had this done sooner, except I selected a fancy synthetic rubber caulk for the joint between the tile and the counter. I could not work with it — not the product’s fault, I just couldn’t get the hang of it. Ultimately, I had to remove and replace it, but since it holds on like grim death, that was a lengthy process involving tweezers and neck cramps. That’s what I get for trying to use high-quality materials!
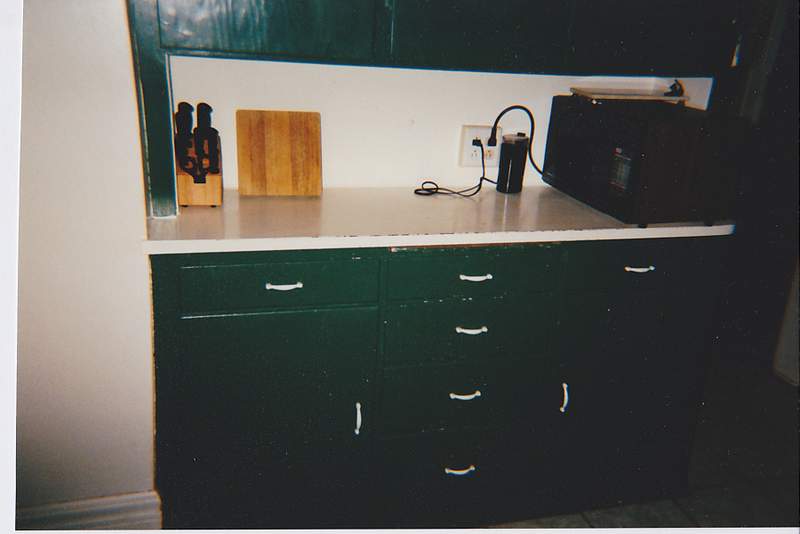
Here are some before pictures. First, a long time before:
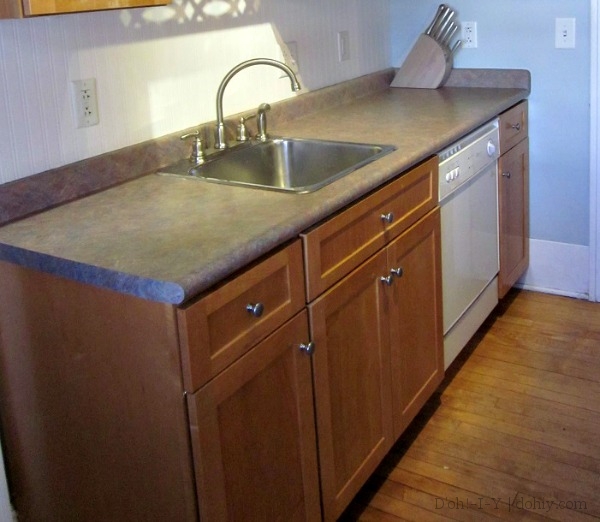
We remodeled the kitchen in 2002, but still didn’t have a backsplash. Later on, I added some wallpaper between the counters and the upper cabinets.
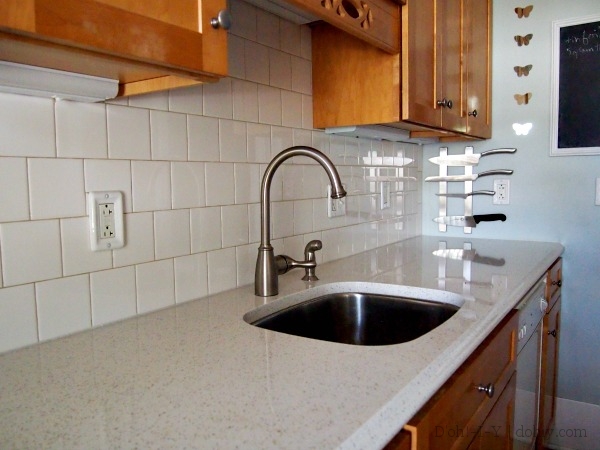
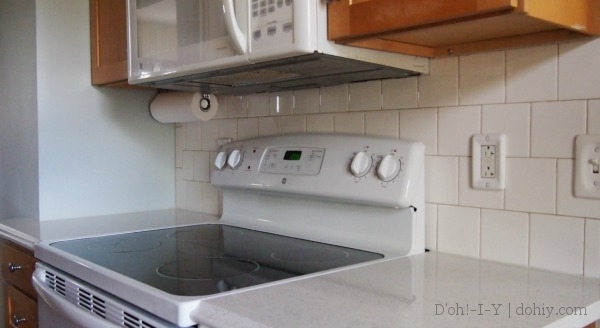
We put in white quartz countertops earlier this year, and decided it was high time for a tiled backsplash. Here it is:
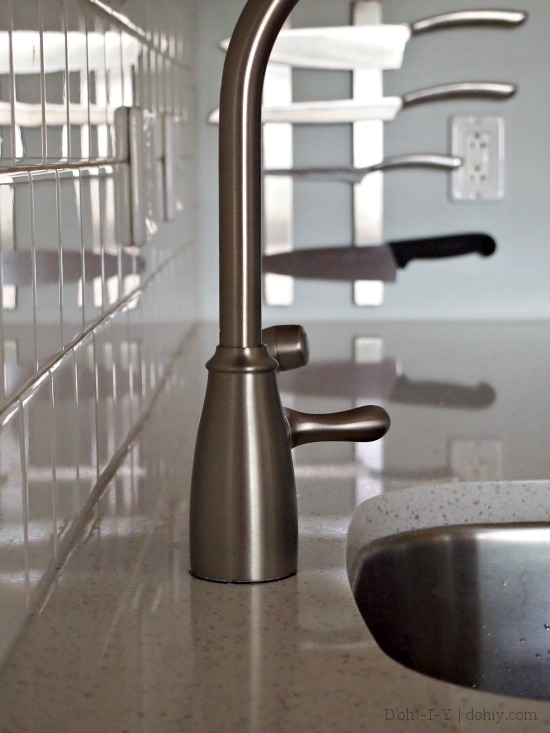
I put up the two Ikea magnetic knife strips to get the knife block off the worktop. They wouldn’t work horizontally where I wanted them, so vertical it was. I thought that was a clever idea, but there’s a reason that they are usually hung horizontally — the handles just want to droop. Still, I was able to put the larger knives on the wall.
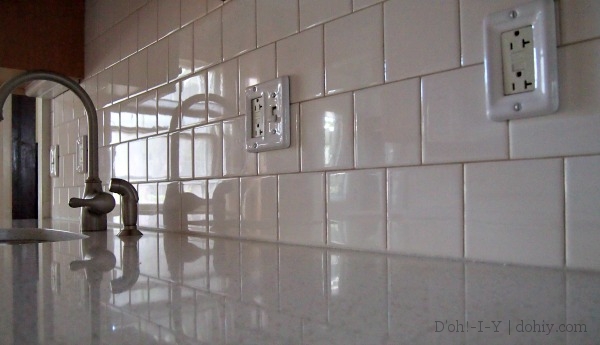
Here’s the other side. This image has the most accurate rendering of the Antique White grout color. It’s just a warm, sandy tone, very subtle.
The tile is nice and shiny with the quartz counters. The thin grout lines were tricky at times, but I like the look.
And I did manage to install all of the retro porcelain wall plates. I scrubbed the GFI receptacle faces with a toothbrush (with the circuit off, naturally), but they still look a little dingy in comparison. But new ones would look this used almost immediately, so the old ones are fine.
I’m really happy with how it came out. It really brightens the place up! We went a little off-script with our choices — 4×4 ceramic tiles instead of 3×6 subways, but still laid out in the staggered brick pattern; warm-toned grout rather than gray — but overall, it gives a similar, vintage effect.
If you are thinking about tiling your backsplash, here the steps we took along the way in our tiling project:
Picking out a tile pattern and More on picking out a tile pattern
Picking out wall plates for switches and outlets
Tile installation: applying tile adhesive and keeping tiles level
Tile installation: cutting tiles at edges and around electrical boxes
Tile installation: replacing bad tiles and grouting in general
Drop us a line if you have any questions — despite all my griping, it’s a fun project, and it makes a huge difference in the finish of a kitchen. Plus, it probably won’t take you as long as it took me!



8 Responses to Before and After: Tiled Kitchen Backsplash