I’ll show you some of the tools I’ll be using. This is the scraper. This is the poker. And this happy little fellow is the gouger.
– Dr. Wolfe
They say that a poor workman blames his tools. You know who else does that? People with the wrong tools. They also shout a lot, but I suppose “A workman with the wrong tools blames them loudly” is not quite so pithy or shame-inducing. Just true.
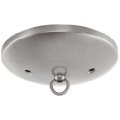
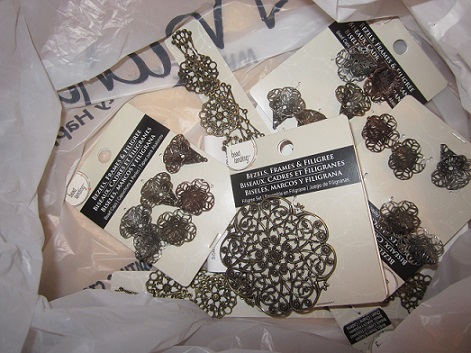
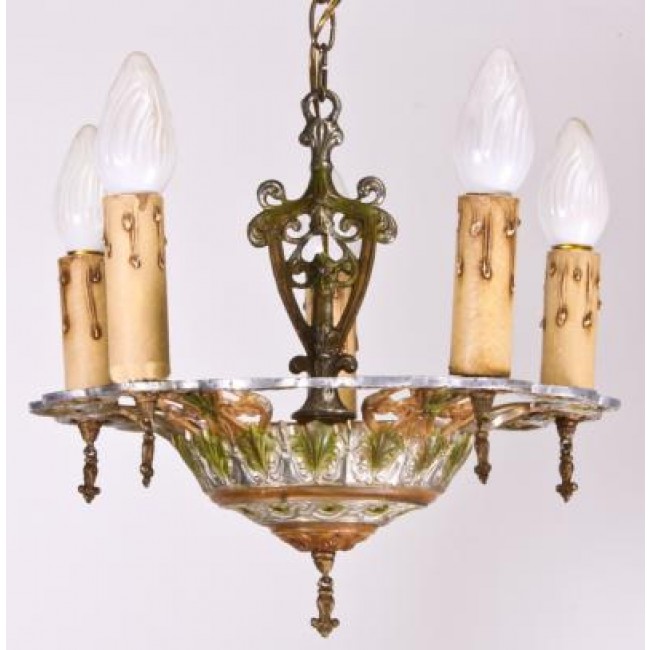
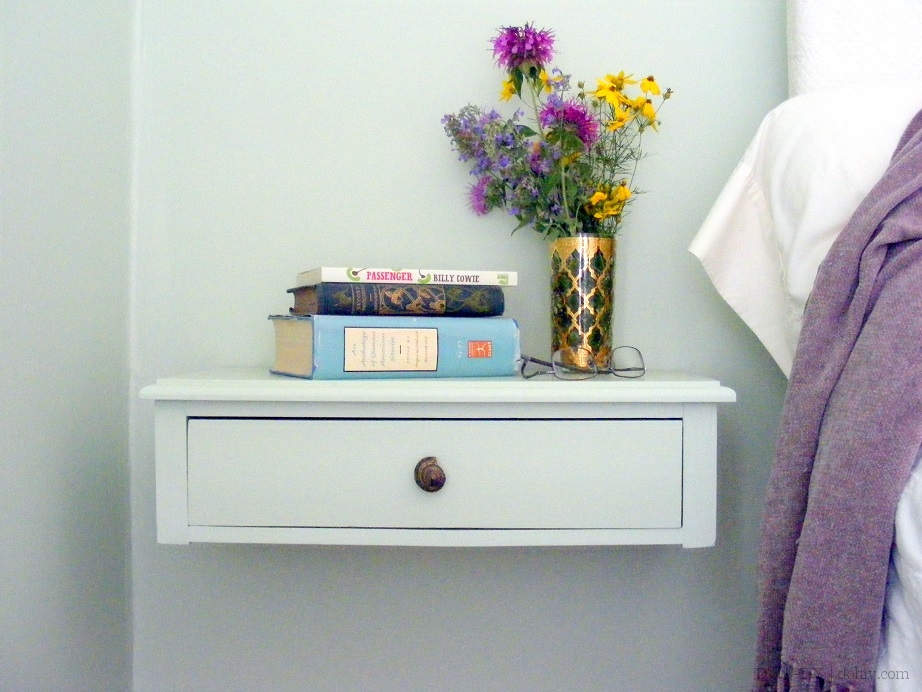
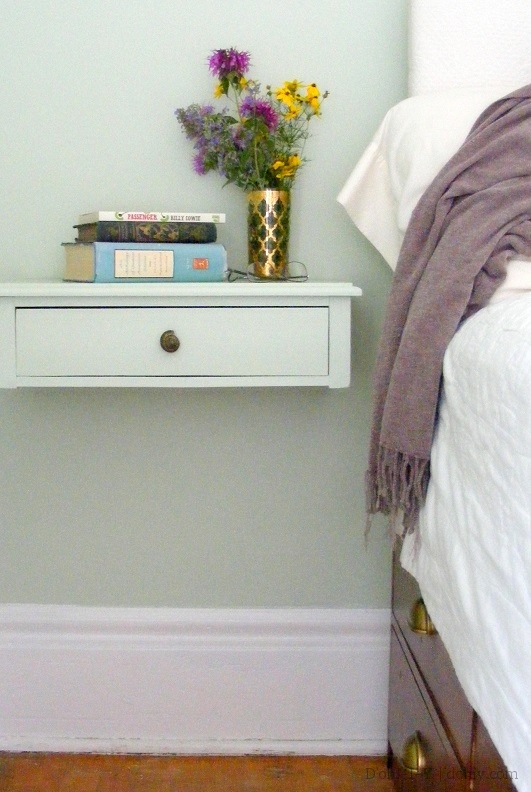
I recently started restoring antique light fixtures. Our house is from 1922, and I like finding fixtures in pieces and figuring out how to use them. I love the old fixtures — we have one original ceiling light and two sconces, and it’s fun to look for more. Here’s some from Urban Remains (great place for house parts, check them out), all restored and in their full glory.

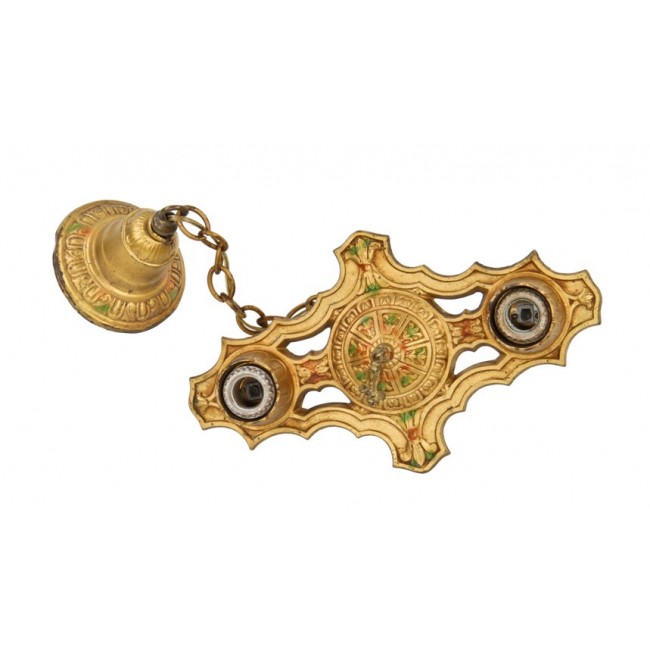
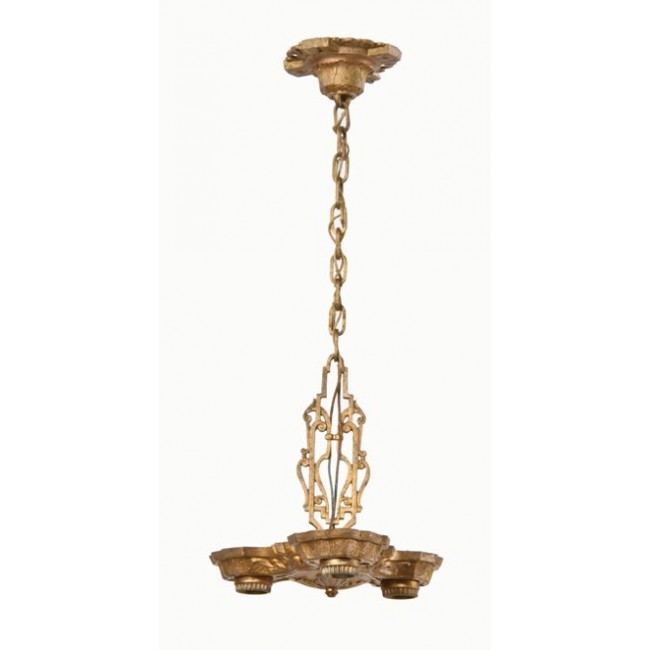
You either like these or you don’t, and I definitely do. They would not typically be my style, but I like the historical feeling in an old house, as if they’ve been there all along. You can find excellent deals on fixtures for restoration (or already restored) on eBay and Etsy. Search for deco, 1920s, Victorian or vintage in combination with light fixture or ceiling fixture, then sort by price. I used this technique to find my most recent project.
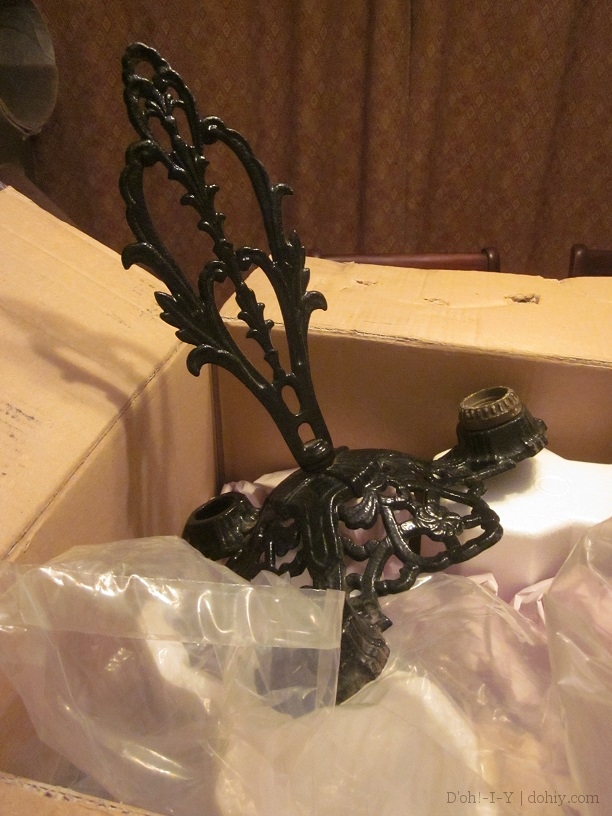
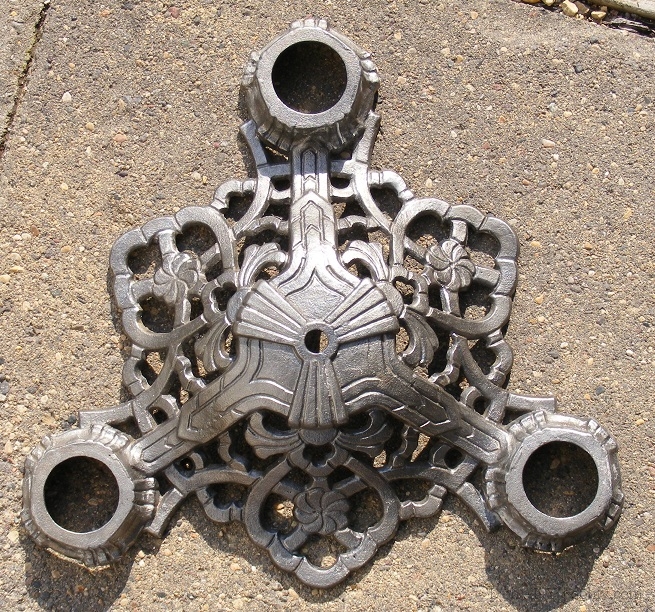
Surely it would have shipped easier in pieces.
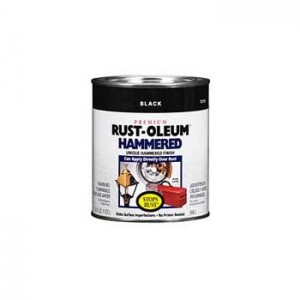
This fixture was put together upside-down and backwards. It was billed as a potential candleholder. The seller also said it was powder-coated, but I was sure it had been painted with something like Rustoleum’s “hammered finish” oil paint, in stock in our local basement. The thick paint was obscuring the piece’s detail.
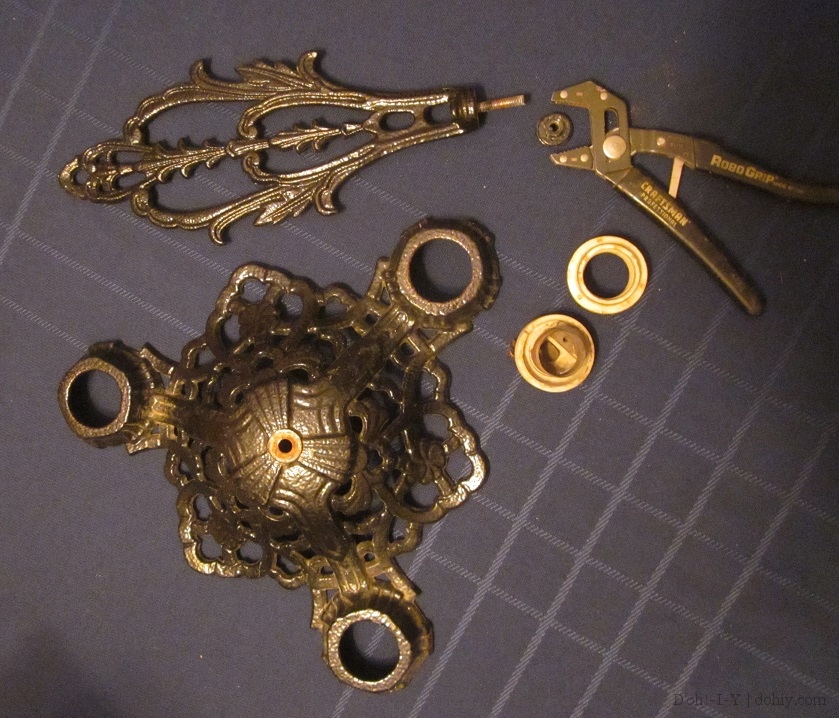
I bought it with the intention of taking it apart, stripping it, repainting and rewiring. Taking it apart was easy. Stripping it? HA! Rustoleum (as I’m 97% sure this was) is simply the Toughest Paint in the Whole Dang World.
Badder than ol’ King Kong, meaner than a junkyard dog
First I tried the Crockpot method. It gave the finish a slight haze, but removed nothing. Then I tried Zinsser’s safer stripper (formerly used on paint-encrusted hinges with great success). After multiple applications, I started to get a foothold, but it was slow going, and I wasn’t removing anything in the detailed areas. I bought a stripper designed to tease out paint trapped in detail work. Not this detail work!
I pouted for a couple of months. Meanwhile, the bits I had stripped developed surface rust. Fantastique!
When I returned to it, I used the meanest, most toxic stripping goo I could find. I’d apply that, scrape, clean, and then hit the surfaces with the angle grinder sporting a wire cup brush. Rinse/repeat. This eventually yielded a clean outer surface, but the detail work was still caked with paint. And that’s when I broke out the dental tools.
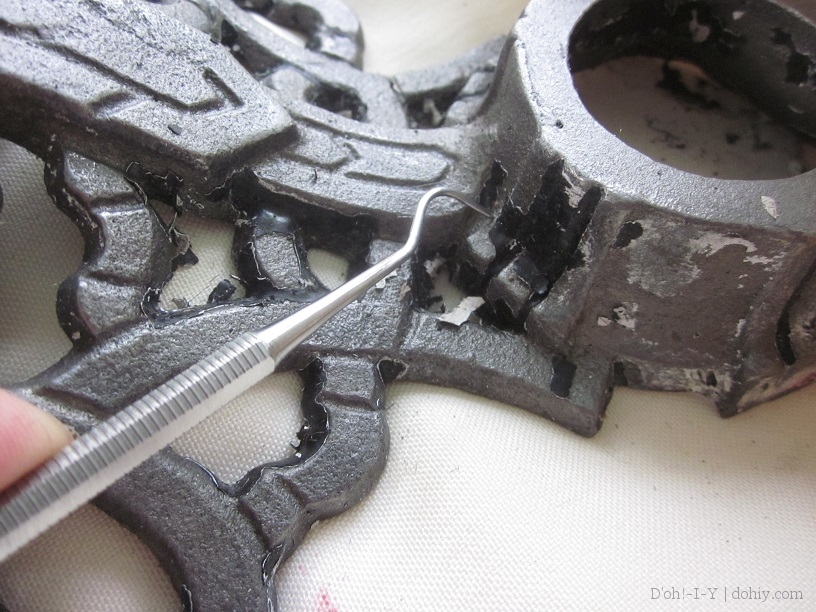
Yes, we own dental tools. It’s a weird thing to own, not being dentists, but the Kev uses them to clean fossils. I used them to pick, pick, pick at the paint stuck in the niches and crevices on the fixture. It made my eyes go buggy, and while I made significant progress over several evenings in front of the television, these still weren’t the right tools!
In fact, to this point, nothing was inherently wrong with the tools and potions I used — they just weren’t the right tools to remove the World’s Toughest Paint from crevices. But the next tool was just Wrong on all levels. I picked up an off-brand rotary tool to tease out the rest of the paint.
- The included wire brush spun off all its quills in under a minute, many of them embedding in my shirt in a hedgehog fashion.
- Other tools ran down to nubs in under five minutes.
- The tool itself turned itself off. AND ON, more troublingly.
- And then stopped working entirely a half-hour later.
To be fair (and the reason I’m not mentioning the brand name), I think the thing had been returned before and might have been misused rather than being a lemon from the get-go. Still, the accessories were rubbish. Ok, it was a Performax.
So, back to Menards, where I bit the proverbial and bought a Dremel. On sale, but still — Dremels are more expensive than the knock-offs. It turns out there’s a reason: that dog can hunt. I spent about three hours yesterday in full face mask and goggles Dremeling out the rest of that blasted paint, and it is a champ. I finally found the right tool!
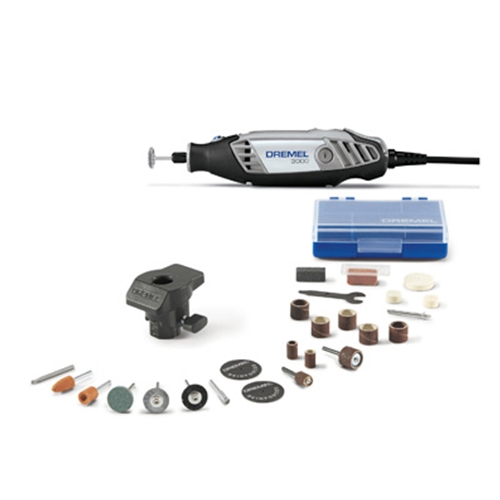
Dremel 3000, you complete me.
I wanted to avoid sanding dust, which is why I stuck with stripper for so long. If I had it to do again, I still would have started with stripping techniques before going to the rotary tool, but I’d get there sooner.
But the biggest timesaver is that I’m never buying something coated in Rustoleum to strip down ever again! But I am going to coat everything I want to preserve in it. I’m just not sure how to get Kevin to stay still long enough.

 Today at work, I showed a co-worker my thumb. “Check out my cool blood blister!” I said. “Doesn’t it look like there’s some sort of weird worm under my skin?”