

With the shower tile (and niche) done, nothing was stopping us from taking showers except the gaping open side. Some very long time ago, I ordered a frameless shower door (on sale!), and it was finally time to install it.
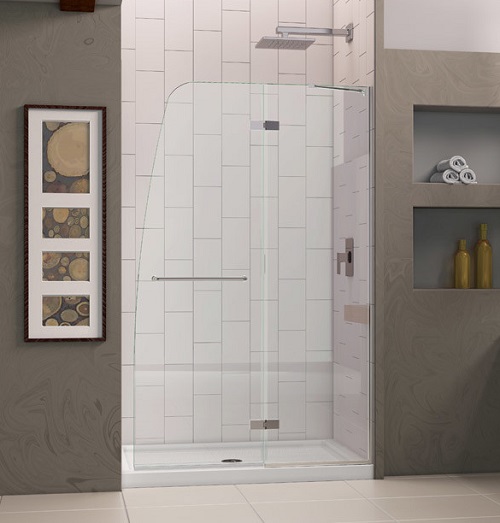
Aqua Ultra Hinge Shower Door (got ours via Wayfair.com)
The first instruction was to install the base channel. This was to be caulked into place if used on a bath tub, or drilled into place if used on a shower base. Our shower base is porcelain over steel, and I was not super-keen about drilling into it. The internet suggested that the tub/base installation difference was that tubs were often porcelain over cast iron, whereas shower bases were tile or various composites. Customer service could not vary from the instructions (understandably). Reasoning that the bottom channel was mainly a guide, and that the concern about drilling into something that could rust was warranted, we decided against screws. We didn’t caulk it either — we used white Liquid Nails.
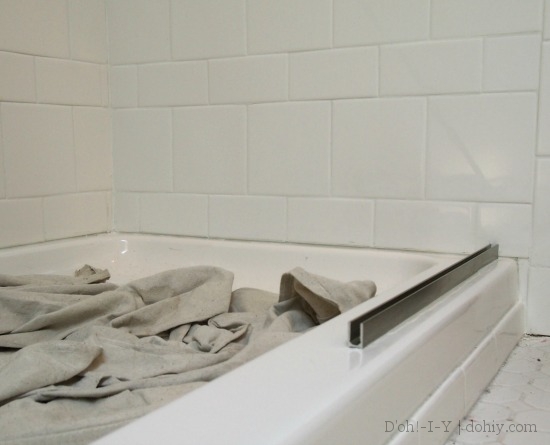
The instructions say to center this piece, but we have quite a bit of side ledge and the shower is a little narrow, so we placed it toward the outside edge.
Another channel runs perpendicular up the front wall. This one was screwed through the tile into studs, then tightened down over silicon caulk. Screws came with the door, but they were pretty short. Figure out how long you need your screws to be given the wall depth, then pick up non-rusting screws that length with the same head diameter (because the head has to fit into the channel, which is pretty narrow). We put in 3-inch brass screws to get well into the studs. To avoid tile cracking, we used a glass/ceramic drill bit to get past the tile.
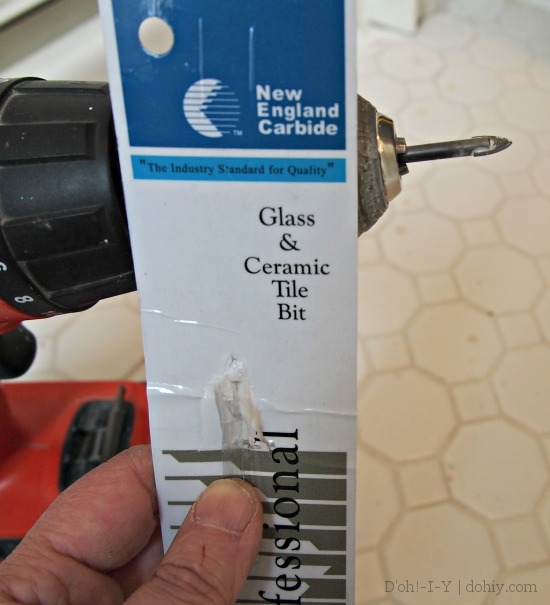
Not promoting this brand — it just happened to be at Menards. It did work, though.
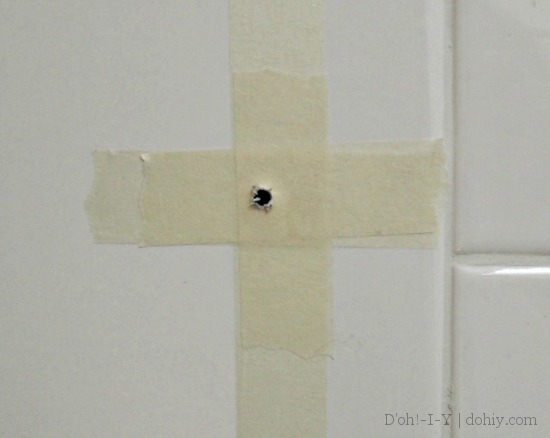
Apply tape over the drilling spot to further protect the tile.
Front channel in place
Then the glass. Squirt a bead of silicon inside the two channels, then sliiiiiide the glass to the wall. The instructions say to use a rubber mallet to push it forward, which we did, with trepidation. That pushed it right into place.
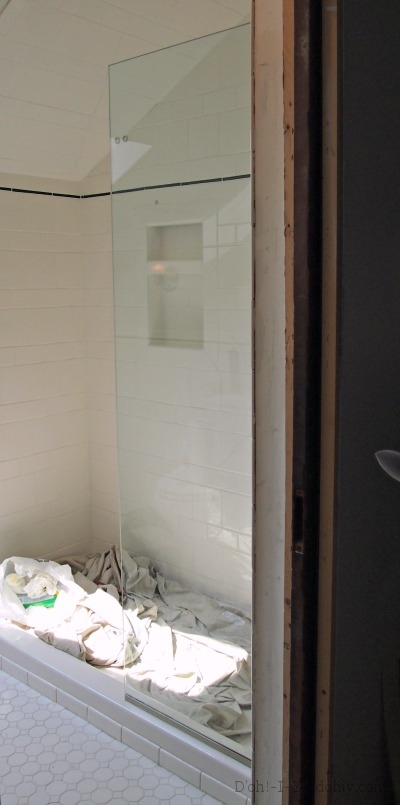
First pane in; so hard to get pictures in this bathroom!
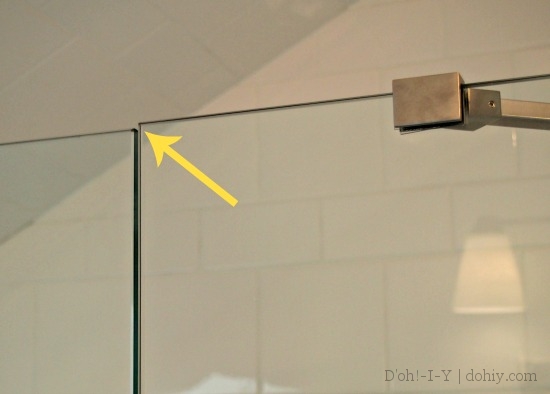
The last supporting cast member is a brace that runs from the top of the stationary glass pane to the front wall of the shower at roughly a 45-degree angle. Kevin had screwed in some wood behind the cement board for the attaching screw to bit into, but apparently put it too low because nothing met the screw on the other side. (Probably, I told him that the thing was five feet tall as I first thought.) It wasn’t a huge deal — the instructions called for a wall anchor. Anyway, a bigger tile bit, one wall anchor, and more silicon later, it was in.
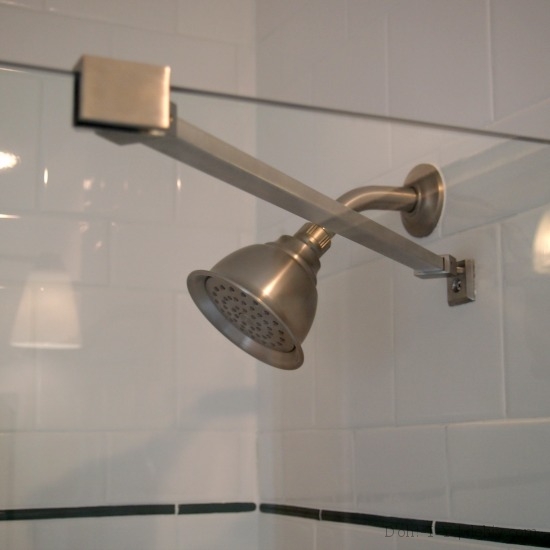
Odd angle for this picture, sorry — the brace is level. In actual practice, the brace and shower head aren’t as crowded as they look here.
There’s plenty of structure, even if it is “frameless.” Plus, there’s gap enough around the back to get in and out of the shower without even moving the door (assuming we don’t gain a bunch more weight).
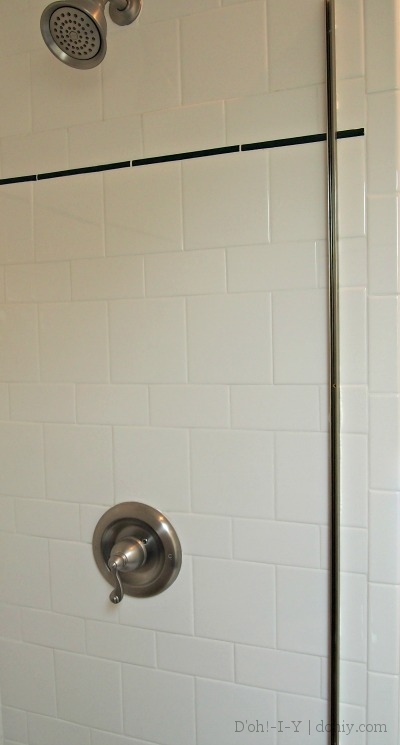
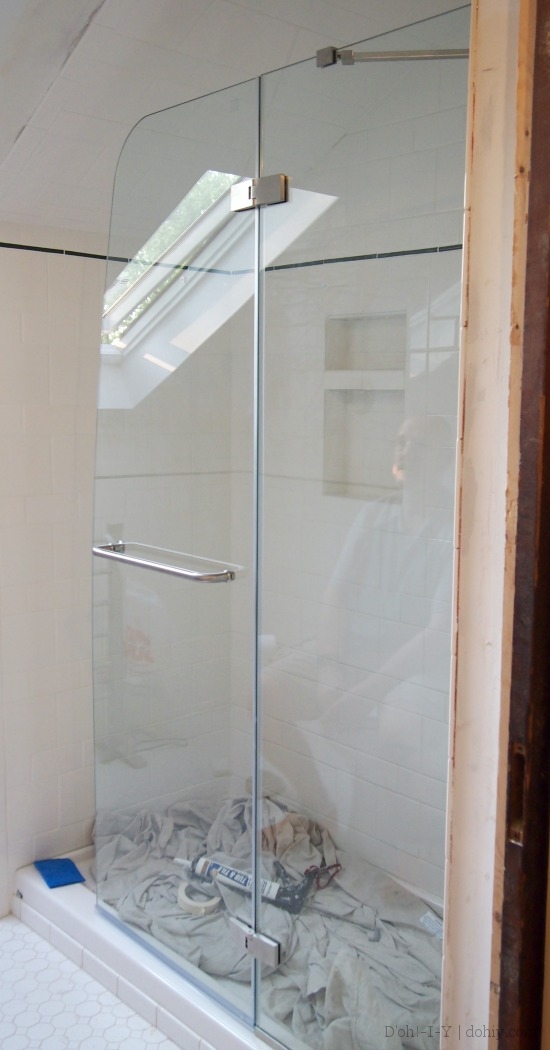
The last bits were attaching and adjusting the door with reversible hinges, and then adding some clear trim between the door and and stationary piece and along the bottom of the door. And there’s a towel rack on the front, also easy.
The hinges have enough play in them to move the door up and down to be level with the stationary pane (this photo was taken before we did that).
I am generally pro-curtain, especially since our municipal water is pretty hard. The Kev had to talk me into this door, but it does look good!
The drop cloth did come out pre-shower.
We finally get to use the shower, hurrah!
Apparently, if we squeegee it every time we take a shower, it will stay pristine. I don’t see that much squeegeeing in my future! Any recommendations for cleaning products or maintenance?

8 Responses to In the Market for a Squeegee