
Yes, it has been a while, but I’m back! Part 1 ended with the niche secured flush with the shower wall and (hopefully) waterproofed. Next: tiling!
As discussed in Part 1, I installed the niche once I had the tiles up far enough to confirm how it should be placed to work with the tile pattern.
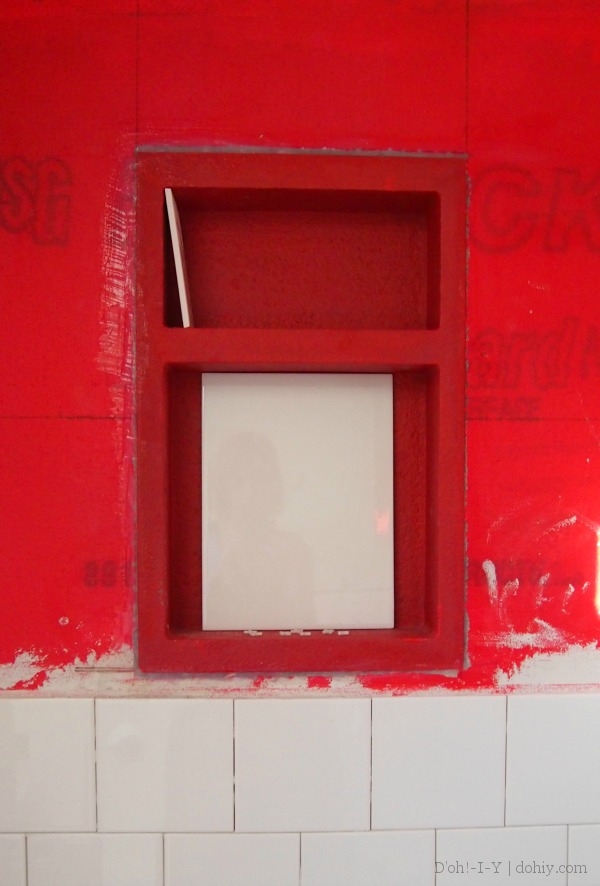
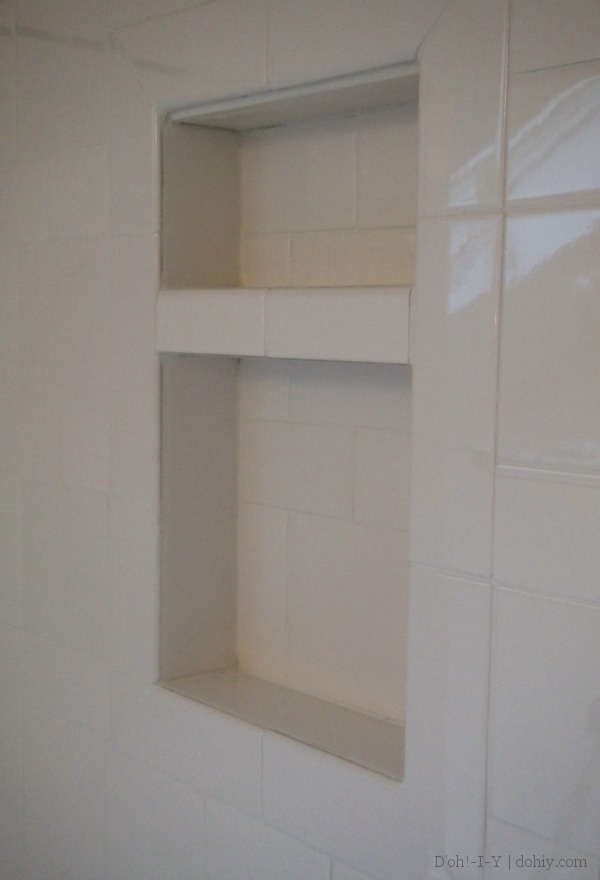
I used 3×6 subway tiles and 6×6 square tiles. These are plain white tiles from Menards. The available edging tiles included 3×9 bullnose pieces that I used to frame the niche. I kept everything divisible by three to help line everything up. I also had a stack of 9×12 tiles to cut down for the shelves, sides and tops of the niche (that’s one leaning against the back in the picture above).
So I had all that and I was ready to go!
If my measurements were right, then the 4×12 bullnose should span from the last tile course to level with the bottom shelf. First, I cut a piece of the 9×12 tile the size of the bottom shelf and mortared that in place. Then, I cut tiles from the corners of the shelf out 45 degrees. I did that several times, in fact.
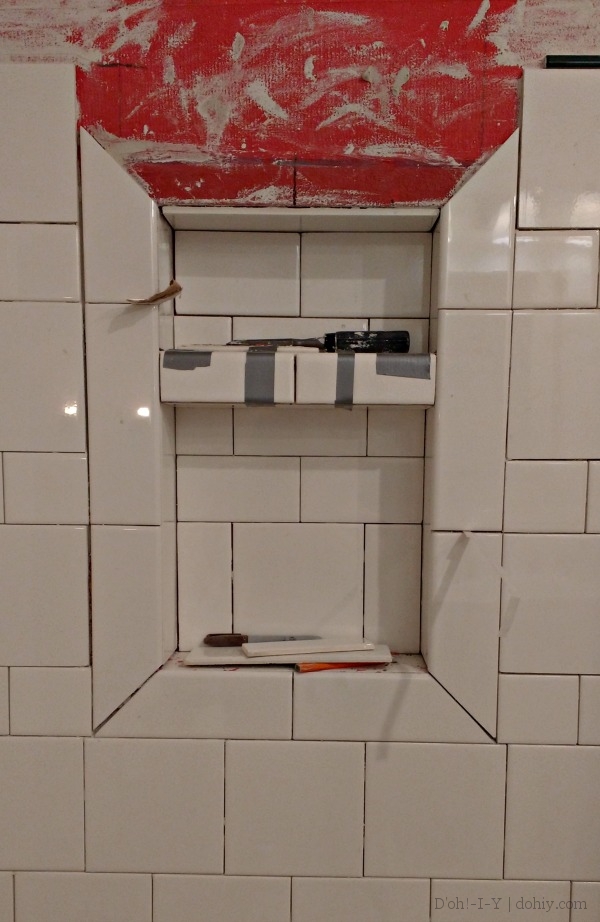
I continued the tile pattern from outside the nice on the back, but I lined the sides and flat surfaces with continuous pieces cut from the 9×12 tiles.
Tiling inside the niche is no different from tiling a wall, only there are more corners. I ran the vertical tiles down so that they landed on top of (rather than behind) the horizontal tiles, on the theory that would decrease the possibility of water leakage through the back. I also added a little more mortar to the wall edge of the “shelf” tiles so that water would tend to run out of the niche, rather than puddling at the back — not enough to look un-flat, though.
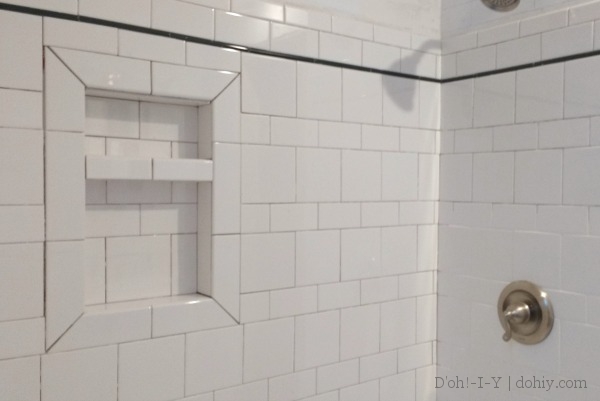
I’m led to believe that whenever there’s a turn in the tile, that seam should be caulked instead of grouted. Ergo, there were MANY caulk seams in the niche. I had the color-matched caulk for the TEC grout color I used (Standard White), but after it dried, it wasn’t all that great a match. When I was next grouting, I rubbed some grout into the caulk lines, and they came out great. Now, I don’t know if that’s a legit use of grout (or caulk), so I’m not saying you should do that. I’m just saying I did that. And that it worked.
Disregard the grout haze that I didn’t notice until now. I’m not totally thrilled with the top “ceiling” tile. Ideally, the top trim tile would come down further and hide the edge, but I’m not unthrilled enough to rip it out.
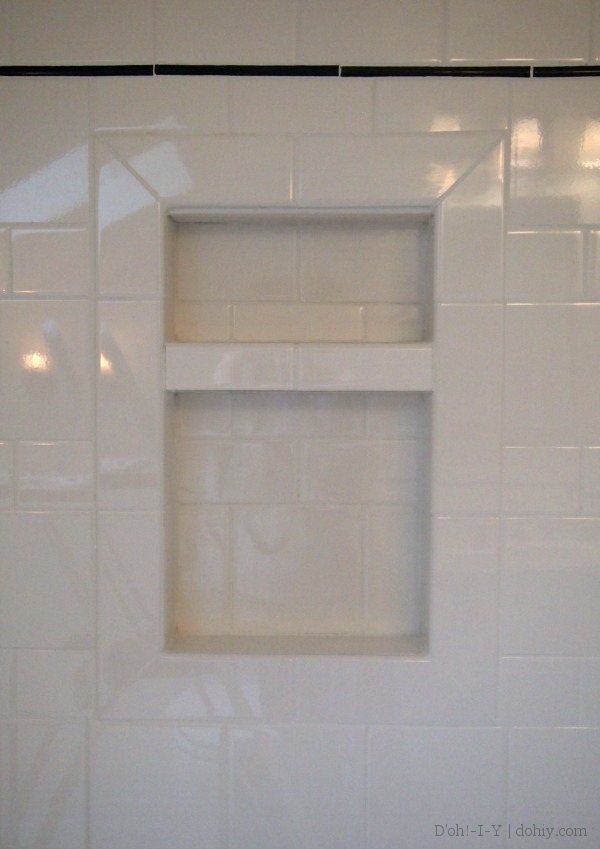
Since I am a blogger, I also styled it for you:
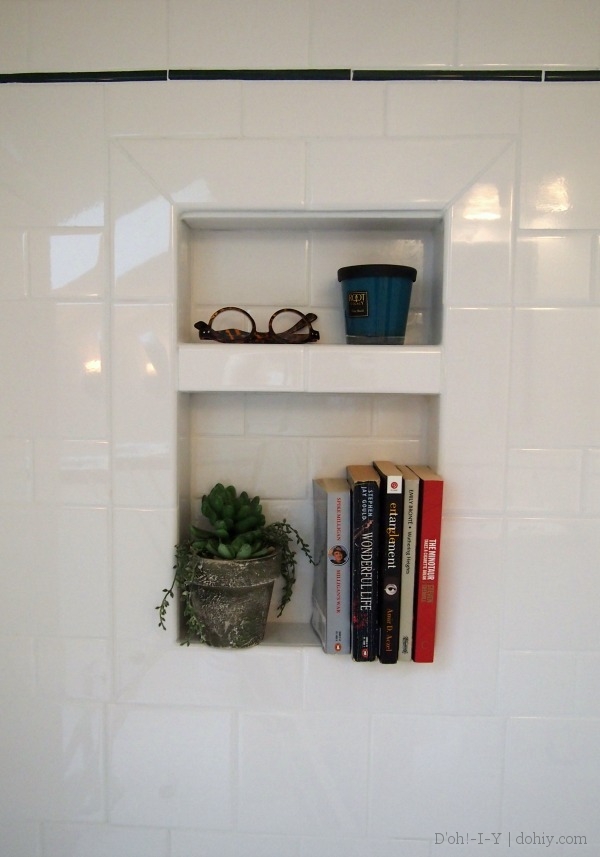
Seriously, it’s a shower niche. Styling = shampoo and razors. But I might just stare at it being done for a few days first.

5 Responses to Nice Shower Niche, Part 2