Just do it do it do it NOW!
– Mr. Burns
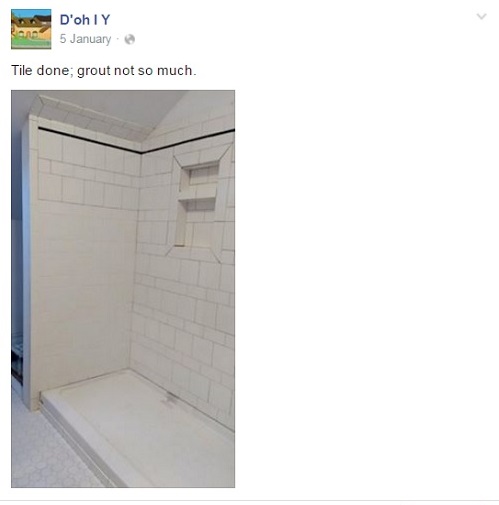
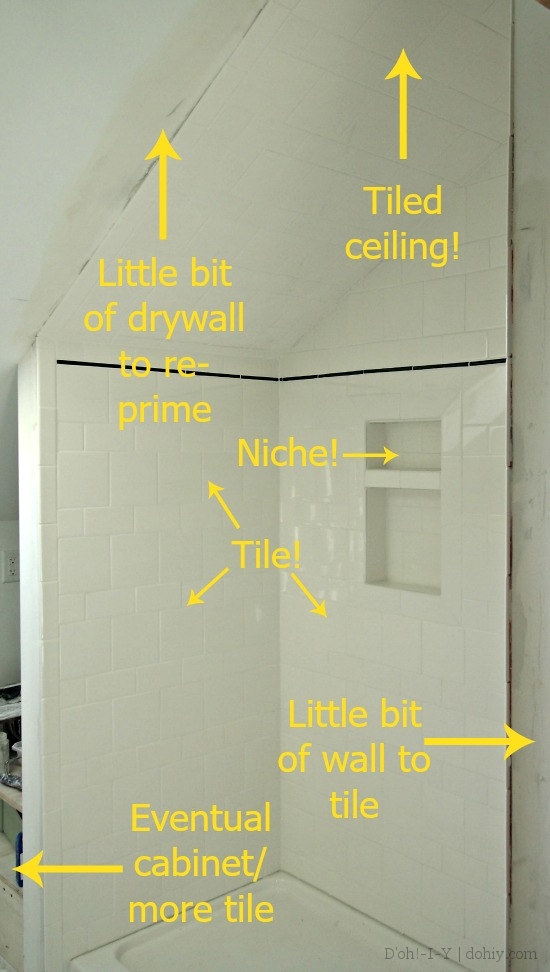
On the FIFTH of JANUARY, I posted this photo on our Facebook page:
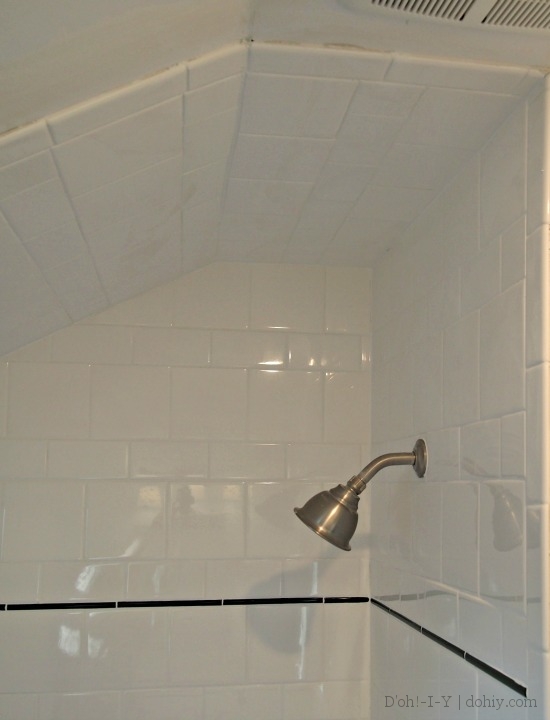
I then learned that the shower door was taller than the top row of tile, so I took a mental health break from tiling. Upon return, I ripped off the existing bullnose, then vacillated between just going up a couple more rows or TILING EVERYTHING. I figured in for a penny, in for a pound, so everything it was.
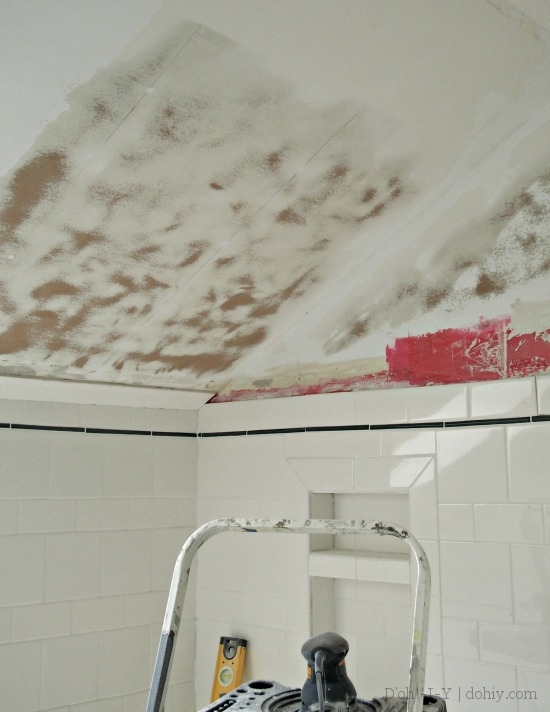
The drywall above the cement board had been primed by my gallant father. When I pried away the bullnose, I noticed that some of the primer came with it. I was concerned about the ceiling tiles adhering firmly to the drywall, so in an overkill move, I sanded the primer off the shower ceiling, then coated the surface with Peel Stop I had on hand.
Next thing was to get to the ceiling by tiling up the remaining vertical walls. Only one of the walls was perpendicular to the roofline. Knowing from sad experience that I cannot estimate, trace, or even measure an angle with any accuracy, I asked the Kev to cut a jig that would account for the roofline. Which he did.
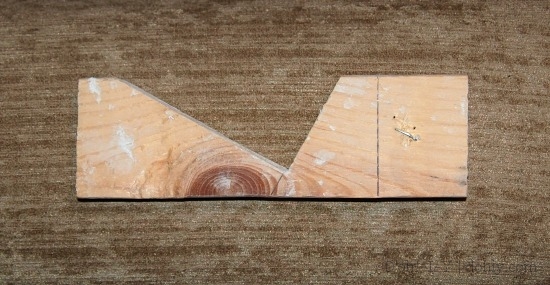
Measure the desired angle, then cut that same angle into the wood, then finish the notch by cutting at a right angle to hold the tile. Says Kevin.
This allowed me to cut tiles by running the jig along the fence with a tile cozied up in it so the tile was cut at the correct angle. It worked so well, it was a shame that the ceiling tiles later butted up against the cuts.
Anyhoo, other than the jig, wall tiling was…wall tiling. I just continued the pattern on up. What I was concerned about was tiling the ceiling, because a tile to the head is no fun. I read up on it, and the recurring advice was to prevent air getting between the tile and the ceiling. This struck me as a bit like saying the way to fly is to miss the floor.
The Floor Elf and others recommend this technique for ceiling tiles.
- Put mortar on the ceiling and comb it.
- Put mortar on the tile and comb it, then trace a spiral or bullseye pattern in the tile mortar from the middle out.
- Stick the tile on the ceiling mortar and press until all the air hisses out from behind the tile, basically suctioning the tile onto the ceiling.
- Adjust as needed.
So that’s what I did. But I could not get the air to hiss out. Maybe I’m losing my hearing. But I did find that these not-very-big and not-very-heavy ceramic tiles seemed to be pretty well suctioned without hissing when the mortar had maximum contact with the ceiling. After the first couple of rows, I started just slathering the backs of the tiles with mortar and applying them directly to the drywall.

Like this, only mortar (via)
I stuck the tiles about a half-inch away from where they were going and pressed out the excess mortar (which went back in the bucket). Then the tile could be floated into place. If a tile was wrong somehow, I could slide a putty knife behind it and twist to break the suction (but it wasn’t easy!). The whole thing dried up very solidly — they seem to be there to stay.
I wouldn’t recommend this technique for bigger or heavier tiles, but for ceramic tiles sized 6×6 or less, it worked well (although it was messy).
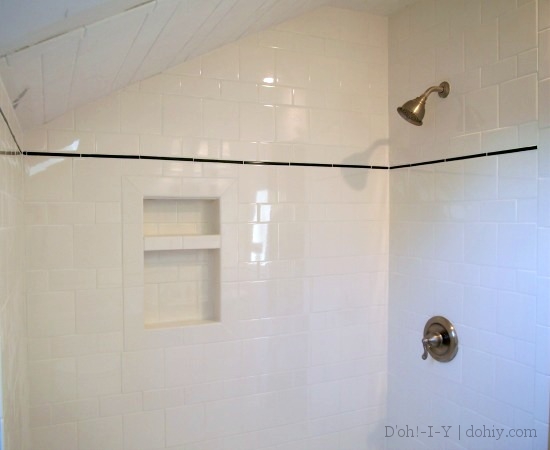
Then grout, then:
So is the tile all done? NO. We will be putting cabinet doors and shelves into the corner behind the shower, so there will be some tiling around that, and on a little sliver of wall at the other end.
But this is done enough (once the grout is sealed) to put in the shower door and actually use the room for its intended purpose.





4 Responses to Hey, Look! Tile