Marge: Who’s “Disco Stu”?
Homer: Oh, er, I wanted to write “Disco Stud” but I ran out of space.
– The Simpsons
At about 10 p.m. last night, I finally purchased a stud finder. Because it’s Friday night, and the feeling’s right! Plus, the pitying look from the nineteen-year-old cashier is worth the price of admission.
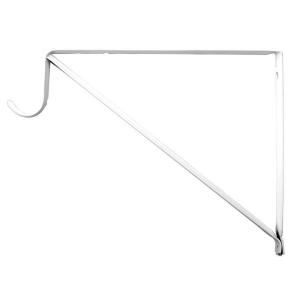
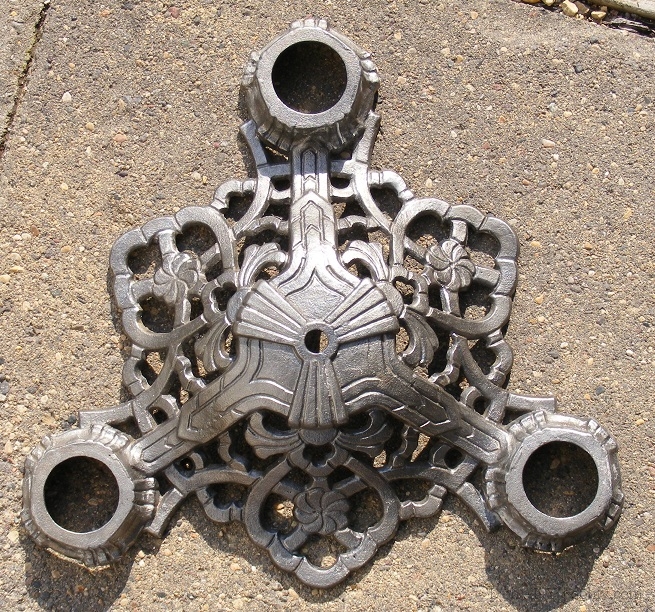
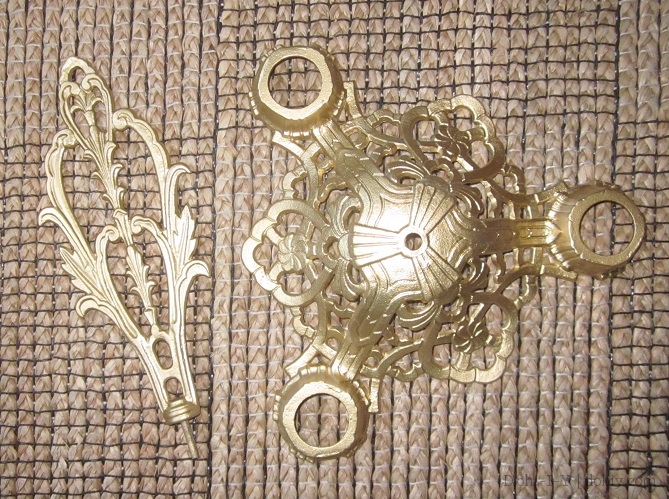
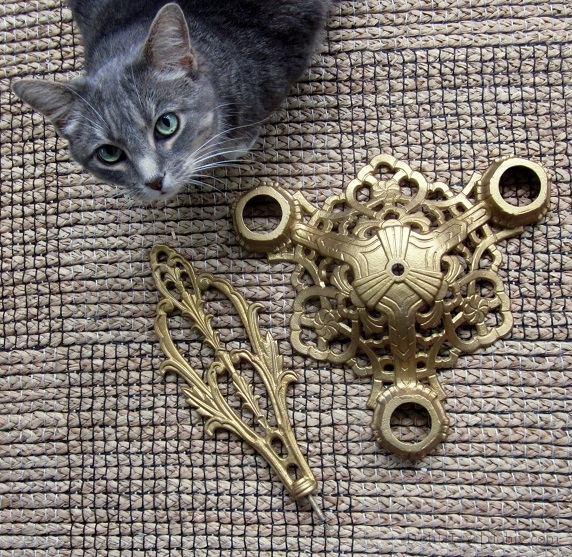
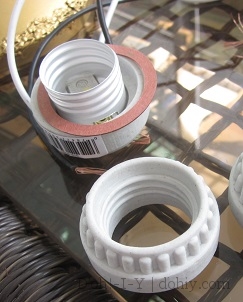
Closet Pro bracket to be returned; we need the wall-to-bracket dimension to be under 10 inches; this one goes to 11.
Why Friday night? Well, I dreamed a dream where the closet was finished. I had to work late on Friday, but I wanted it done and thought I’d be able to install the rods in no time. We’d already had one set-back this week: standard closet racks were too deep for the space. My new plan was to use shelf brackets, electrical conduit and conduit hangers to hang the rods where we needed them. (I could not find “short” ready-made closet brackets.)
We had the pieces, so all that needed to happen was to affix them to the wall. There’s a plumbing hatch, so I groped around and located one stud, and the first bracket went in fine. From there, I measured over 32 inches (the standard stud spacing is 16 inches) and I speculatively drilled into the wall.
Dead air. I re-measured and drilled an inch over. Plaster … lathe … AIR. Re-measured and did it again. SAME THING. The keening noise I made after the fourth hole brought Kev to the room.

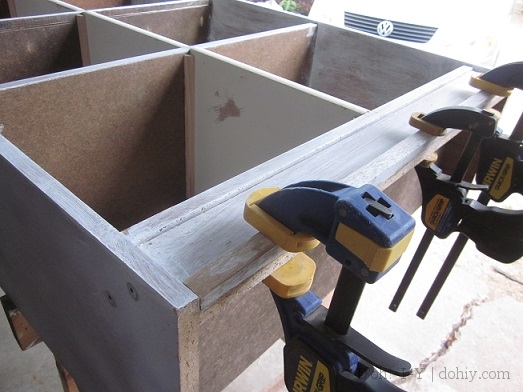
A series of pointless holes, spackled and awaiting sanding and paint.
“Isn’t that right behind the medicine cabinet?” he queried. The bathroom medicine cabinet is set into the wall between studs, so it’s framed out separately, and directly on the other side of the wall from where I was drilling. It disrupts the stud spacing.
“Well, yes, it’s obvious NOW, Mr. I-Understand-Spatial-Relations!” I harumphed. Good grief am I lucky he’s around! I would have kept drilling until I came through the back of the medicine cabinet and into the bathroom. I’m surprised he doesn’t hide the drill.
 I flounced off to Menards for a stud finder. I picked up a well-reviewed Zircon Studsensor i60 OneStep (if that’s not a brand name for the ages, I don’t know what is). The “one step” part is that it has an integrated pencil, so when the thing beeps and violently flashes to indicate that you are ON A STUD ALREADY, you push a button and the pencil springs out to mark it. It’s a little low-tech to be billed as a consolidated step, but the gadget itself is impressively flashy and beepy. And more importantly, it did actually find a stud so I could stop Swiss-cheesing the wall. So well done, Zircon Studsensor! You may join the arsenal.
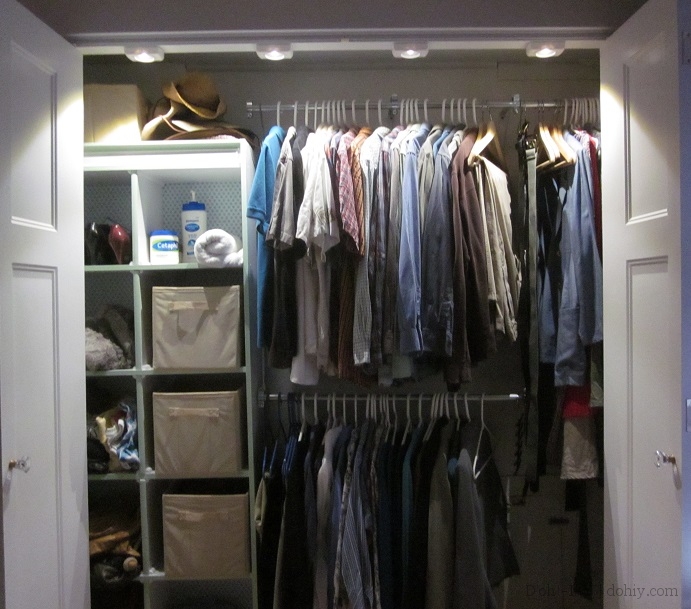
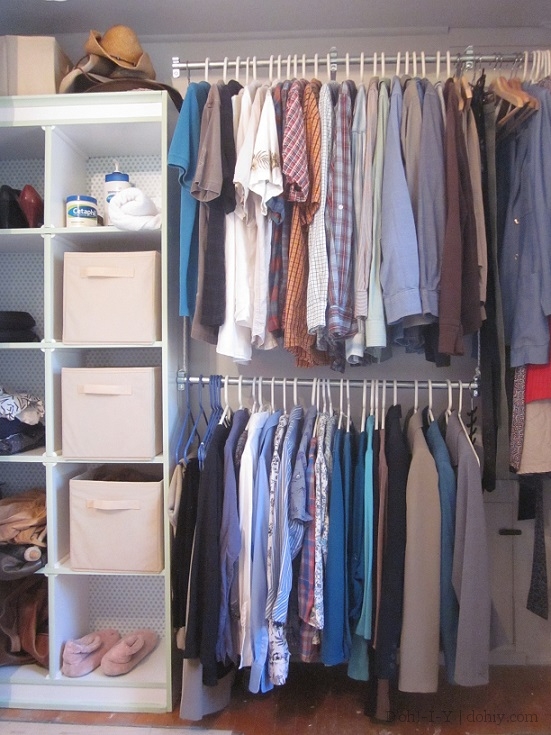
With brackets in place, I added the conduit hangers, and hung the upper rod. We are trying out the new shelving all the way to one side and the rods to the other, but we placed the brackets so that we could move the shelf if we later wanted to. Mainly, though, we put the brackets where we could find studs.
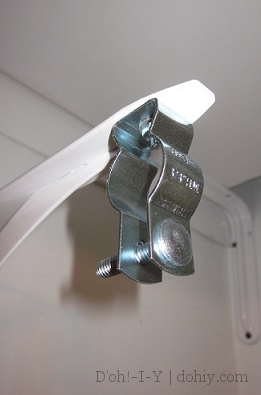
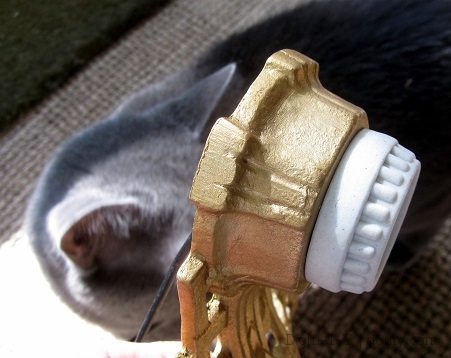
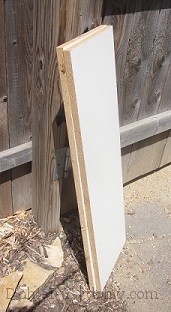
Conduit hanger bolted to a shelf bracket — shallower alternative to standard closet brackets.
Instead of putting in more brackets, I hung a lower rod from the upper. You can buy such a rod, but it’s basically a three-foot rod with cords attached to hooks. I’d bought a ten-foot length of 3/4-inch electrical conduit for the closet rods (under $3!), so I cut a three-foot length and attached it to a couple of hanger hooks with some cord. The ready-made product is only $10-$20 or so, but mine was almost free. Until we decide if this configuration is permanent or not, it’s easy to move around the lower rod.
At this point, I became very excited and ran around the house retrieving our clothing from hither and yon. I’d bought a huge stack of matching hangers — chunky plastic ones because they best fit the limited depth of the closet — and I had a remarkably good time hanging up our clothes.

My discoveries:
- That man of mine, he loves him some plaid.
- I can stop buying blue tops now, because I have them all.
- I think the Kev might have more clothes than I do!
I am tickled that I could fit so much stuff in this space without crowding anything. All our off-season and not-fitting-right-now clothing is in the upper cabinet section, and all of our folded stuff is in the bed drawers. The last time I had all my clothes in one room was 1988!
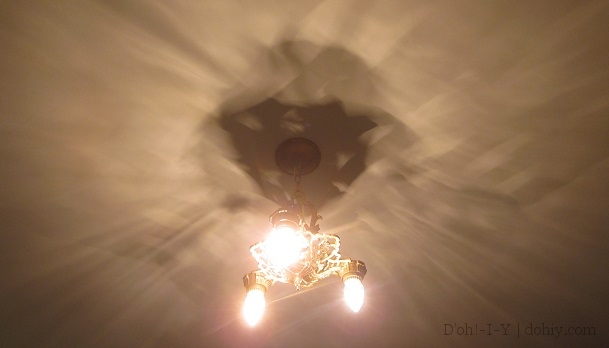
But the icing on the cake is the battery-powered, motion-detecting LED lights I installed behind the folding doors. I was of two minds about whether to order these, but once I installed them and turned out all the lights, I was a convert.
HOW COOL IS THAT?! Ok, yes, I’m aware it’s not very cool at all in an absolute sense, but it floats my personal boat.
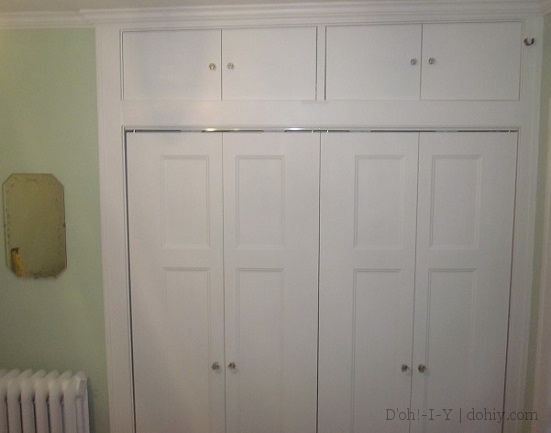
Closet. Is. DONE. Un-be-freaking-lievable. Here’s the before:

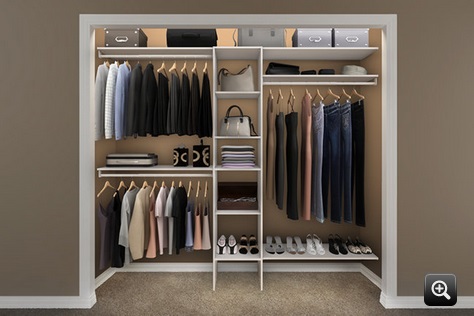
Guess I don’t have a picture of the inside, so here’s the outside. Imagine opening the door and seeing a lot of clothes on hooks about 18 inches in front of you and darkness on either side.
And the after:
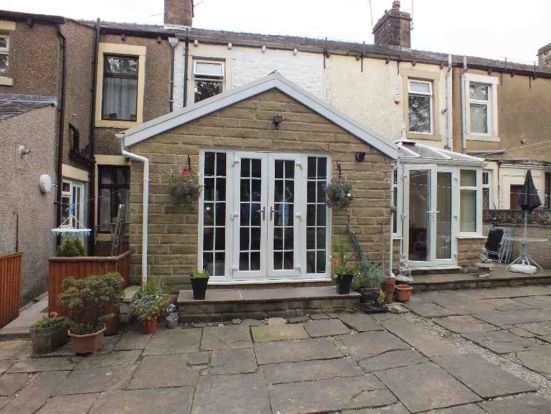
And the outside:
I’ll get a better picture of this when there’s more light!
If I could just finish start the bedroom shades and curtains, we’d be on the road to the next project!