
Mmmm…chips…
– Homer Simpson
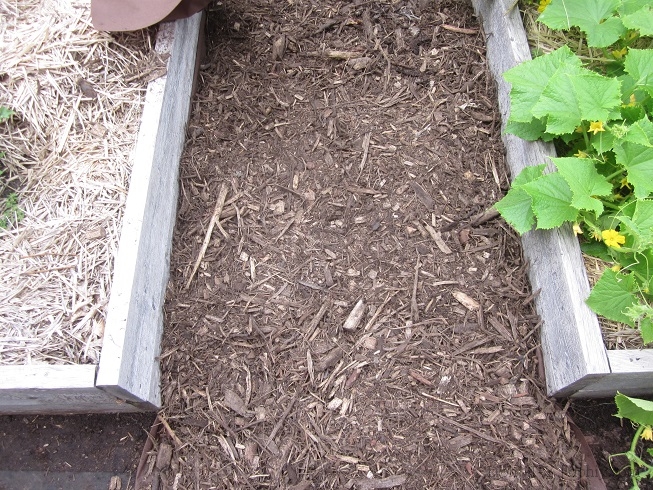
Our raised vegetable beds are surrounded by wood chip paths. When we originally put in the beds, we leveled and cleared the whole area and swaddled it lovingly in landscape fabric (a/k/a weed barrier) before adding three inches of mulch. It’s performed admirably, even though I used the cheap fabric. But several years later, the weeds are regaining ground.
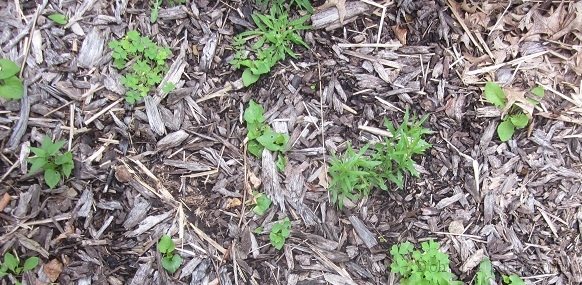
Weeds can break through the fabric if determined enough, or take advantage of tears and holes, but the bigger issue is that the mulch on top of the fabric is always decomposing (aren’t we all?). Wood chips take quite a while to rot, but they will do it. The top of the wood mulch still looked fine, but the moist layer closest to the ground had broken down .

Once was wood.
That’s all natural and good, but it does give weeds a foothold. It’s fixable! You just need:
- Fresh weed fabric and new landscape staples
- A rake, hoe and shovel (and wheelbarrow or bucket, if available)
- A current tetanus inoculation
Rake out the existing mulch (and any weeds with it). You might prefer to weed first to separate it from the mulch. Either way. If the mulch is up against raised bed walls or similar, a hoe can help you clean mulch out of the edges. If you want to reuse any of the mulch (anything still in wood chip form can go again), move the good stuff into one pile and add the new humus to your compost pile. (This is where buckets and wheelbarrows come in handy.) Or just throw it straight into a planting bed.
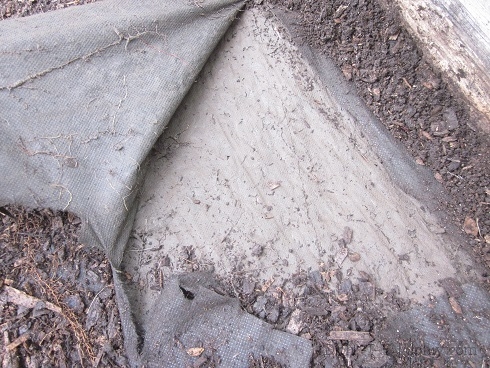
What lies beneath.
If you are getting a lot of weeds, it’s generally time to replace the fabric. If the fabric looks good still covers everything, you could just keep it. But in that case, it will be pretty full of decomposition bacteria, so you will want to brush it down and let it get good and dry before mulching.
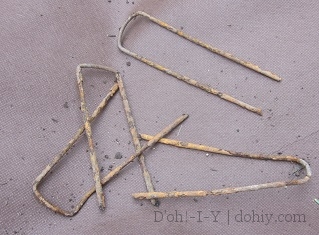
I WILL CUT YOU!
If you are replacing the fabric, pull up the old stuff. If there are any weeds or surface root systems in the soil underneath, pick those out. You want a clean slate. If you used landscape staples originally, pull those out as well. Put your tetanus booster to good use – those puppies will be mega-rusty! I pull them out where I find them, and if they are still staple-shaped, I reuse them. Be careful, though – the metal may be nearly rusted through, and you don’t want to have one break and jab you.
Put down your new fabric. I used two layers and augmented the old staples with some new ones. Get it as smooth as possible (folds tend to poke up through mulch over time and can trip people). If you have joints, overlap the pieces at least six inches, and use staples through both pieces.
At raised beds or walls, run the fabric up the side a couple or three inches rather than cut it as you would a fitted carpet. Those edges are prime weed territory, and ending the landscape barrier at the edge means there’s necessarily a tiny gap where seeds can find a toehold. Don’t worry – you will cover up this extra weed barrier with mulch. Think of the ground surface and bed edges as a pie tin and the mulch as the yummy filling. The barrier fabric is your nice, thick, chewy crust. (This pie analogy is making me hungry.) Just as you would press pie crust into the corners of the pan, pin the fabric as close to the bed/wall as possible at regular intervals.
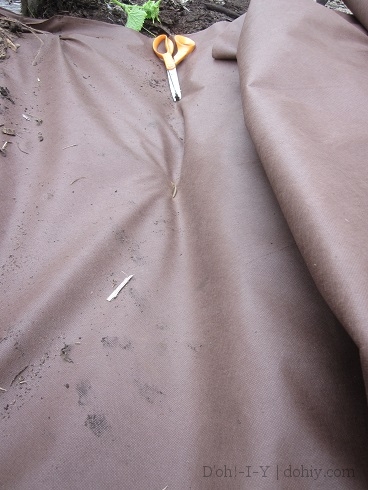
Laying the new fabric.
At this point, take a pie break you will probably be sweaty and dirty. But good news – this is the last step! Put down a hearty layer of fresh mulch and spread it evenly – you want three inches or more. I know it seems like a lot, but it will settle over the first week. At beds/walls, make sure the mulch stays on the sunny side of the fabric, pressing it up against the surface. You don’t want to have a wood chip make a gap where weeds can happen.
Wondering where to get mulch? Check locally for free options – we pick up free wood mulch from the county, which grinds up wood waste at sites around town. Also check tree services and Craigslist. If you need to buy mulch, garden centers may give you a better deal in bulk than buying individual bags. And don’t forget to reuse anything that’s still good.
Done! You’ll lose any vestige of personal cleanliness, but the garden will look super-tidy. I’m renaming this place Dorian Gray Gardens.
