I don’t want any part of this project. It’s unconscionably fiendish.
– Waylon Smithers
When we bought the house, it had a wholly inappropriate mid-century front door.
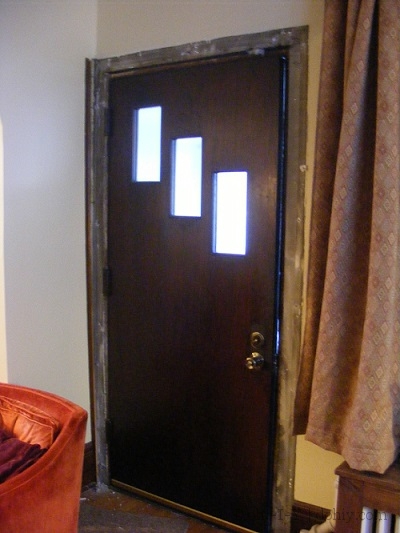
Didn’t think to take a picture of it until we took the trim down.
That’s a cool MCM door, no? Yes! But perhaps not so much on a 1920s bungalow. To be fair, I saw a three-lite door like this in a 1920s kit home catalog, which slightly blew my mind — it looks so mid-century to me! And it’s certainly associated with that later era, but it’s cool that the design was already out there.
This particular example is not the original door, however, and we wanted something closer to what the original would have been. My quandary is not unique — Apartment Therapy featured a beautiful 1926 Tulsa home with a similar door mismatch earlier this year.
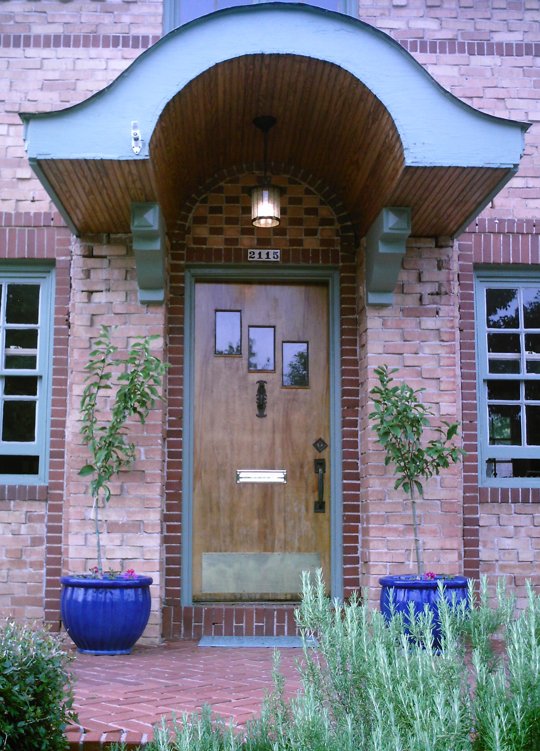
I like that door, but not on this house (from the aforementioned AT article).
After de-prioritizing this little item for years, we finally picked and ordered a woodgrain-embossed fiberglass door (from Feather River via El Depot). Purists may howl, but the design is more era-friendly, and is similar to the original doors seen on this house’s siblings ’round the neighborhood. And fiberglass is a good insulator against the mighty Minnesota winter.
Because I am Miss Fussy MacFussypants about matching stain colors, it was my fabulous idea to order the door unfinished and then finish it to match existing trim. MY IDEA!

An unstained fiberglass door is a big slab of pastiness (via).
I almost repented many times during the process, but ultimately, it was worth it. Or at least I choose to believe that. If you also just cannot reconcile yourself to any of the perfectly lovely pre-finished colors available for your special-order fiberglass door…try again to reconcile yourself.
Still want to stain your own door? Okeydoke, I’ll start here with the prep work and basics, and then follow up next time with the actual staining technique. For both editions, note that this is a process for staining a wood-grained fiberglass door, and not for faux-finishing a flat door.
Before You Start:
- Thing One: Don’t compromise. Buy the door you really want. You’re going to be spending a lot of time together.
- Thing Two: Patience, grasshopper!
Supplies:
- Gel stain in your chosen color or colors (I used Old Masters, which is the most uniformly recommended brand for this type of work; it worked well for me.)
- High quality spar urethane
- Lintless cloths
- Painting pads
- Disposable nitrile (blue) gloves
- Mineral spirits
- Eraser sponge
- Other standard stuff – masking tape, drop cloths, sawhorses, podcasts, etc.
Pre-Stain Work:
1. Disassembly
Assuming that you bought your door prehung, yank that puppy out of the prehung frame – CAREFULLY – by taking the hinges off the door itself. Take off all the knob/lock hardware if it came with any and keep all the hardware and fasteners together in a box or bag for later.
Set the door up for working. I started this project with the door laid down on (padded) sawhorses, but when the weather turned cold (and we needed the garage stall back), we moved it into the house and I worked on it upright. As with many activities, horizontal is easier! If you must work on the door upright, mask off the floor so you don’t cramp your style when finishing near the bottom.
Note that some folks recommend installing the door and staining it in place. That might work for you if (a) you are doing a light stain that will only need a couple of stain coats, (b) if you have a quick-dry spar urethane, and (c) you can have the door open in place for adequate dry time. For a deep finish, the drying time will be lengthy, and you don’t want uncured stain and weatherstripping to adhere to one another.
2. Masking
Mask off any windows or inlay features of whatever type. Remove or mask weatherstripping. If you remove it, make sure you know how to put it back on. I masked mine because it was only on the bottom (most of the weatherstripping was on the frame). Mask precisely so that the tape doesn’t cover anything you want to stain — the raw fiberglass really stands out if you miss a spot, and it’s hard to blend (this is also a reason to remove hardware completely).
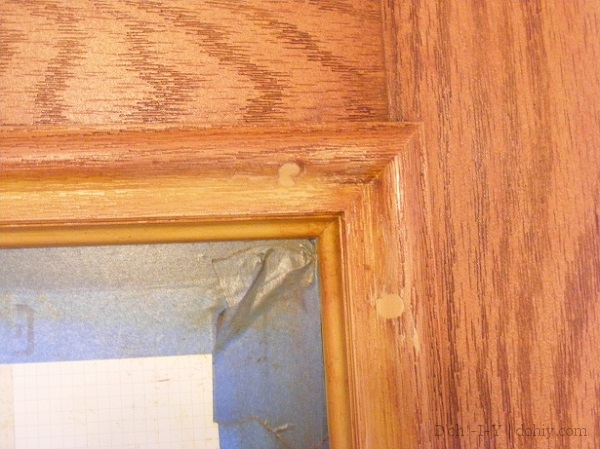
Take your time with the masking tape.
3. Cleaning
Take a lintless cloth (NOT a tack cloth, which can leave a residue) and wipe down the door with mineral spirits (UK: white spirit) to get any dirt or grime off the surface. Oh, by the way, this is a smelly job, so ventilate…but don’t ventilate so much that dust settles on your door.
Speaking of dust and the things that cause it: you cannot sand a fiberglass door. A sanded fiberglass door is a ruined door — the embossed woodgrain doesn’t carry through the material, and there’s no getting it smooth once you start to sand. It will just be all fiber-y (it’s right there in the name!). If there’s a problem with the door that makes you want to sand, then that’s a warranty issue.

THERE IS NO SANDING IN FIBERGLASS!
Once you’ve done all that you are ready to STAIN THAT THING!
Oh, if only it were that easy. But the hard work is rewarding! See you next time with the nitty-gritty on staining.