
Look! Achy Breaky Stacy for a dollar ninety-nine!
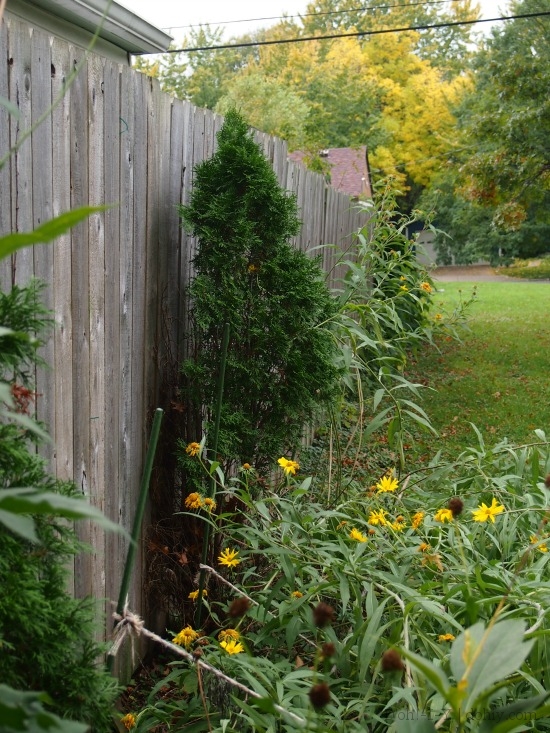
One of our New Year’s priorities for 2014(!!!) was repairing our leaning privacy fence.
We didn’t get it done.
This spring, I was concerned (and embarrassed) enough about the angle that I wanted to either fix it (imagine!), or at least prop it up until we got to it. Because we were going out of town, Kevin figured out a temporary fix.
Not too shabby, huh? Do you wanna see how he did it?
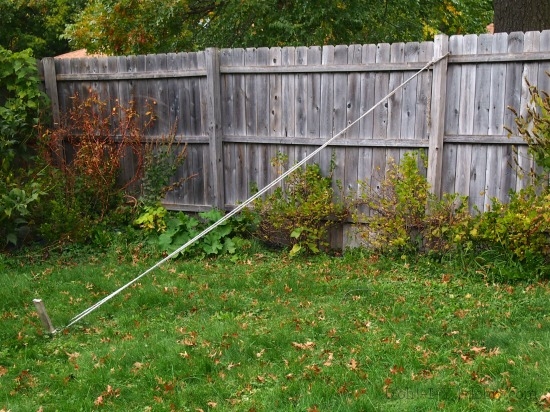
Kev done fixed it.
Staking the fence worked well as an interim fix. And we only got tangled up in that there rope two or three times!
Anticipating summer 2017…
We finally got around to a semi-permanent repair this month. First job was to remove the fence panels and dig out the bad posts. Because we have a panel fence instead of a picket fence, the new posts go in the same spots, and we couldn’t dig out wide craters. To support the posts and make the most of the concrete, you want a hole no bigger around than a nephew.
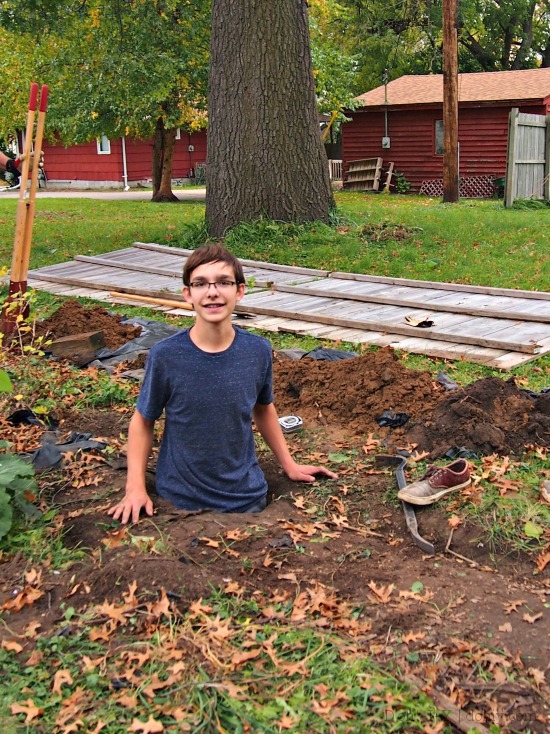
He was absolutely indispensable to the project, and not just because he made a good measuring device.
We took out three bad posts, and found out that frost heave was not our problem.
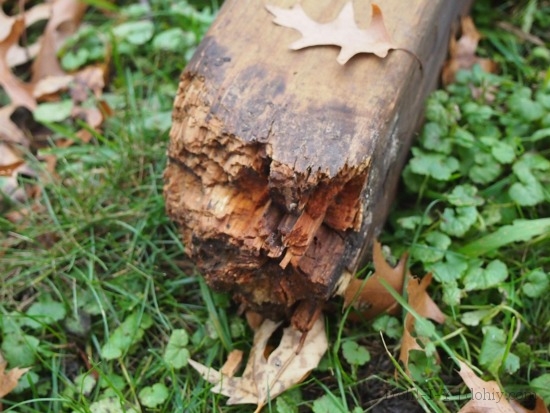
Creeping Charlie is our problem.
The leaningnest post was rotted almost completely through, and this top-heavy chunk of wood was pulling the posts on either side via the panels. Frost heave is real, but that’s not what happened here.
To avoid frost heave and rot with the replacement posts, we dug down below the frost line (3’6″ in this part of the world) and flared out the sides of the hole near the bottom (see detailed how-to here). Pour a little pea gravel in the bottom to help drainage. Then stick in the post (we used 10-foot treated posts, trimmed a little to match the height of the pre-existing ones). Then, Kevin ran a line across the back of the posts from the last one on each side that was actually straight so we could line them up.
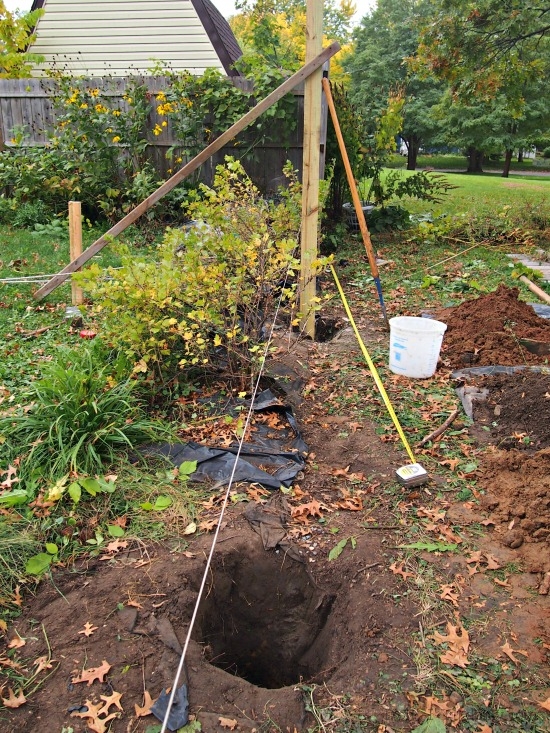
Near hole to be widened a little toward the left.
We used Quikrete fast-setting concrete for posts. First, we’d square up the posts in all directions, then dump the dry mix into the hole (wear a mask). Recheck the level, then add water–no need to stir! It’s a gallon of water for every 50 lbs. (one bag) of mix, so that’s what we did…and then we had to bail out the first hole. Turns out, if you have St Paul clay at the bottom of your hole, it won’t drain well and you need less water. We used three bags per hole, give or take.
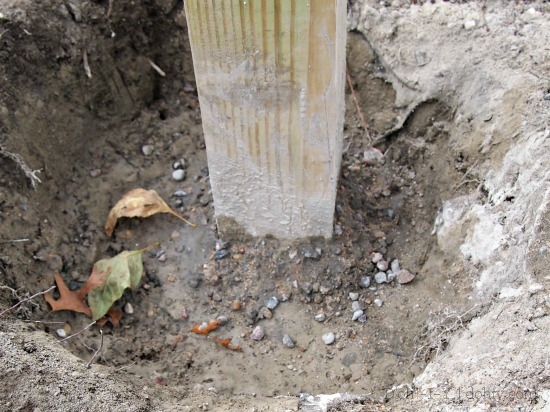
Slope concrete against the post so that water runs away from it. Fill the last 5-6″ of the hole with soil.
This stuff sets up really fast, so we got the posts rechecked and then nailed temporary buttresses to them while they dried. We probably didn’t need this propping step given how fast the set is, but we were going in for the night and didn’t know who might want to swing on them in our absence.
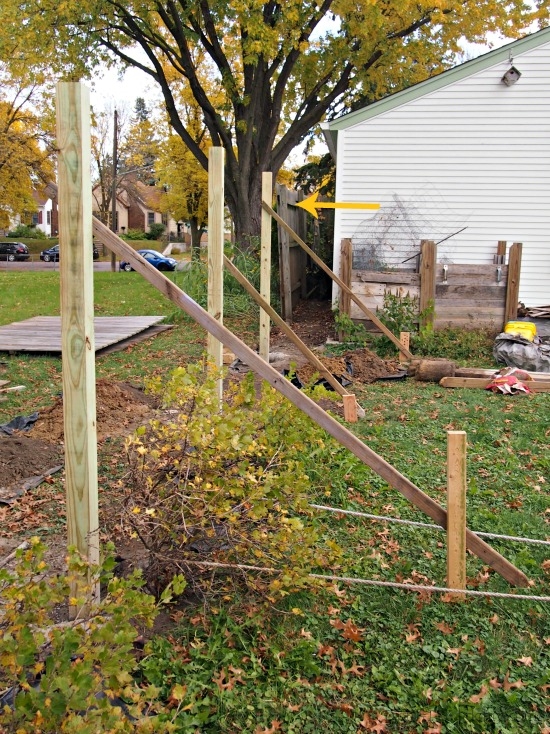
Arrow shows an out-of-line post.
The next day, we woke in pain. Digging and hauling concrete and moving 10-foot posts is tiring! Even the nephew felt it a little. But the second day was easier. We only had two posts that had been pulled out of true. For the less bad one, we (Kevin) drove a heavy metal stake alongside and screwed the post to it with stainless screws. For the one shown in the image above, we dug down and around the existing concrete pour, then pushed the post back up straight. While I leaned against it, Kevin braced the post in the right place. Then we dumped concrete and water into the widened hole and up and around the post above the existing concrete. I wouldn’t recommend this technique for a post that was really leaning, but with the support of the new posts, this stiffened the fence up more than enough (especially since there’s no gate on this side causing additional movement).
Then we took some aspirin and sat the heck down for a while before nailing the panels back up.
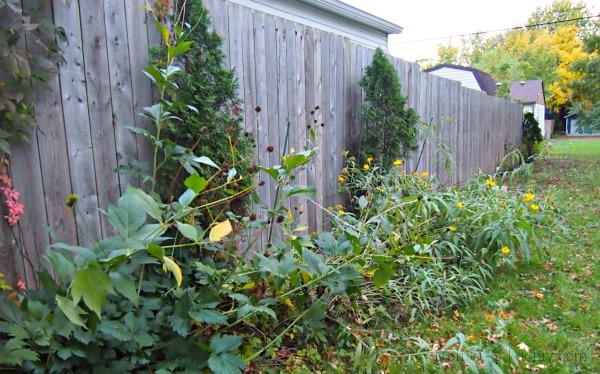
After. Unrelated: how do you keep Maximillian sunflowers from flopping?
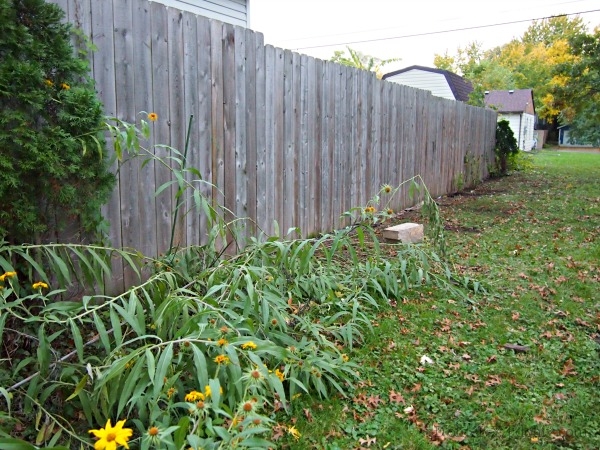
Straighter fence, floppy sunflowers, transplanted stuff, and two large blocks of limestone that we should have moved back inside the fence before closing it up.
So that’s one New Year’s resolution from 2014 finished!

4 Responses to Good Fences Make Sore People