Previously on D’oh, we decided to build cabinetry and a fireplace in our sitting room. I talked about choosing the fire and surround in Part II. With an electric firebox picked out, we turned our attention to building the cabinetry.
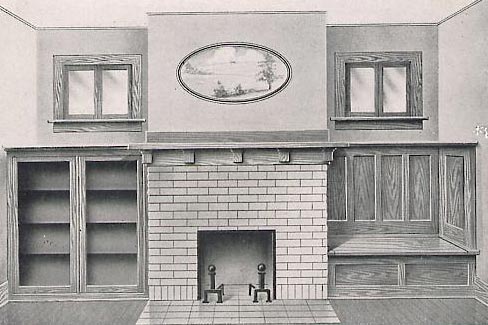
At the beginning of this process, we looked at hundreds of pictures of arts & crafts cabinetry and mantels. The image below combined all of our “wants” in one place: arched fireplace, mantel at same height as cabinets and sharing a top, glass cabinet doors–check, check, and check.
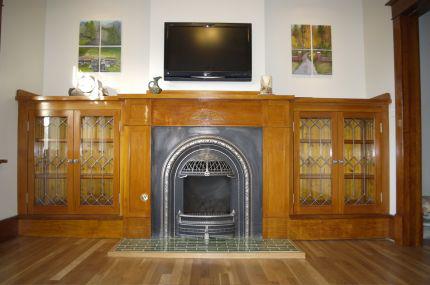
From Fine Woodworking
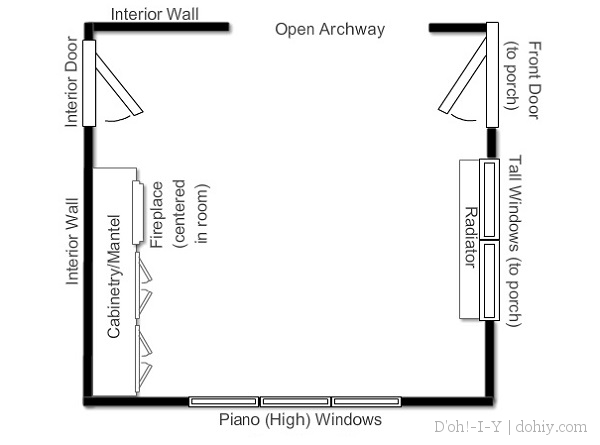
In our room, however, the wall where the built-in and fireplace were going to reside had a door at one end, so the symmetrical version wouldn’t work–the fireplace would be way too off to one side. Fortunately, symmetry wasn’t non-negotiable in houses of the era.
The important thing was to have the fireplace centered on the wall, regardless of what happened with cabinetry. We hatched a plan for a one-sided built-in unit with a central hearth.
Our idea was to find an old cabinet that we could incorporate as the cabinetry part of the project, rather than making the whole thing from scratch. So, we began looking for a suitable cabinet–specifically, a dislocated built-in buffet with dimensions that would fit the cabinet side of the plan. We searched Craigslist and beyond, but no luck.
Then, one day when Stacey was in the basement, she realized that the perfect cabinet was sitting right there under our noses the whole time. It was a cabinet that we had taken out of the kitchen ten years earlier.
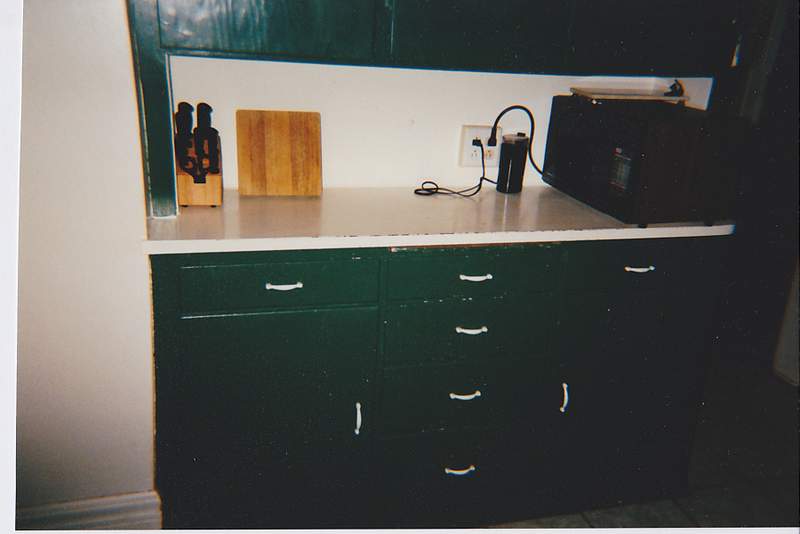
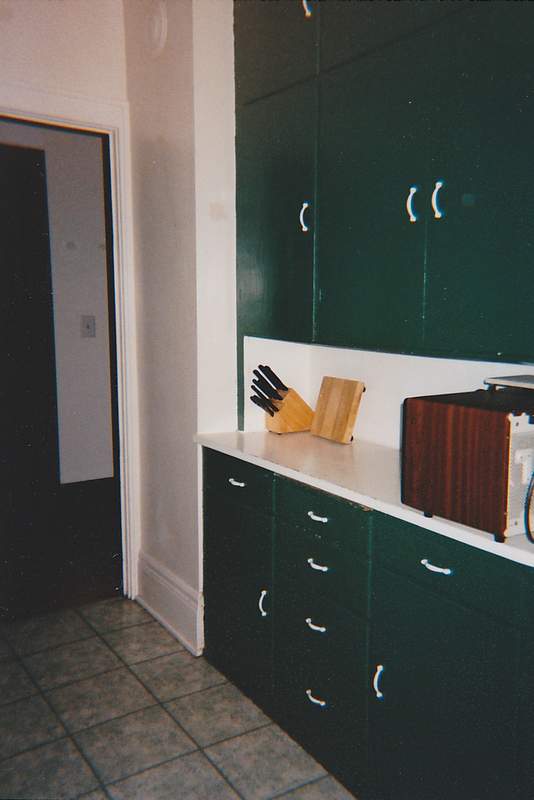
When we moved into this house, it had shallow, built-in cabinetry on one side. Probably at some point, this kitchen would have been a housewife’s dream, but it didn’t meet expectations for the new millennium. So, we gutted it and remodeled (and are now doing a bit more).
During work on the kitchen, we set up a temporary kitchen in the basement using the bottom unit. Ten years later, the base was still down there, being used for storage. The top part is currently providing storage space in the garage until we someday find another place for it.
What Stacey realized is that the paint and partial-overlay doors were concealing the original cabinets from 1922, complete with dovetailed drawers under the awful, cheap fronts that had been nailed on sometime around 1950.
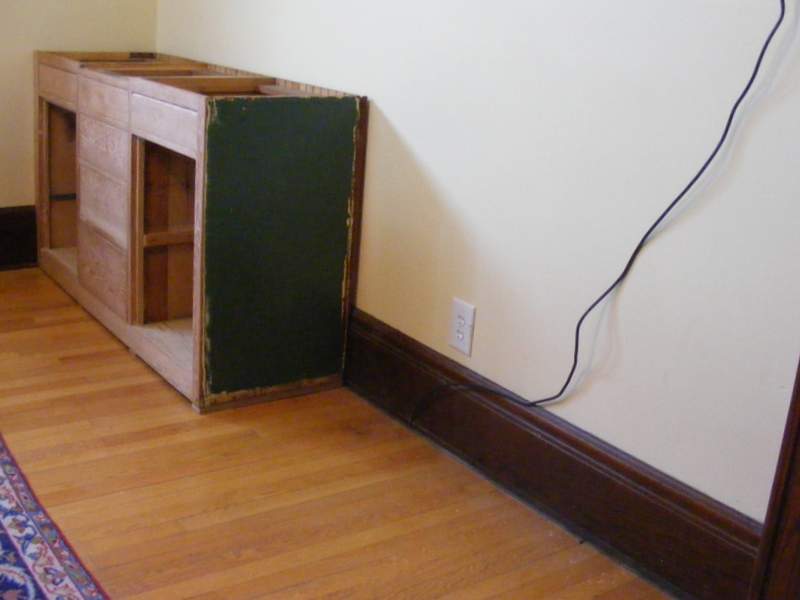
The cabinet was in pretty good shape, considering I hadn’t exactly been gentle with it when taking it out of the kitchen. Other than nail holes, the only real damage was at the bottom front left corner where the wood had split. The only other structural issue was a cut-out on the front near the top, which had housed a chopping board.
The faux drawer fronts were stuck to the drawers with about a million nails each, but they still weren’t too difficult to remove. The original drawer fronts, like the rest of the cabinet, were Douglas Fir, which has an attractive wood grain. Because of this, we decided to make the entire built-in from Douglas Fir. This decision was to make things quite (possibly too) interesting later on in the project
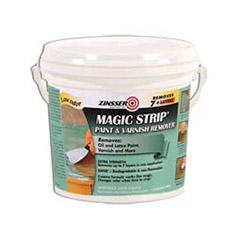
Of course, there was some work to be done on the cabinet, not least of which was stripping the paint. I found that the most effective paint stripper for this cabinet was Zinsser Magic Strip Citrus-Action.
I applied it according to instructions, and found that it worked as advertised. Essentially, apply a generous layer, leave it overnight to do its magic, and then scrape it off.
It took several applications to take off the many layers of paint that had been applied over the years. Under a couple of layers of green was white, and then a neon yellow. The paint easily peeled off, but the grain was very dimensional, which meant it stuck in the grooves. After removing as much as possible with a scraper, I turned to the palm sander to finish the job.
Now, the cabinet was ready to return to the ground floor and begin its new life in the sitting room. In the next part of this series, I’ll talk about making the framework for the built-in.
Update! Links to the other posts in this series:
1: Genesis–how we decided to add a fireplace with cabinetry
2: Light My Fire–how we selected a fake fireplace
4: The Building Part–how we built the structure
5: A Firry Tale–how we found and used vintage wood for trim
6: The Tiling–how we picked and installed fireplace and hearth tiles
7: If You Build It–the finishing touches and the final reveal

