In the first part of this series, I talked about how we wanted to build cabinetry and a fireplace in our sitting room. First we considered which type of fire to install. The main options were:
- A real fire or stove,
- A gas fireplace, or
- An electric fire.
We gave a great deal of thought to all of our options–it’s easier than actually doing anything. This is what we came up with:
A Real Fire
I lived with real fires for the first 35 years of my life, and like most people, I prefer the look of a real fire. When we were househunting, a real fireplace or stove was our original ideal, so we considered retrofitting a solid fuel fire.
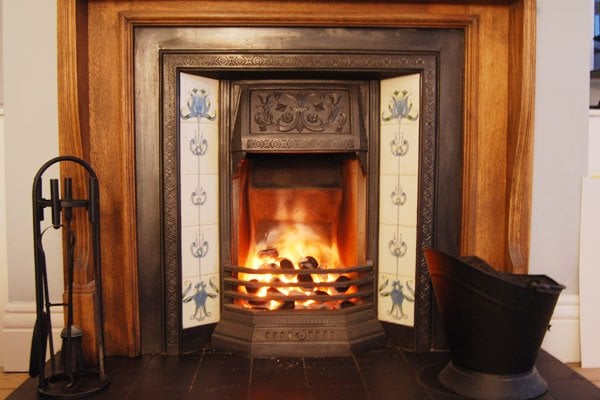
This is one of the real fireplaces they have over at Little House on the Corner.
The existing chimney, which hasn’t been used since we changed the boiler, runs up though a different part of the house than where we wanted to put the fireplace. To put in a real fire, we would have to build a new chimney.
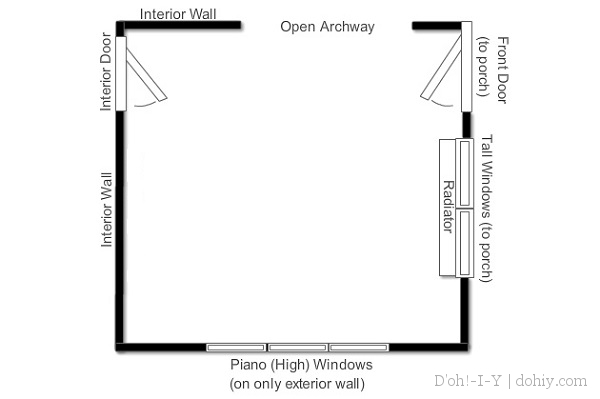
If the fireplace was going on an outside wall, building a chimney might have been feasible. However, between windows and doors, there was only one wall where it could go, which was one of the interior walls.
Since the fireplace would be on an inside wall, the cost of a chimney would have been far more than we wanted to budget for this project. The ROI would have been laughable, not to mention the amount of personal and structural disruption it would have caused. Sadly, we just didn’t want it enough. A real fire was a non-starter.
Gas Fire
If we installed a natural gas fire, we would need a flue to vent hot exhaust gases. Like this:
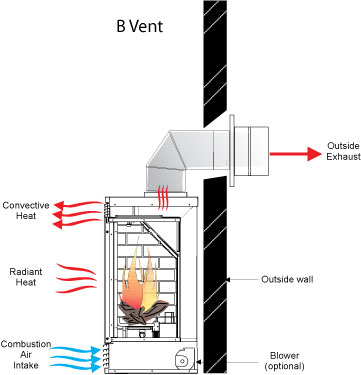
A B vent diagram from Regency Fireplace Products
But we weren’t putting the fire on an exterior wall, and so, we would have to find a way to route the flue to the outside. We looked into it, and it would have been doable, but fairly complicated. We would have to build out an interior wall to accommodate the vent, which was going to eat up space in a not-huge room and cost quite a bit.

Gas fireplace from DJS Online
While a gas fireplace has actual flames coming from gas vents, they are covered by faux logs or coals. The flames are very regular, unlike the flames of a real fire, plus there’s no crackle. It’s still basically a fake fire. If we were going to have a fake fire one way or another, I didn’t think gas was worth the extra money and effort.
Electric Fire
With an electric fire–a faux fire effect and heating unit–there would be none of the flue installation problems of the other two options. But until we began to research electric fires, our impression was that they were utilitarian and unattractive.
This was how we thought of electric fires (via).
It seemed to us that this was going to be an unsatisfactory, but necessary compromise. But as we looked into electric options, we discovered we were wrong, and pleasantly surprised.
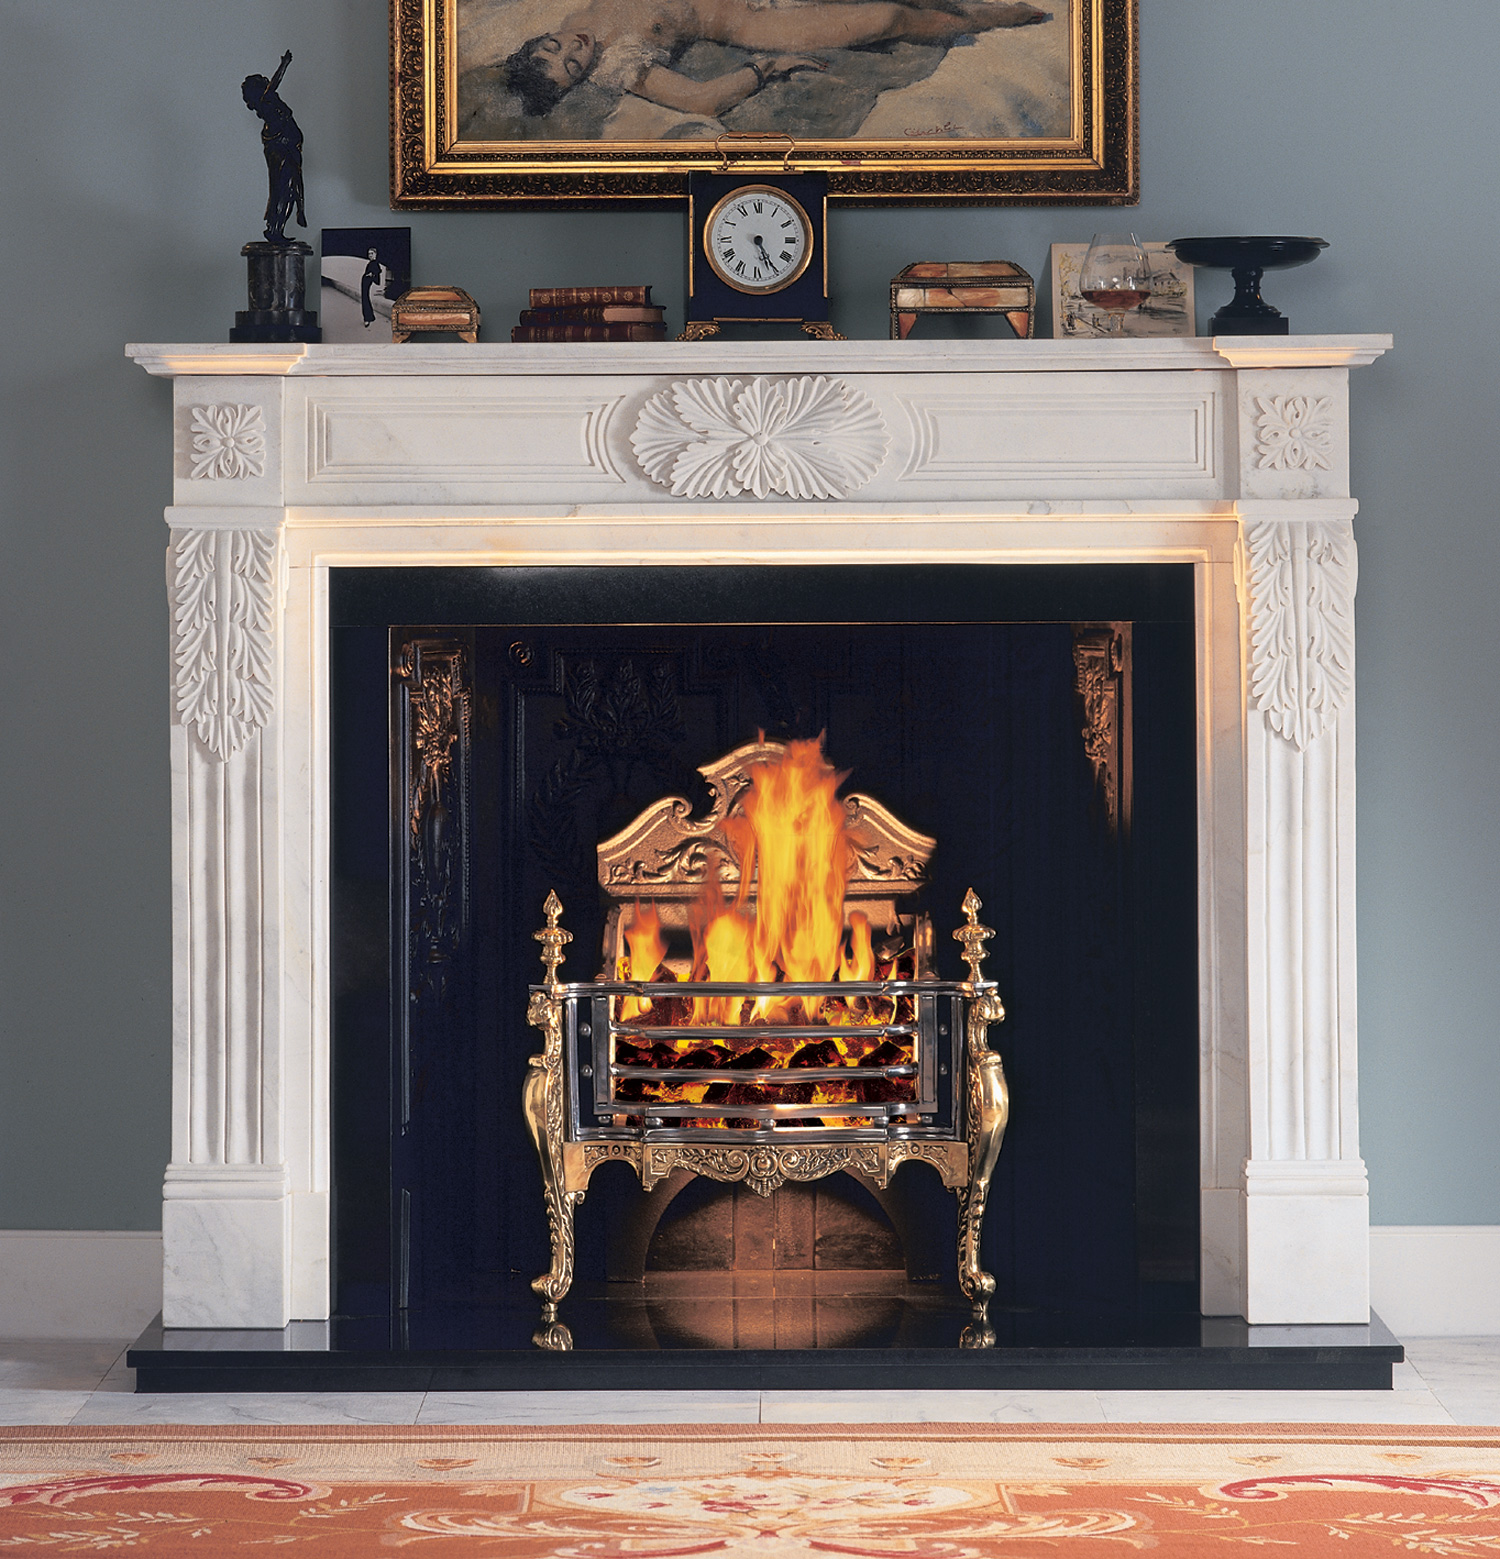
An electric fireplace from A V Designs.
It’s now possible to find electric fires that do quite a good job of impersonating a real fire. In my opinion, some of them even surpass gas fires for flame looks.
So it wasn’t a difficult decision in the end. It was pretty clear that an electric fire, with its ease of installation and realistic effects, was the way to go in our situation. Since we were going to build the mantel, we needed an electric insert (also called an electric firebox) to slide into place. Our focus turned to which kind of electric firebox to go with.
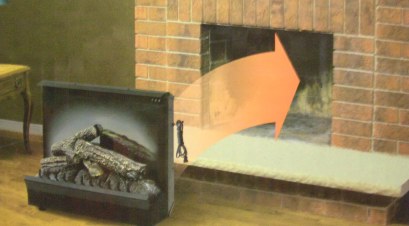
Electric firebox/insert installation could not be easier (via).
We whittled down our preferred options using online research, then we checked out the short-listed inserts in person at the local showrooms. Most electric fires produce their flaming illusions with lights and mirrors. Some fires, notably the awesomely named Opti-Myst by Dimplex, use steam to produce realistic flames and smoke. This one is from GlammFire:
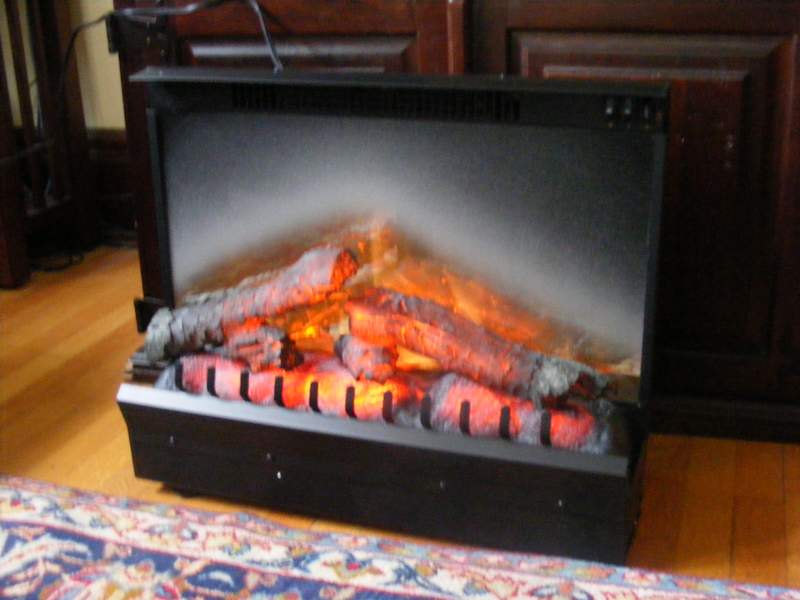
Our first choice may well have been a water vapour effect fire, except it unfortunately was not available in the US at that time (it is now). That helped narrow down the options, and we soon settled on our favorite, a Dimplex electric firebox insert with LED lighting (model DFI2310, which was the right size for our room).
We really like the effects produced by this fire. It uses a mirror and moving lights behind the fake logs to give a nice 3D flame effect, and the glowing logs brighten and dim to give a very realistic, smouldering effect. Stacey added to the overall effect by adding the sounds and smells of a real fire.
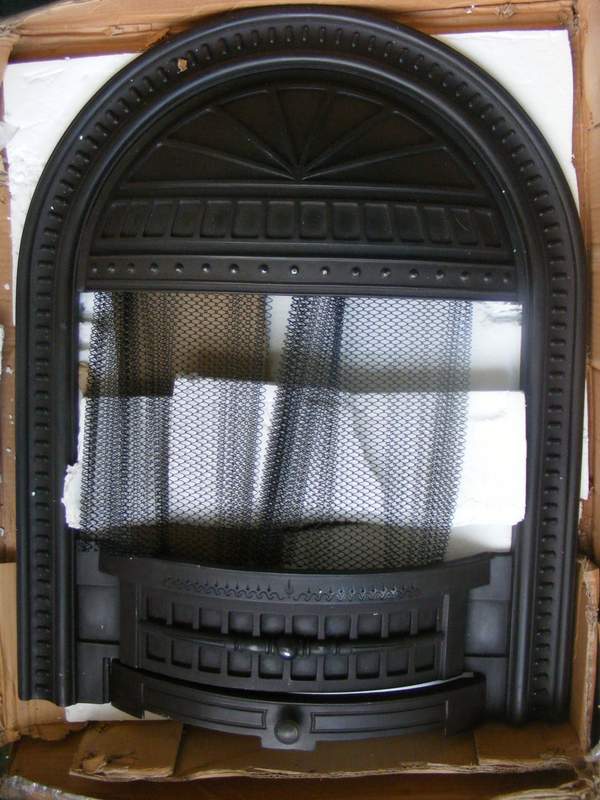
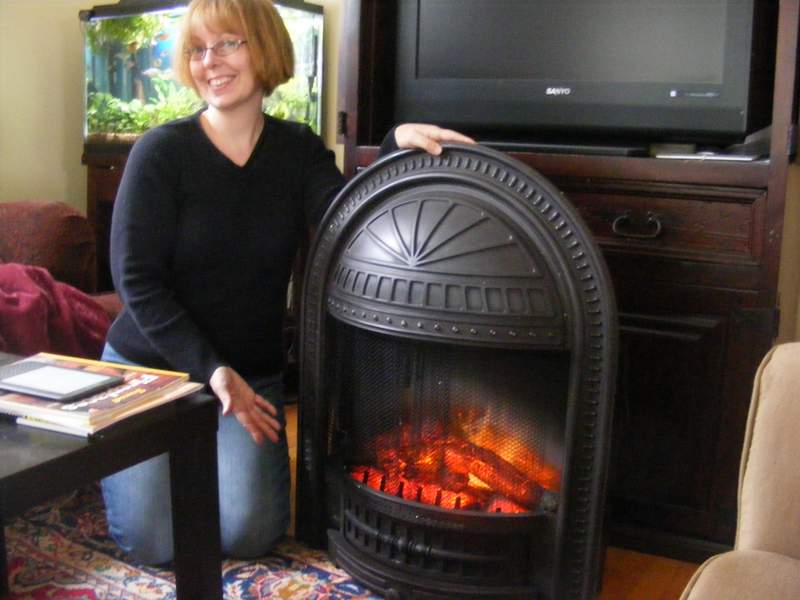
Having chosen a fire, we looked for an attractive fire surround (trim for around the edge of the fireplace opening). We both really liked the Dimplex surround shown below because it looked more like an English hearth than most of the ones we’d seen in the states. (This one has been discontinued, but check out other metal surrounds here.) Stacey found a display model on eBay.
We particularly liked the integral mesh spark guard, which can be pulled across in front of the fire, obscuring it a little. When mesh is in place, it increases the illusion of having a real fire.
Having decided on the type of fire and its surround, we turned our attention to the cabinetry.
Update! Links to the other posts in this series:
1: Genesis–how we decided to add a fireplace with cabinetry
3: You Don’t Know What You’ve Got–how we found and prepped the cabinet
4: The Building Part–how we built the structure
5: A Firry Tale–how we found and used vintage wood for trim
6: The Tiling–how we picked and installed fireplace and hearth tiles
7: If You Build It–the finishing touches and the final reveal



3 Responses to Cabinet of Dreams, Part II: Light My Fire