Lisa: When the momma bird returns to feed her babies, we’ll have a prize-winning picture.
Bart: Lisa, people these days don’t want to see a baby bird; they want to see celebrities at their worst.
– The Simpsons
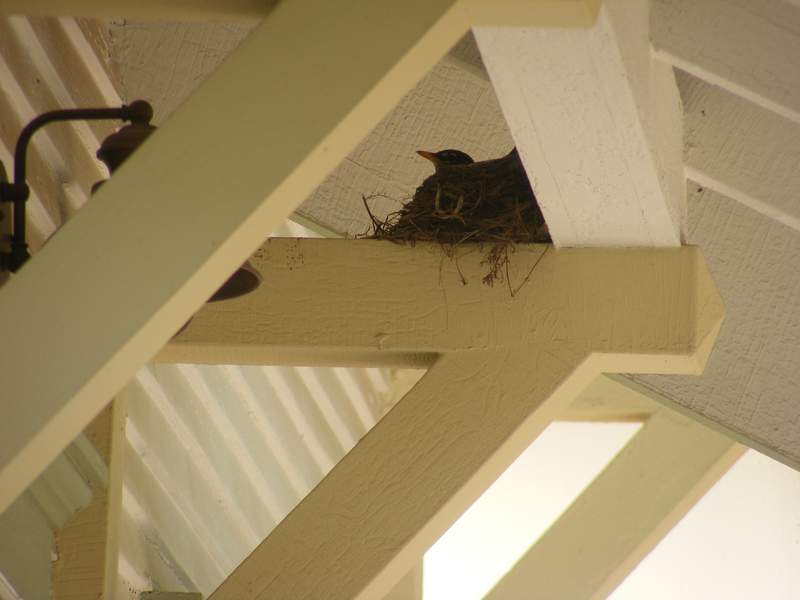
Last year, a pair of robins nested on our stoop. “Nice location, except for the neighbors!” they told all their friends. “Always in and out all hours of the day and night — it’s ridiculous. And soooo snoopy!” But they soon became used to our comings and goings, and stopped scolding (and dive-bombing) us.
Momma Robin
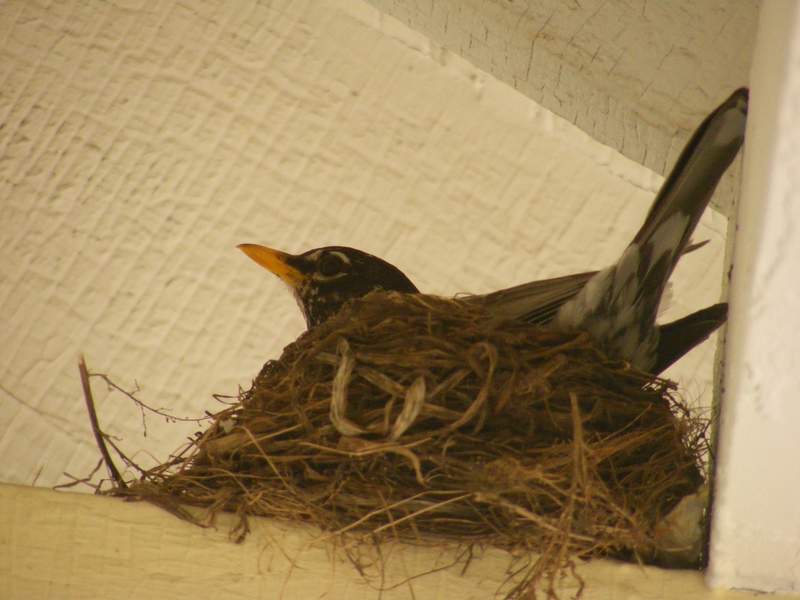
Up close and personal (with zoom)
We have several birdhouses in the garden, but it was such a delight to have the robins right by the back door, raising their healthy little brood.
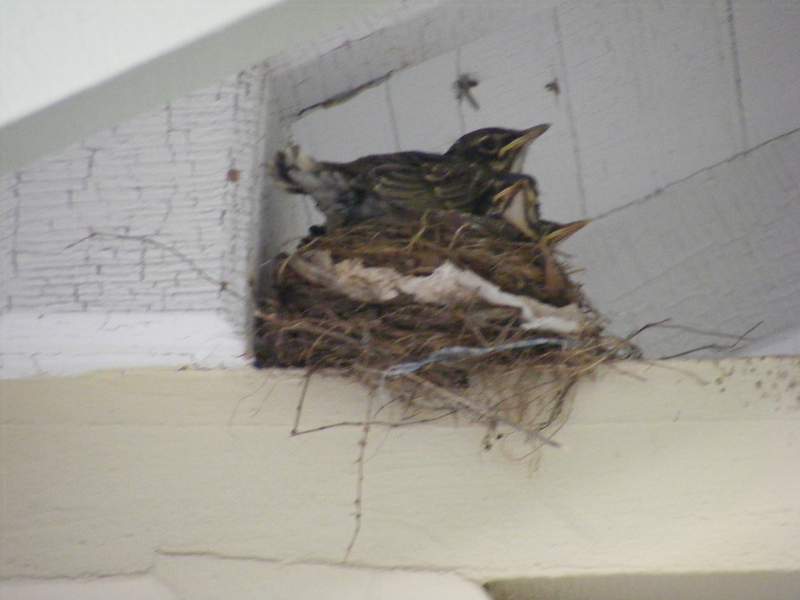
It can be a challenge for growing siblings to share a room.
Robins don’t mate for life, but sometimes the same couple will team up in subsequent years, particularly if they were successful the prior year. We’re not sure if that’s what happened this year or not — we just know that we are hosting robins again!
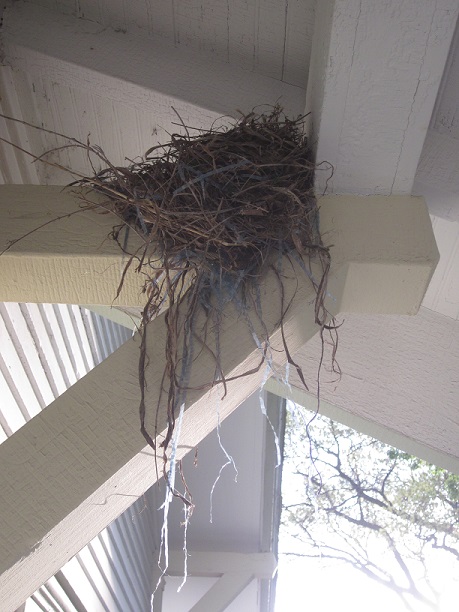
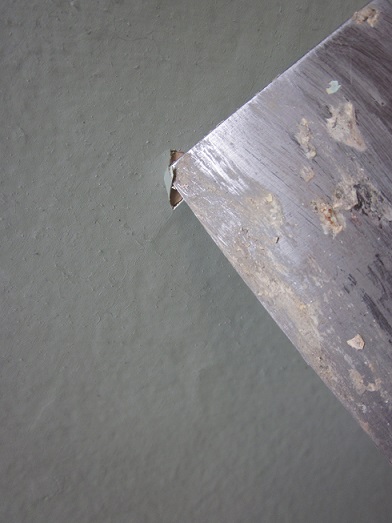
Exact same spot, slightly more flamboyant nest (same alligatoring exterior paint).
We don’t know if these are both the same birds, but it seems likely that at least one of them knows our stoop is a safe place. And the momma bird seems to be cool with our presence (which is good, since she’s sitting about a meter from our heads when we use the back door). We are so pleased to have robins again, and we’re looking forward to watching their progress.
Those of you visiting from th’other side of the pond might be laughing about my bird identification skills since the foregoing pictures are clearly not robins.
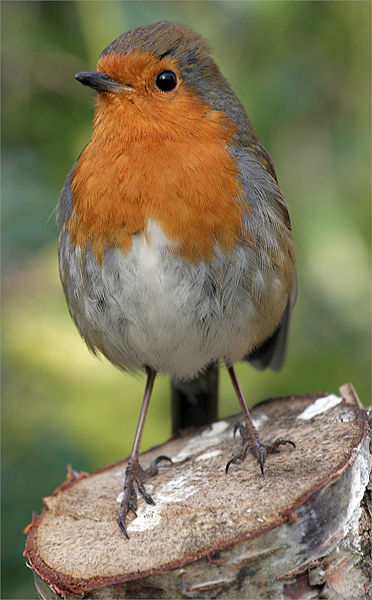
Now THIS is a robin! The British Robin, Erithacus Rubecula Melophilus (redder than pictured)
When I was a kid, I always wondered about the term “Robin Redbreast” since in my experience, robins have dull orange bibs. When the Kev arrived here, he also wondered about the robins. Turns out, robins are a different bird in England. The American Robin is named for the smaller European birds because of the bib, but other than both being birds, they aren’t closely related.
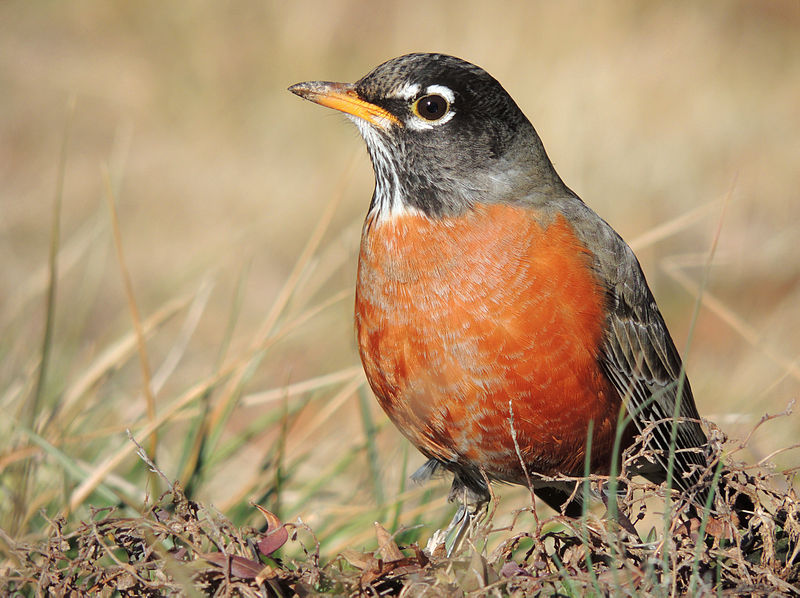
Male American Robin, Turdus Migratorius (very unfortunate Latin name there!)
We have a lot of bird activity in our garden, which is partly because we have trees and partly because we actively encourage them. If you want to attract birds, here are some good resources:
- How to Attract Birds to Your Yard (from the Cornell Lab of Ornithology)
- Gardens: Attracting Birds (from Guardian.co.uk)
- Ten Tips to Attract Birds to Your Backyard (from Global Animal)
- How to Make a Bird Garden (from The Daily Green, and extra points for not using “attract” in the title!)
And if you are British and want to know what a “stoop” is, click here.
Happy birding!