Just bring us your freshest bottle of wine, chop-chop.
– Bart Simpson
 One of our most popular posts is the how-to for making curtain rods out of electrical conduit. We also needed curtain rods for our bedroom project, but I wanted to use wooden rods in there. I mean, why repeat an easy and affordable DIY when you can head off in some uncharted direction?
Not surprisingly, I wanted to part with as little money as possible pursuing this little experiment. This version was even cheaper than the electrical conduit model, which was still pretty dang affordable. Here’s how I got what I wanted for less than $20 per rod.
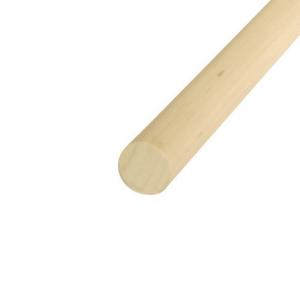
Birch dowel, Home Depot
The fancy-pants, ready-to-go wood curtain rods with coordinated finials are 1.75-inch in diameter. These were thicker than I was looking for, but I did want a wood curtain rod that would match the finish we put on the bed. In search of inspiration, I went poking around the big box places. Closet rods were also too thick, so I picked up one-inch diameter birch dowel rods in six-foot lengths. (Actually, I started with four-foot lengths and had to return ’em because that’s sooo much more efficient than measuring first. Go, me!) I cut the dowels to length, stained them to match the bed and did a double-coat of polyurethane.
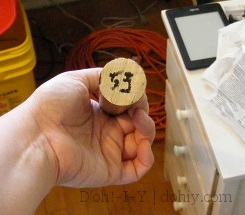
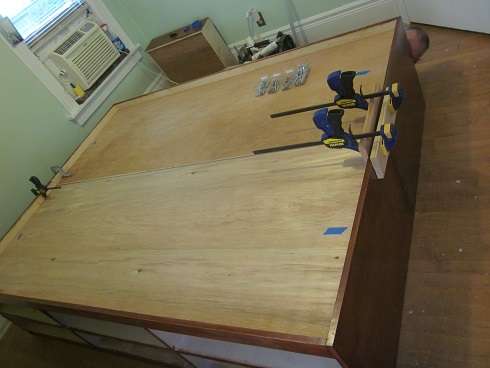
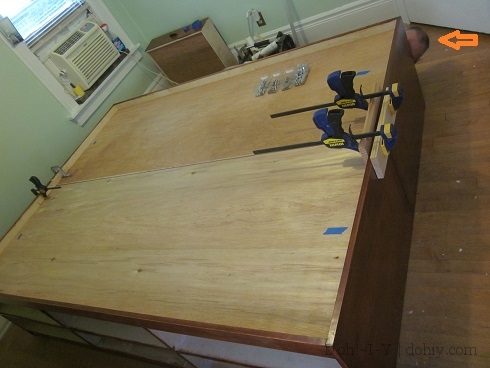
The rods are different lengths, so I marked them on the ends.
The birch dowels are fine for my purposes — I’m covering fairly narrow windows, not much over a meter wide — but the oak dowels would be stronger if you had a wider span. They’re a little more expensive, but still pretty dang cheap — the birch ones were $3.59/dowel, and the oak was a couple of bucks more.
Since the usual wood rod is 1.75″ and the usual metal one is 0.75″, I had a little trouble finding hanging hardware. I ultimately ended up ordering Urbanest brackets ($4.99 each) that would fit up to a 1.25″ rod.
That left the finials. I wanted some, but I couldn’t find the modestly sized ones I used for the conduit rods. Dangit, Menards, changing your inventory to meet the needs of customers other than me! That left the finials for the thicker rods, which were (a) spendy and (b) disproportionate, by which I mean HUGEMUNGUS.
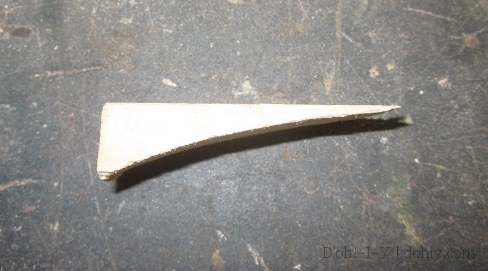
So I went poking around again, this time at Michael’s. I found some appropriately sized balls. They were flattened on one side and disturbingly labelled “doll heads.”
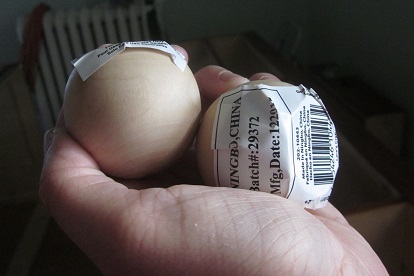
Heads to put on spikes
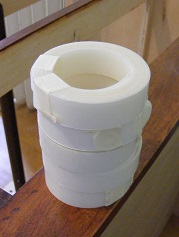
But I also wanted a transition from this shape to the rod. The answer was hanging above the doll-head bin.
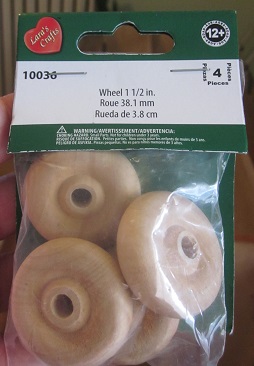
Wooden toy wheels
Stack ’em and glue ’em, and voila!

I stained these up to match the rods that matched the bed (in the hole in the bottom of the sea). Both parts already had holes drilled, so I added dowel screws to the rods so that the finials could just be screwed on by hand.
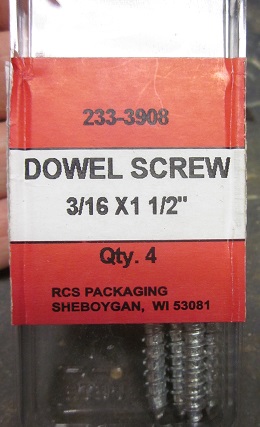
Dowel screws are just double-ended screws (something that sounds naughty but isn’t) used to attach dowels to each other, or random things to dowels.
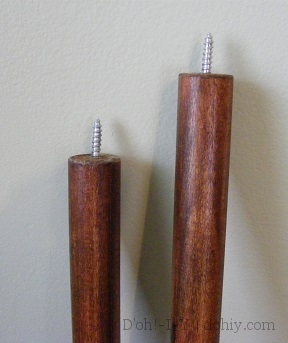
It helps to drill a pilot hole to keep them as centered as possible.
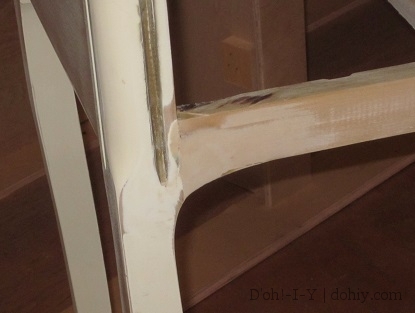
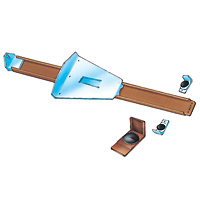
Our bedroom windows are both in corners, so I did a little variation on the usual two-bracket installation. When we tore out the fittings in the closet, I salvaged some paint-caked closet-rod hardware. After removing the paint, I had cool brass end hangers. I decided to use these to hold the curtain rods in the corners rather than using brackets.
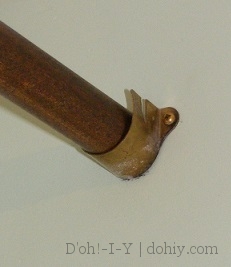
The “wing” piece away from the wall can be bent around the rod and pinned to it for extra stability.
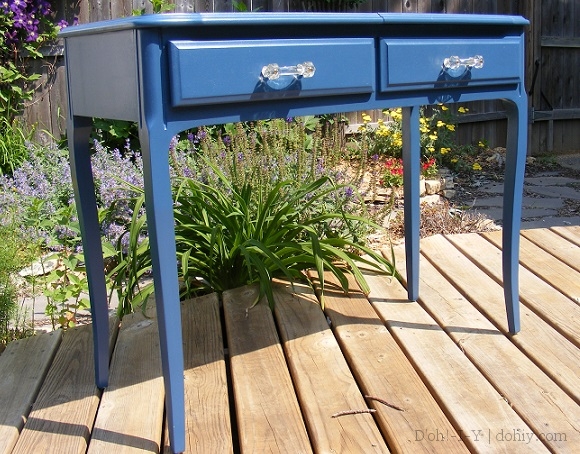
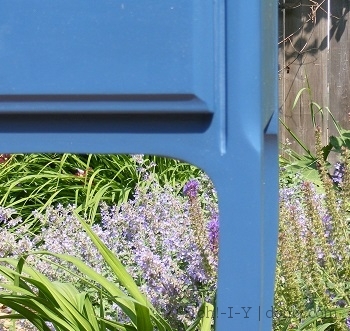
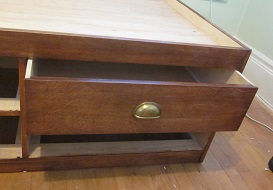
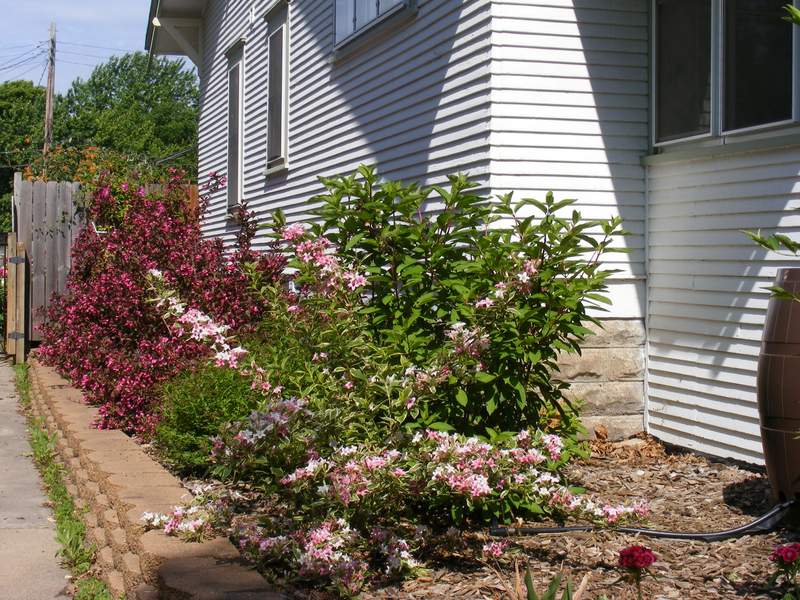
I don’t have the curtains done (or started) yet, but here’s one of the finished rods in place.
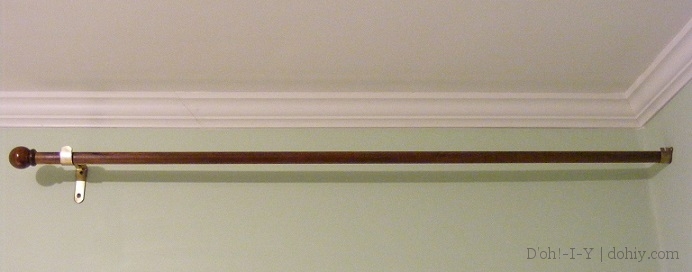
And after installing this one, I pinned a ratty old blanket to it as our interim “window treatment.” Class! We have it!
Assuming most people want finials and brackets on both ends, here’s how these would break down price-wise:
- Six-foot birch dowel: $3.59
- Stain: if you don’t have any on hand, this could be done with the little ketchup-sized sample sachets, so let’s say $1 tops.
- Glue: I’m not pricing the glue! Strictly speaking, you don’t need it anyway — you can just thread the finial pieces on the dowel screw individually.
- Doll heads: 2 @ $1.29 each
- Wheels: 4 in a package for $1.99, so $0.50 each
- Dowel screws: 4 in a package for $0.99, so $0.25 each
- Brackets: $4.99 each (I got mine from Amazon; there may be cheaper options out there)
Total: $18.65 per rod, including hardware (and excluding two dabs of glue). Even with sales tax and shipping on the brackets, if any, these would be under $25/six-foot rod. I don’t think you can get anywhere near that with ready-made.
Super easy, super cheap, just how I like it! Let me know if you try this and how yours come out.