Ned: Floor feels a little gritty here.
Moe: Yeah we ran out of floorboards there, so we painted the dirt. Pretty clever!
– The Simpsons
DO!
1. Plan the pattern.
For larger tiles, the experts say to start from the center. We were using smaller tiles in mosaic sheets, so centering wasn’t such a big deal.
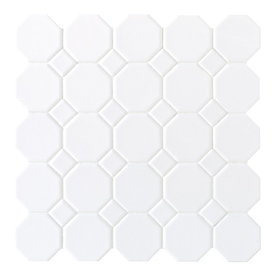
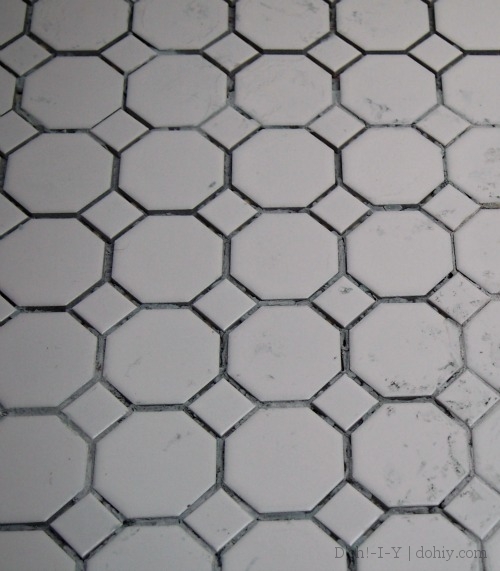
Sausalito mosaic tile by American Olean (available at Lowes)
What was a big deal was making sure that there wasn’t a weird sliver of tile running along any straight edge. I spent a fair bit of time fussing with the layout before starting. I was most concerned about how the tiles would line up against the edge of the shower and across the threshold, since those places would be most obvious, but I didn’t want less than a third of a tile on other walls. This is one thing that went relatively well on the job, so the fussing was worthwhile!
2. Use a straight edge and square.
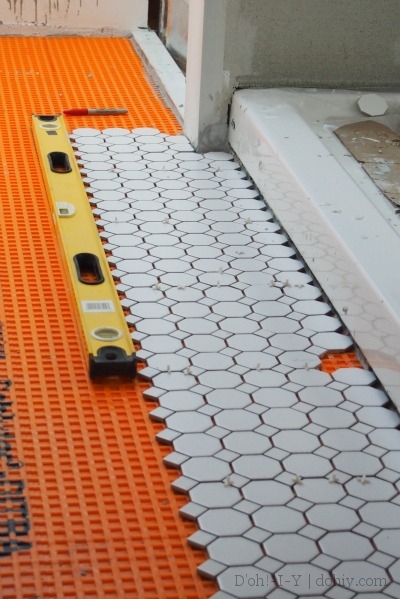
Once you start slapping down tiles, it’s easy to get carried away (more on this below), and once you get carried away, it’s easy for the pattern to slip. A little error in spacing multiplies across the floor, with unsexy results. Religiously using a straight edge and a square to check how everything is lining up will avoid your having to pull up tiles later.
3. Go freestyle with mosaic sheets.
After following my “straight edge and square” advice assiduously for the majority of the floor, I got to the point where I believed that the mosaics were meshing just right and lining themselves up.
HA HA HA!
HA HA HA!
HA!
They were not lining themselves up. It wasn’t a problem until the last corner.
For the squares to make it to the edge of the wall, they were off further out in the pattern.
Me: I’m pulling it up.
Kevin: Don’t. No one is going to notice. It’s fine.
[some days later]
Me: I pulled it up.
Kevin: I knew you would.
The issue was that the mosaic spaces the tiles out uniformly. If you get into a corner, you can’t pare down (or spread out, as necessary) the spacing a tiny bit to fix anything that is off.
The answer was to cut apart a couple of sheets of mosaics and re-lay the corner with individual tiles. In order to avoid intra-tile interference, I shaved the adhesive bits off the edges as well (this after I tried laying them with the bits still attached and found them bumping into each other and generally thwarting me). After I had enough tiles, I set them one by one in the corner until I was happy with the spacing. Then, I mortared one row at a time into place, checking alignment as I went. As I should have done in the first place!
DON’T! Just don’t.
1. Get mortar all over (or above) your tiles.
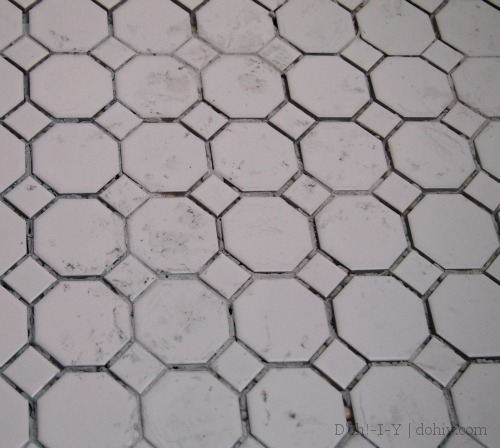
I already moaned about this one. Just get a wet rag and wipe up drips and smudges as you go. I found out that glass cleaner and a kitchen scrubbing pad (with elbow grease) worked pretty well to get most of it off. If you use sanded grout (I used TEC sanded grout in “Pearl”), it has the great side effect of knocking down any remaining residue, then an eraser sponge helps finish it off before you seal the grout. What would have been easier? Keeping the mortar off the top of the tiles in the first place.
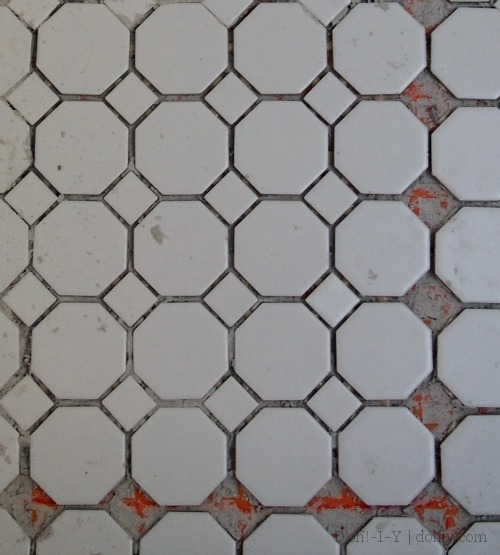
And don’t forget mortar that bulges up between tiles! Remove that excess while it’s wet, or you’ll end up scraping channels for the grout to go into. In that case, it helps if your mortar matches your grout. Ours did not.
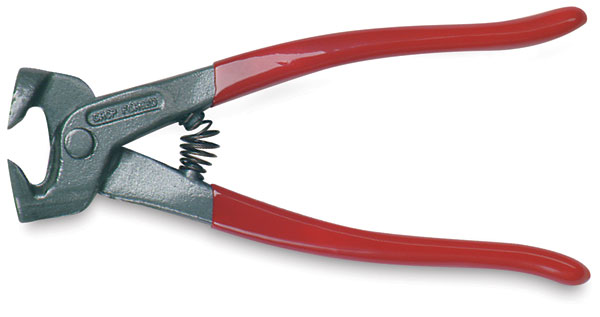
2. Use a tile nipper where you are laying tiles.
Tile nippers are really useful. They aren’t precise enough for most wall tile cuts, but for thicker floor tiles, they are quicker for knocking off extra edges that will be covered up by trim tiles.
But the “nibbler” (which I generally call the thing) throws off tile shrapnel, which causes Problems. Thing one, tile shrapnel is sharp and painful on feet. Thing two, even though it’s often hard to see, tile shards are three-dimensional. If a piece lands where you are going to lay tile, things won’t be level. You’ll find yourself digging through mortar for tile fragments in order to get the floor to lie down flat. Little jagged bits of tile are not fun to extract from fingertips.
Use the tile nibbler in another room, possibly inside a trash bag.
3. Mix up too much mortar or grout at a time.
I had a huge bucket. It was a very useful huge bucket, with measuring lines and a comfortable handle. Now it’s a useless rock because I tried to mix an entire bag of mortar in it. As soon as I did it, I knew it was a mistake, so I tried to get through as much of it as possible, which was about a third of the mixture. Dang.
It does set up fast (via).
Better and easier, just mix up as much as you’re going to need for the next half-hour or so. Then mix more. I stopped doing the precise measurements, and just went for a peanut-butter consistency. Same concept works for grout. I haven’t thrown away any more buckets since I changed to this method. Progress!
Despite it all, I persevered. It’s a floor!
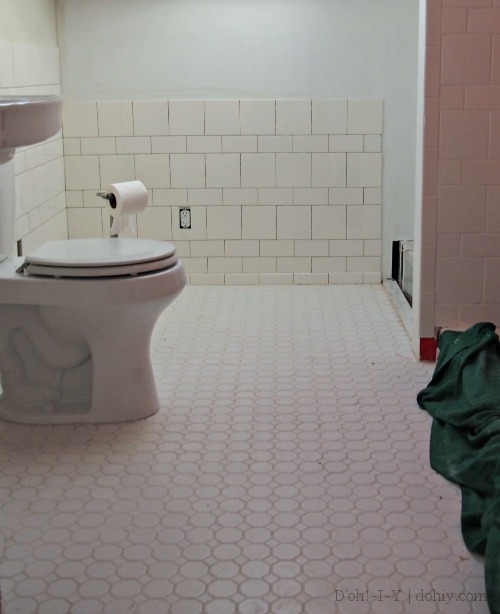
Done enough for the plumber to come back and put in the toilet and sink, anyway, which means we’re operational in half-bath form. As you can tell, the walls are still being tiled, so while the shower is plumbed, there’s no showering as yet.
And it only took 43 years! Check back in 2072 for how the wall tiling went.



5 Responses to Bathroom Floor Tiling Dos and Don’ts