All these questions! Is a little blind faith too much to ask?
– Sunday School Teacher
Time to revisit the DIY roman shade I made earlier this year (I’m also updating that post in detail to make sure the whole story is available there as well).
Executive Summary: As executed, it’s a d’oh!
After I finished the first blog-documented one, I became busy on other projects, and it took a while to get back to the other shade for that room. As time went on, I realized that I was stalling because I was not entirely happy with how the first shade operated. Basically, the model for the shade is a good one…if the shade is only one or two thin layers of fabric (the Little Green Notebook instructions used two thin layers). I also like the changes I made to the design (untying the cords rather than cutting, sewing rather than gluing important connections, and leaving an allowance to cover the mounting hardware). I believe the changes will make the unit more durable when implemented with a lightweight shade.
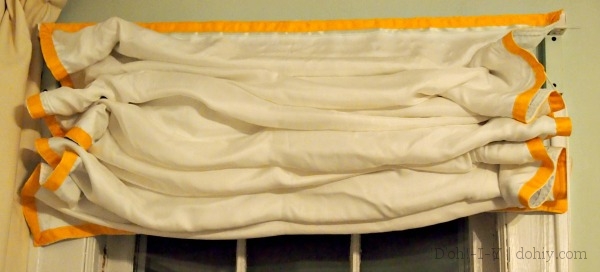
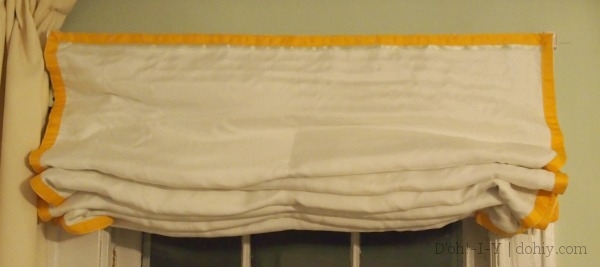
So I’m not trash-talking the overall project idea at all! What I AM saying is that, in my experience this project does not lend itself to a thicker shade including a black-out liner. When I first retracted the shade, I reported that it was bunchy because of the extra fabric.
That was easy to deal with by briefly fiddling with the folds so they fell better. This turned out to be a bit of a hassle, but no huge deal.
But there was a fundamental issue I had not considered: the cords and mechanism are not really strong enough to deal with the lining’s extra weight. Miniblind slats are very lightweight, and so is a single-ply fabric blind. Every time I raise this shade, I think something is going to break. The whole thing just feels like it’s under too much physical stress. I’m loathe to raise the thing, and even less willing to de-bunch the folds because of my concern that I’m going to yank out one of the cords.
Jenny at LGN says that black-out lining could be included, so she has perhaps made a shade with a lining that worked well (I’ll check with her, but she’s a Real Blogger and Actual Designer, ergo very busy). If I hear back from Jenny and she has any tips, I will update this post — meanwhile, if anyone out there has ideas, please advise!
I have the base and the lift bar for the second shade, and I can probably reuse the base for the original unit with a lighter shade. I may do a lighter-weight shade and install them in Ben’s room, which is blind-deficient and has windows of the same size.
I have a replacement plan for the windows in our room — more on that soon. BECAUSE I KNOW YOU CAN’T WAIT!!! IT’S VERY EXCITING STUFF!!!


2 Responses to Roman Shade Roulette