
Ooh, look at me. I can turn sunlight into complex sugars.
– Homer Simpson
Spring is one of the only good times to move shrubs. Of course, the best thing is to plant something where you mean for it to stay. But maybe someone offers you a rosebush or you need to reorganize your garden. Whatever the scenario, you can move small bushes with a good chance of success if you plan ahead.

In a demonstration of stunningly bad planning, I’m moving five Happy Chappy shrub roses (via).
1. Select and Water the Victim.
You have a good chance of success with a younger and smaller bush. If the intended movee is less than a meter high and skinnier than it is tall, it’s a good prospect. The smaller, the better — the shrub roses I’m moving don’t get above two feet tall, and are smaller now because they were cut back for winter. Even if your target is small, you have to accept that the plant might not make it, so be sure you’re ok with sap on your hands.
A day before moving a shrub, give it a long drink. Water softens the soil for digging and makes the root system more resilient. A long drink is a good trickle of water over an hour or more; just emptying a watering can over a plant is not going to do much to ease shoveling or root shock.
2. Dig the Destination Hole.
I know it seems like you should dig up what you are moving first, but you have to look at this from the plant’s point of view:
WHY ARE MY ROOTS IN THE AIR?!? I AM NOT AN ORCHID! HELP!!!!
Or words to that effect. To minimize time out of the ground, dig a hole where the plant is going. Pick a place that receives the appropriate amount of sun for the variety. When digging, go for roughly twice as wide as the width of the growth above ground and 12 to 18 inches.

I took a picture of a hole, but come on. It’s a HOLE.
Once your hole is dug, pour a gallon of water in it and see how it drains. If it gradually filters out over several minutes, that’s good. If the hole just holds water like a bucket, you need to find a different spot or dig out much deeper and line the hole with better-draining soil.
3. Make a Dirt Cone.
Now, partially fill in the hole you just dug, but in a special way. Heap up a pile of soil in the middle of the hole. Go about a third to halfway up the hole.

You’ll drape the roots over the dirt cone when transplanting. Like this:
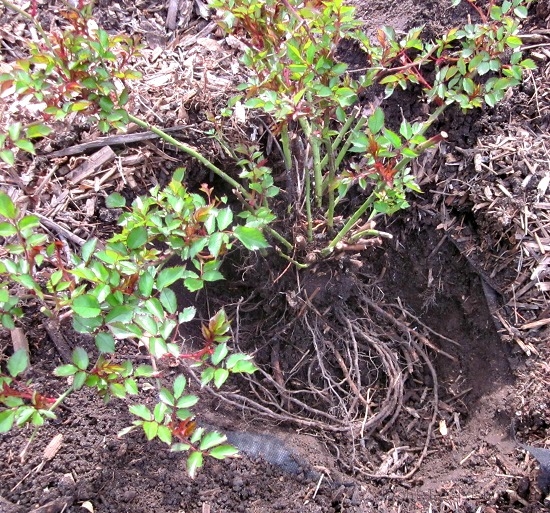
4. Dig up The Victim Shrubbery.
Now you can dig up the shrub to be moved. Start by slicing straight down with the shovel slightly past the drip line of the shrub (the farthest out its foliage goes). Sink the shovel all the way into the ground (or as deep as possible). Keep going around the shrub until you’ve come full circle.
Re-insert the shovel, but this time, start levering under the shrub. Get as far as possible down before cutting under the root ball. Keep going around like this, rocking the shrub gently out of the ground. It’s actually not all that gentle a process, but try to be as nice as possible to the roots. Keep some shears or scissors on hand in case you need to cut off the last root or two hanging in there.
I was looking for an amusing (to me) picture of one of those opening ceremonies with the enormous scissors to insert at this juncture, and I found this, which cracked me up:

WELL, I SHOULD HOPE SO!
Once you have the poor shrub out of the ground, you can easily remove plants or weeds that have intergrown around the base. These are often hard to remove otherwise, but it’s simple when the root system is exposed. My shrub roses are on the edge of a strawberry patch, and I pulled many strawberry plants from around the crowns of the roses. I also removed dead canes that I’d missed when the roses were in the ground.
5. Plant It!
Drape the roots over the cone you made. You may need to add or subtract some dirt to get the shrub’s crown even with the ground (or you might need to deepen the hole, depending — you won’t know until you see the root ball). Once you’ve got it at the right height, backfill the hole with the dirt you took out. Tamp the dirt down solidly around the base of the plant — I usually stand on the new dirt to settle everything all in.
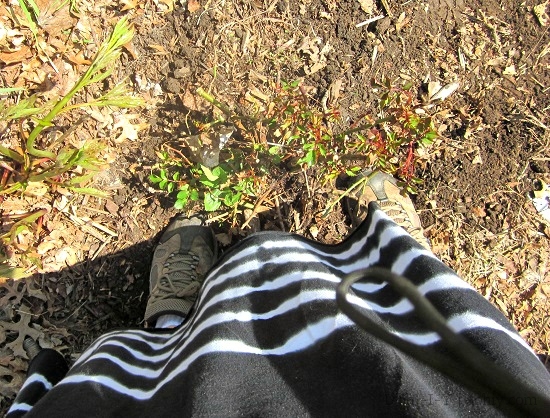
The shoes of me.
Top it off with some compost and mulch.
6. Water It, and Hope for the Best.
Set the water to trickle around the base of the transplanted shrub for a good long while. The water helps the soil settle around the roots and make good contact, helping reduce root shock. Keep the shrub well-watered (but not flooded) according to its needs (a good drink once or twice a week, typically, but check the guidance for your particular plant).
You can do everything right, and the shrub might still bite the dust, so to speak. But don’t despair if the plant mopes for a week or so after transplanting. It’s a big change, and the plant might take a little while to bounce back. Hopefully, these Happy Chappies will just carry on quite…well, happily. Fingers crossed!
