Homer: [in a posh voice] Hello, my name is Mr. Burns. I believe you have a letter for me.
Postal Clerk: Ok, Mr. Burns. What’s your first name?
Homer: I don’t know.
– The Simpsons
I have two posts kicking around, one about the slipcover project and one about gardening, but I can’t seem to finish either of them! What I really wanted to do was some sort of goofy little project that I could do sitting on the porch in the sun. I’ve been meaning to do this mail basket hack for some time, and it was sunny on the porch yesterday, so the time had come!
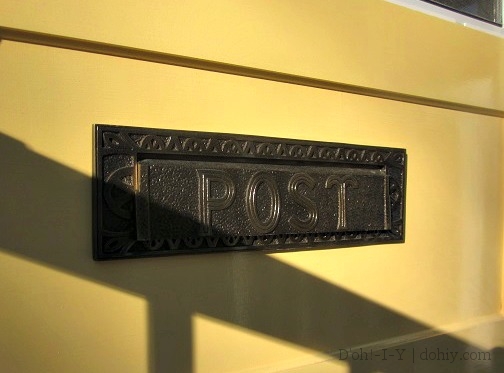
We have a mail slot in our porch door that our letter carrier actually uses.
But once inside, the letters drop to the porch floor, where they are subject to rain from under the door and cat interference. The Kev said it would be nice to have a basket to catch everything, but I could not believe the prices.
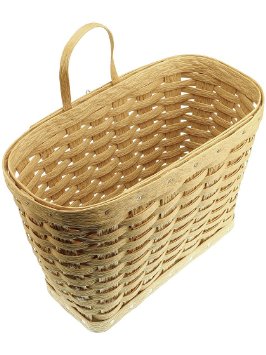
Over $50 including shipping (via)
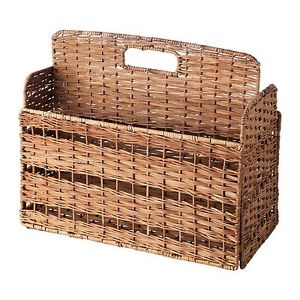
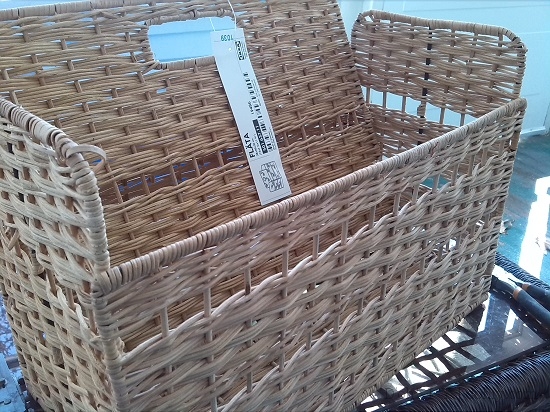
I perused the basket selection at some thrift stores looking for something the right size, then I saw the Flata magazine file on clearance at Ikea
Ikea doesn’t seem to carry these any more (which was likely why they were on clearance), but they are often on eBay or in charity shops. The basic hack I used would work on other baskets, too (although you might need a couple of similar baskets with framed panels to cobble together).
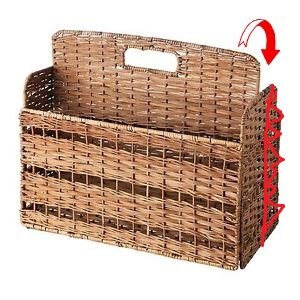
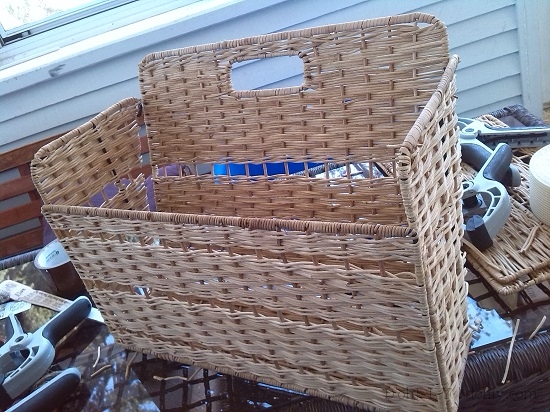
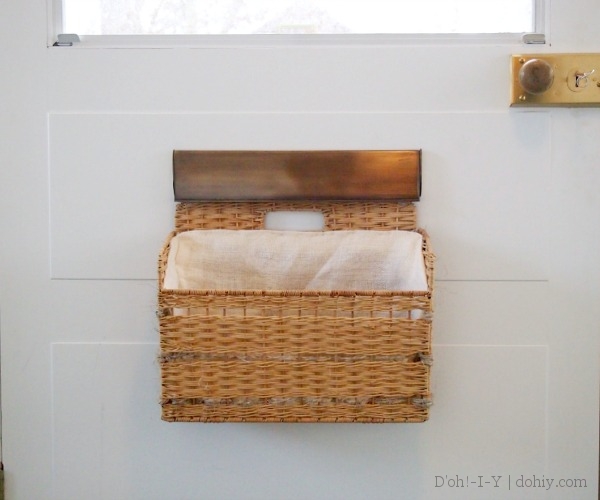
The main critique of the expensive baskets was that they were too vertical to catch the mail. Accordingly, I decided to angle the higher part of the basket to hang against the door, with the mail falling into the now-outwardly-tilted lower side. My idea was to cut off the back low side, lean the middle piece back, then somehow modify and reattach the sides.
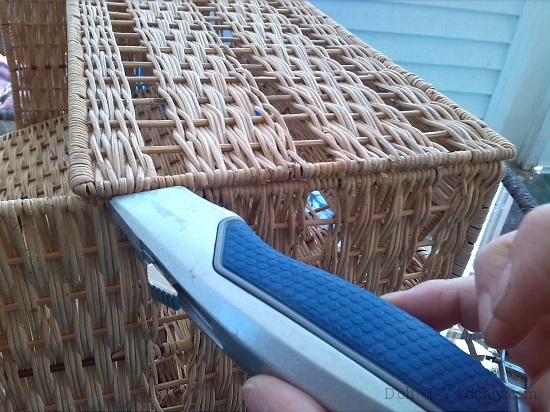
First thing, I cut through the wicker strands holding the tall center divider to the sides so it could be tilted inside the larger basket.
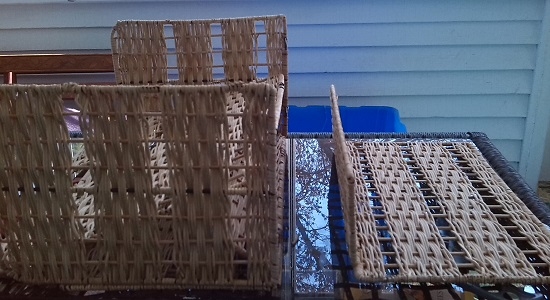
Then I cut one of the short sides and half the bottom away in the same way (the bottom was already bifurcated to allow the whole thing to fold flat).
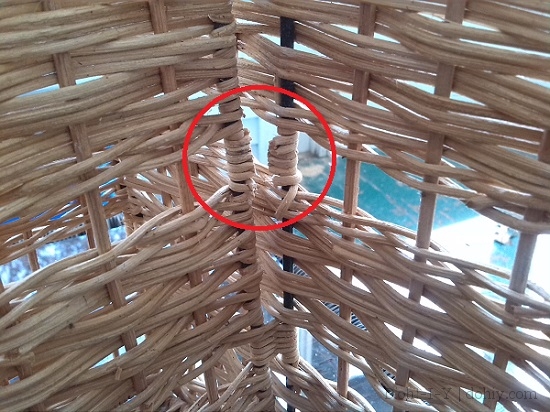
The basket was woven around a metal frame that had some tabs to keep the basket three-dimensional when folded out. The remaining half of the bottom had double-sided tabs, so I hacked off the extra side. I dabbed paint on the raw ends.
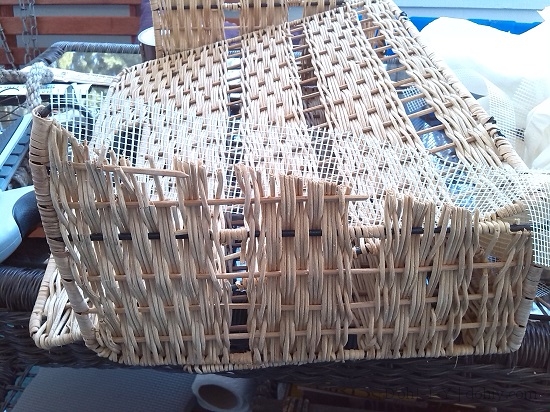
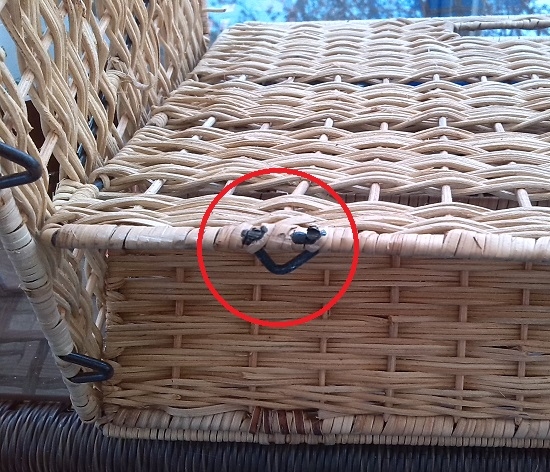 Beyond here, I didn’t have much of a plan, but I went to the side where I’d removed the extra pieces and cut the wicker away from the metal frame.
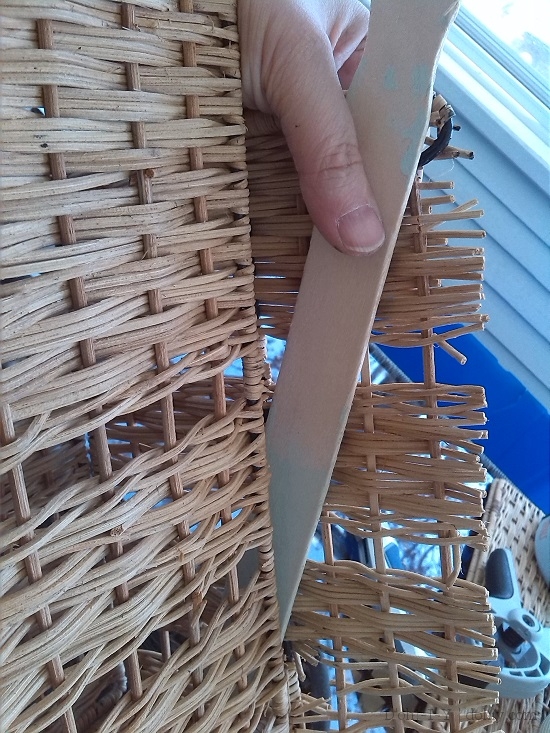
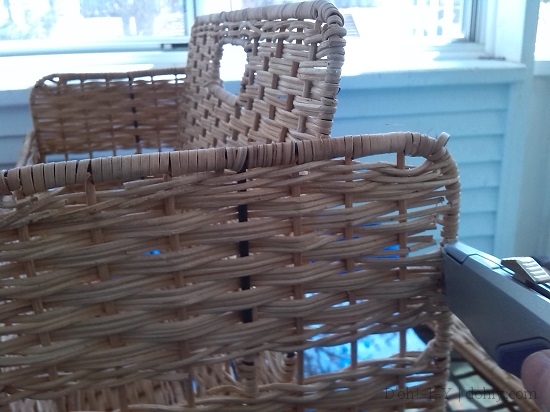 I trimmed back the metal on this side and used a paint stirrer to line up the new edge. Then I cut back the wicker along the line. (I had hoped I could fold the wicker around, but it’s very brittle.)
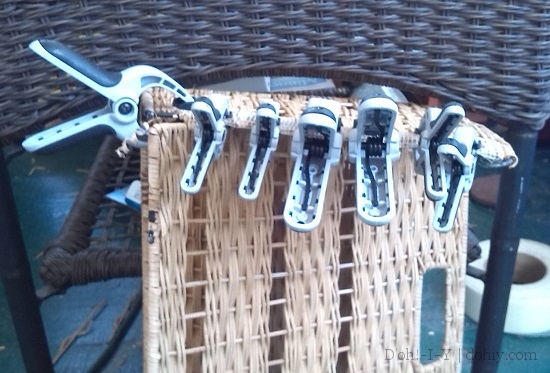
So…lots of wicker sticks sticking out that needed to be stabilized. After poking around the house, I found a roll of sheetrock seam tape, which is just a lightweight mesh. Using GOOP glue, I encased the loose ends and folded the mesh over them. I clamped it up excessively to dry.
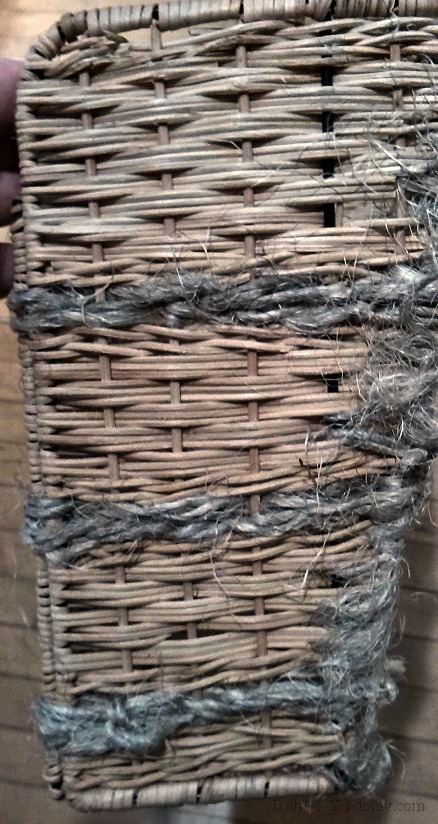
After that dried, I trimmed back the mesh. I wove some old twine through the open sections to bind the sides to the new back. I wrapped the twine past the edges and around the metal frame for support, and wrapped some twine around the mesh areas to disguise those.
Then I got a little carried away and lined it (very roughly) with some leftover burlap, which I’ll probably remove. A little bit of wire to hang it with, and there you go.
Durability remains to be seen, but I can do four or five more versions of this before I’m up to the price for the fancy one. (In theory. In actual practice, I hope this one lasts a good long time!) I’ll report back on how it stands up. (Update: here’s the report! It is holding up really well! Read more here.)
A sunny Easter Sunday project, and something to do while watching the neighbor’s annual egg hunt (always reliably hilarious).



4 Responses to A Tisket, a Tasket, a Hack Involving a Basket