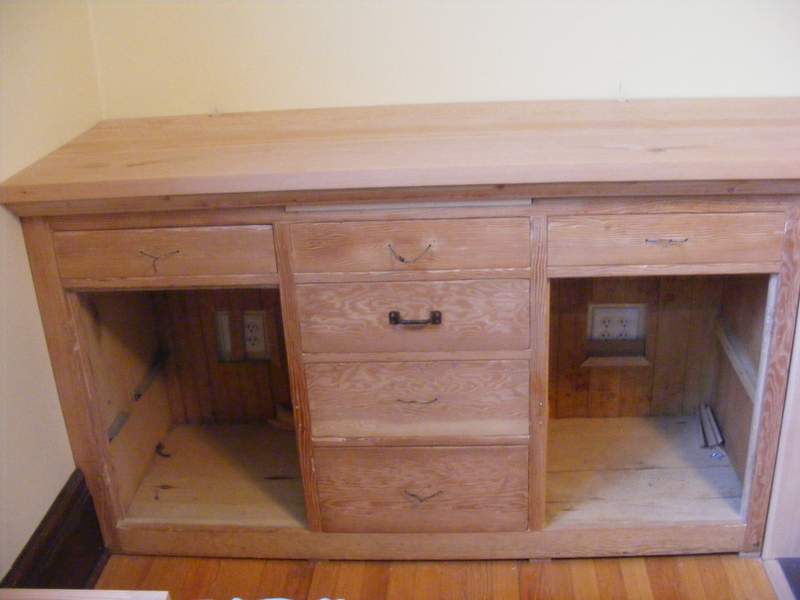
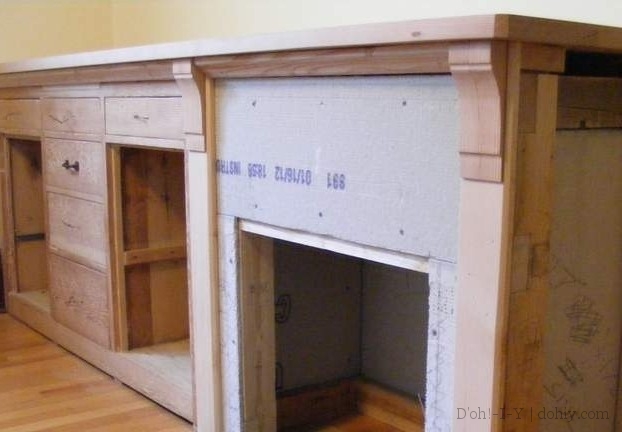
I mentioned (in Cabinet of Dreams, Part III) that our decision to use Douglas fir for the whole built-in made things quite interesting at times. Well, finding a piece of wood for the upper surface of the built-in was one of those times. We drew a blank trying to get new lumber in the sizes we wanted, so we concentrated on finding ‘vintage’ wood.
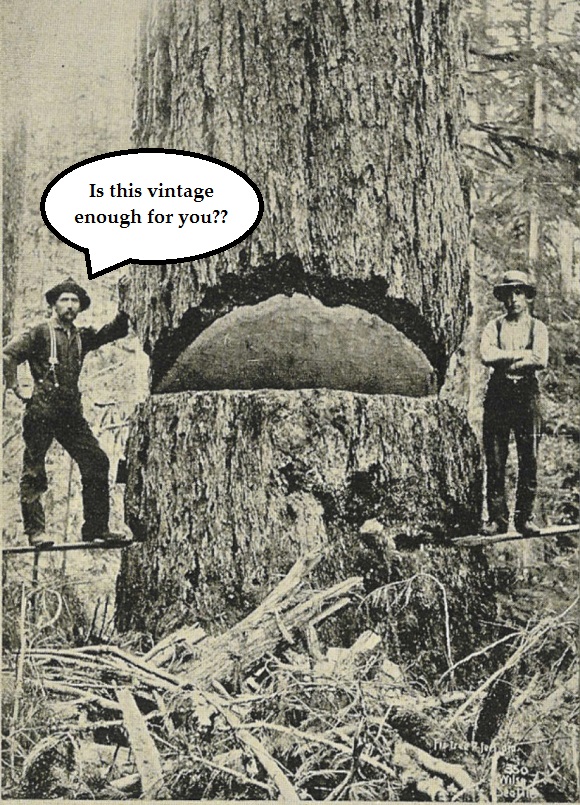
A nine-foot diameter Douglas Fir, photo taken in Washington State, 1900
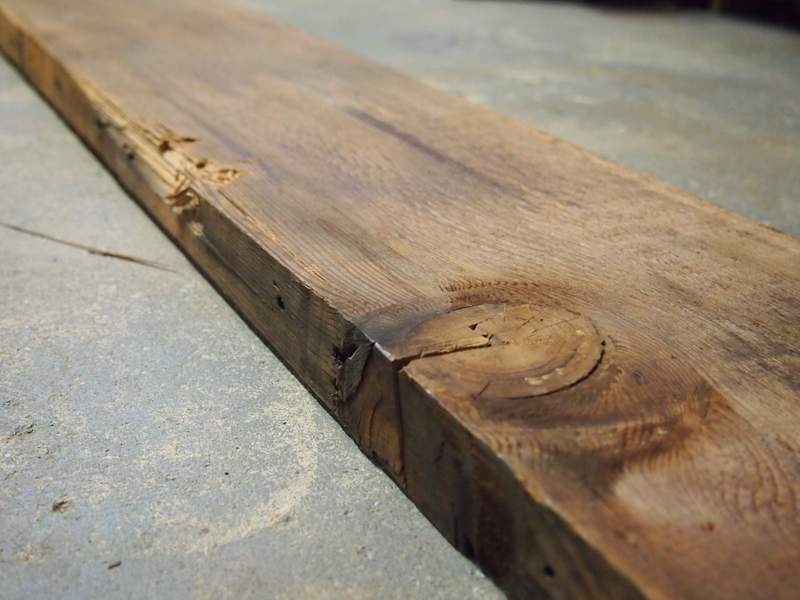
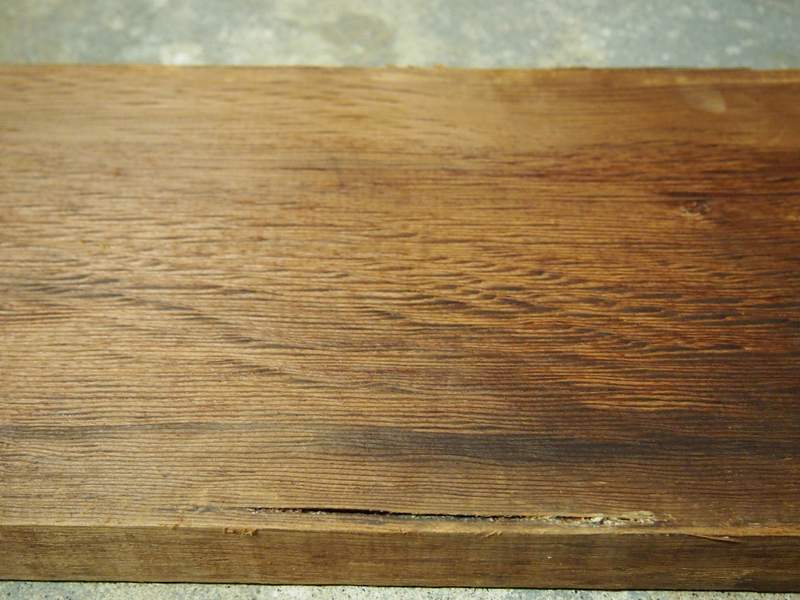
One day, Stacey saw some reclaimed 10” x 1½” ceiling joists on Craigslist, so we went to look at them. As you might imagine, they were quite rough, but we felt that we would be able to find enough useable sections to do the job.
We picked over all of the joists looking for 8 ft long sections in good condition. Being joists, they had suffered all the usual indignities over the years. Holes had been drilled through them, presumably for electrical cables to pass through; and notches had been cut out of them, I don’t know why.
Having selected the three best joists, there was another issue. They were 16′ long and we were transporting them in the back of our station wagon (UK: estate car). So, I had to cut them up before we could get them in the car, which meant we had to make spot decisions about exactly which section of each joist we would want to use.
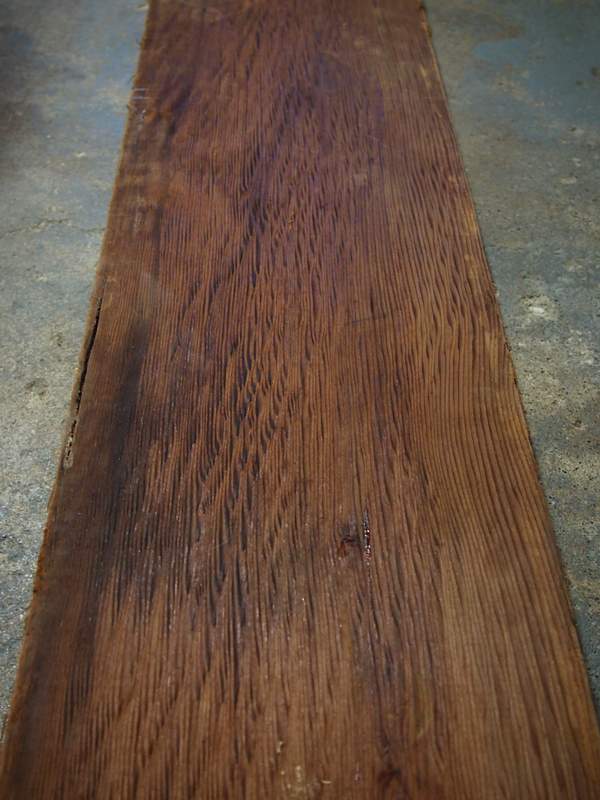 Our built-in top was going to be 23” wide and 8′ 4″ long. So, it would take three of the 10″ wide sections joined together. Since we don’t have a planer or a joiner, this part of the job was beyond our capabilities. We gave the work to a professional wood-shop. We gave them our rough old joists and some money (surprisingly little), and they gave us a beautifully made top for our built-in.
There were still work to do when we got it home. For example: The exposed, front right, corner was cut off at 45º, we cut electrical access holes above each of the three outlets along the back edge, and we used fine grained sandpaper to finish it off. Then it was ready to install.
I attached some 90º mounting brackets to the cabinet and the frame of the fire surround. Screws passing through holes in the mounting brackets and up into the underside of the top hold it in position.
With our top in place, it was time to make the corbels and trim. Since the rest of the built-in was made from Douglas fir, we wanted the trim to match. It was not easy to find new Douglas fir boards that you can actually look at locally; we could have ordered lumber, but we would receive whatever they happened to put on the truck. We wanted to pick and choose boards for straightness and grain quality. Stacey resorted to Craigslist again and found a woodworker selling his extra Douglas fir boards.
We drove for just over an hour to get to his place. He showed us what he had and we picked over his stock to find the pieces with the fewest knots. We bought five 8-foot lengths of 1” x 4” from him. We left him a little bemused that we had driven so far for so little, but that was his problem.
We wanted the trim to be quite simple. We played around with a few different router bits, but in the end we decided we liked the straight 45º chamfer. For the 1” x 4” uprights either side of the fireplace, I routed a 45º chamfer on each side. These were then nailed with our newly bought finish nailer (every project is an excuse to buy power tools) to the front of the built-in.
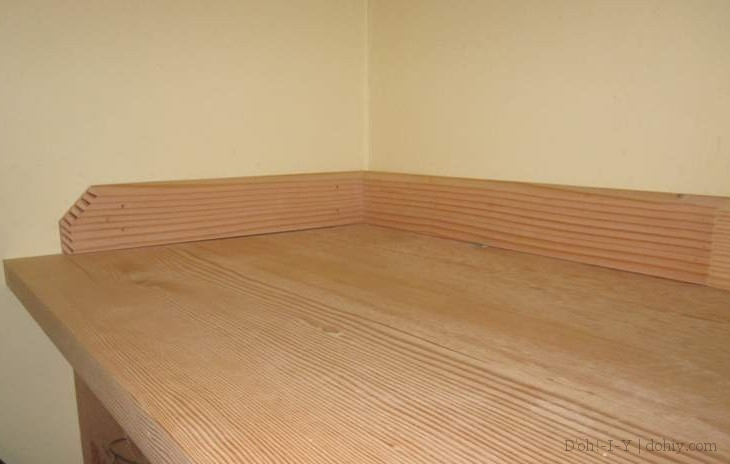
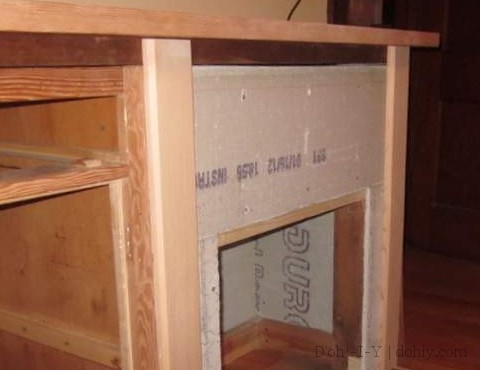 Other pieces of 1” x 4” with a 45º chamfer along the top edge were cut to fit against the wall, around the top of the built-in.
 The trim extends out from the back wall by the same amount as the cabinet. We notched the leading edge following an inspiration photo that we now cannot find.
Then I made corbels for the tops of the uprights. These were made from some left over pieces of joist. We decided on the profile that we wanted to use for the corbels, and I made a template from a piece of hardboard and cut them out with a ½” diameter, flush trim, pattern router bit.
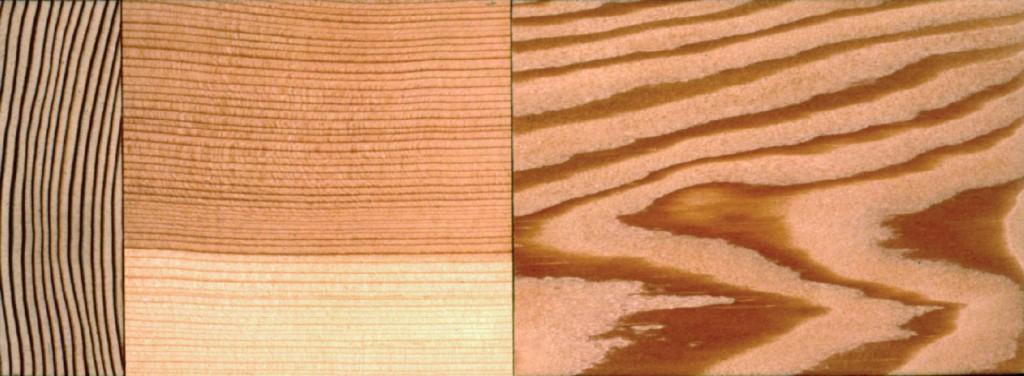
I made four 1½” wide pieces and glued them in pairs so that the grain matched up in a V pattern down the middle of each corbel. When they were set, I sanded them and glued them in place. These aren’t actually supporting anything, so strong wood glue seemed like a good idea. We set them in place and held them until the glue grabbed, following the instructions. Five minutes later, they started sliding down the verticals. Moderate panic and clamping ensued.
Next I made a piece of crown molding to fit between the corbels, and one to fit from the wall to the first corbel. I ripped 2½” strips of the fir and routed 45º chamfers on each corner. Then, using a horizontal crown molding bit I made a concave surface along the front of the molding.
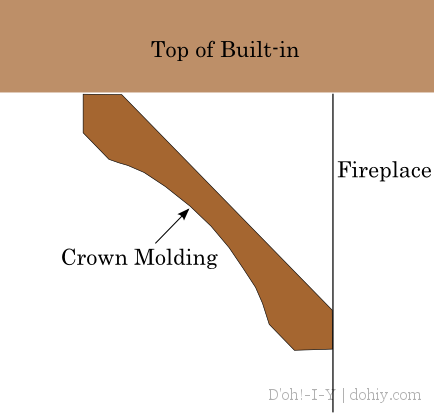
I don’t have a good photo of how the crown molding fits in the angle between the front and the top, so I drew this totally not-to-scale diagram for you.
The 45º chamfers on the back made a nice solid contact surface, and the moldings were nailed into position.
Now the fireplace has been trimmed, it’s time to tile it!
Update! Links to the other posts in this series:
1: Genesis–how we decided to add a fireplace with cabinetry
2: Light My Fire–how we selected a fake fireplace
3: You Don’t Know What You’ve Got–how we found and prepped the cabinet
4: The Building Part–how we built the structure
6: The Tiling–how we picked and installed fireplace and hearth tiles
7: If You Build It–the finishing touches and the final reveal

