Well, a paperweight will be nice. But what I really need is a computer.
– Homer Simpson
A couple of weeks ago, while preparing the house for the holiday festivities, we smashed Stacey’s computer screen. Our large, heavy, pointy-topped lamp executed a perfect swan dive from the couch, its temporary resting place, onto the floor. Except that, for reasons known only to Stacey, the floor was shielded by her netbook computer.
As our nephew pointed out, the computer looked like it had been shot. The pointy bit of the lamp dented the back of the screen, which smashed the front of the screen, making it unusable.
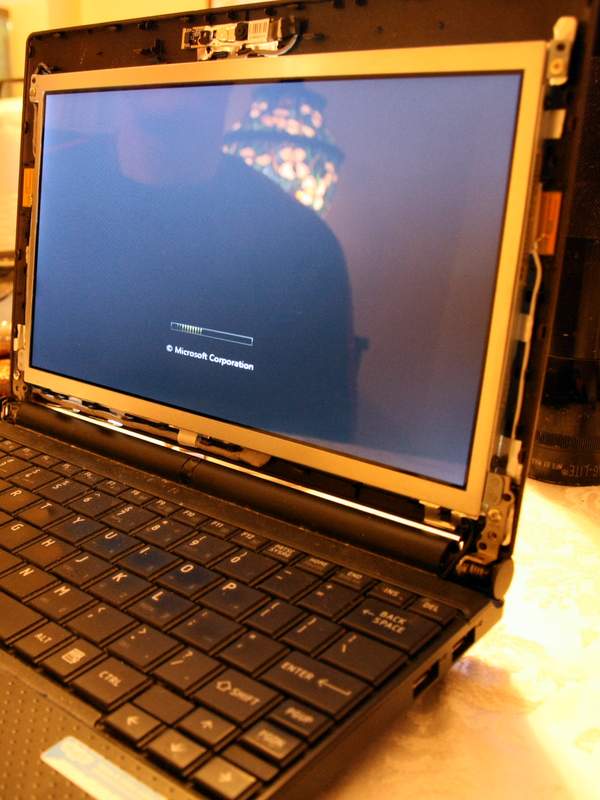
Not wanting to believe that we had just wrecked a perfectly good machine, I started Googling the issue. Much to my surprise, it turns out that replacing a laptop screen is both possible and easy. A new screen was reasonably priced, and fitting it was a fun DIY project.
This YouTube video told me how to remove the old computer screen and buy the correct replacement. The video was made by Screen Surgeons, who also sell replacement laptop screens. There are videos for many different models.
Changing the laptop screen was very easy, if a little bit fiddly. The screen is held in place by six small screws and the piece of plastic that goes around the screen.
Removing the screen was a three step process:
1. Remove the screws from the bottom of the screen and pry off the plastic surround.
2. Take out the screws that hold the screen in place, two on each side.
3. Disconnect the wiring connector.
Putting in the new screen is a simple matter of doing these steps in reverse order.
When we put the new screen in, we turned it on before putting the plastic trim back.
The screen works well, and Stacey was delighted to have her little machine up and running again.
Replacing a laptop screen really is that easy! I hope you never have this sort of accident with any of your precious things. But, if you do, you now know that it’s not the total disaster it first appears to be.


