Batting this light bulb is the only thing that cheers me up.
– Homer Simpson
As part of our bedroom redo, I wanted to restore and install an antique light fixture. I bought one in rough shape online.
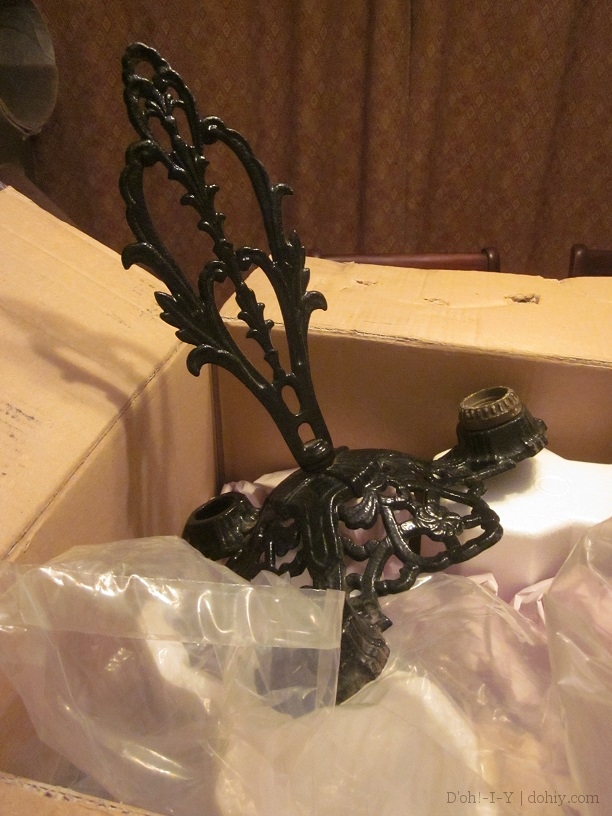
You’ve seen this puppy before. I spent many hours freeing the fixture from its painted carapace, finally arriving at bare metal.
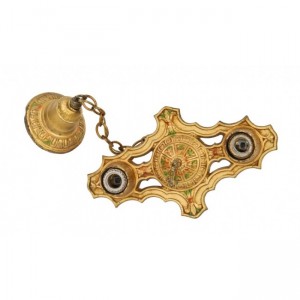
My goal was to restore this to a gold tone with polychrome touches common in the 1920s, as seen here:
The “polychrome” refers to the small touches of color. Usually, these are green on the leafy elements and red on any flowers or crests.
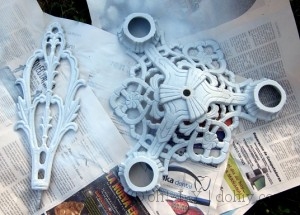
To get from bare metal to this look, the next step was to prime it before any rust could set in. I used a Rustoleum spray primer for metal. I was almost sad to cover up the metal after working so hard to reach it, but rust would have been far more saddening.
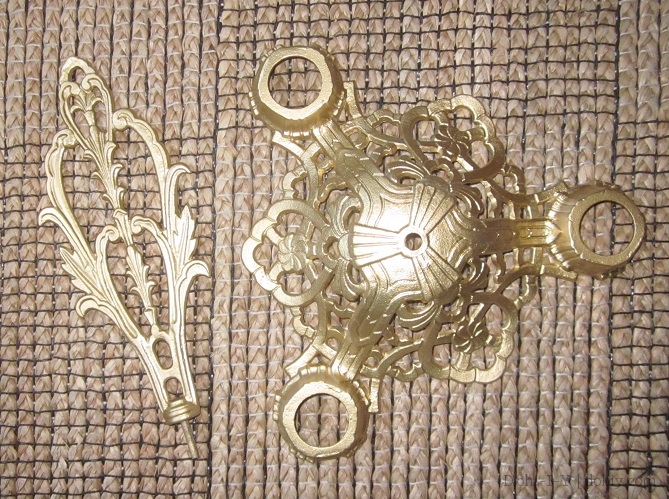
Once the primer was set, I hit it with a couple of coats of gold spray paint.
I used the Rustoleum that gives a “bright reflective finish” and it surely delivered. But this was just a base coat to give some dimension. I applied Rub ‘n Buff metallic wax (in Grecian Gold) over this layer to warm it up.
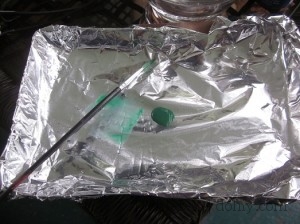
With the main body color in place, it was time for the polychrome. I took the advice of The Artist Generally Known (to me) As Mom: she recommended acrylic paint and a coat of fixative. And, BONUS, her traveling kit of paints was within striking range at my brother’s house.
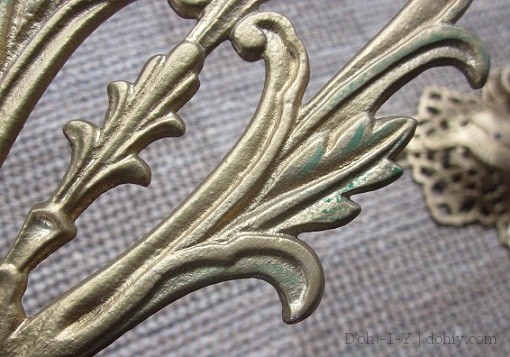
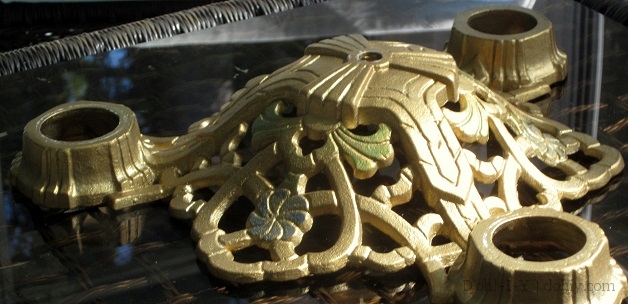
My goal for the polychrome was not Technicolor, but more of a wash. I wanted it to look like the original colors had been bright originally, but they had faded with age. I watered down the color and applied tentatively; it’s easier to add than to take away. I didn’t use much, and some wore off a bit when I applied the fixative (hello, pardon??). I used green for the leafy parts, but I used a blue for the floral elements instead of the more usual red.
Body done!
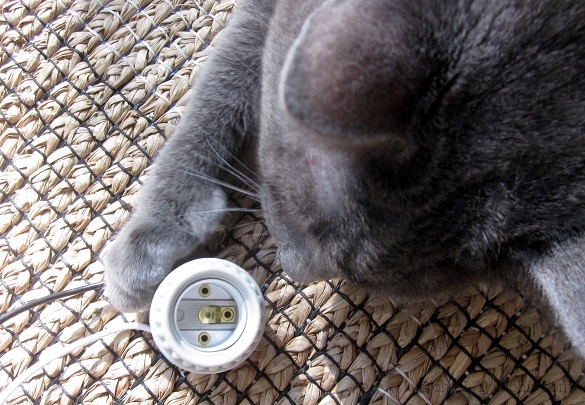
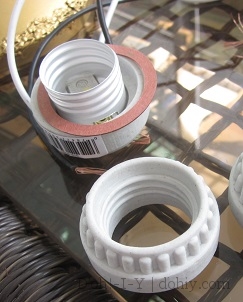
In the before picture, you can see one of the original sockets still attached. This fixture takes a ring-type porcelain socket, which is basically a porcelain socket with two parts that screw together. I bought ones with the leads already attached.
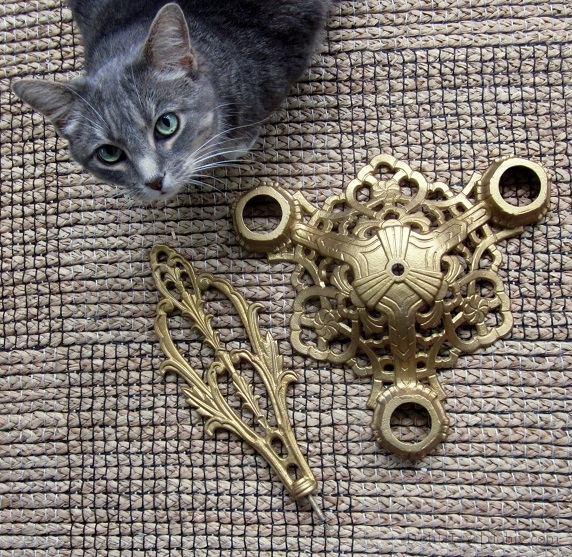
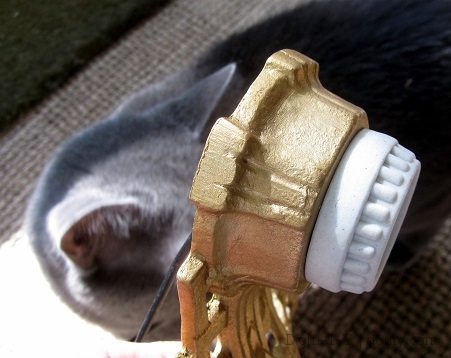
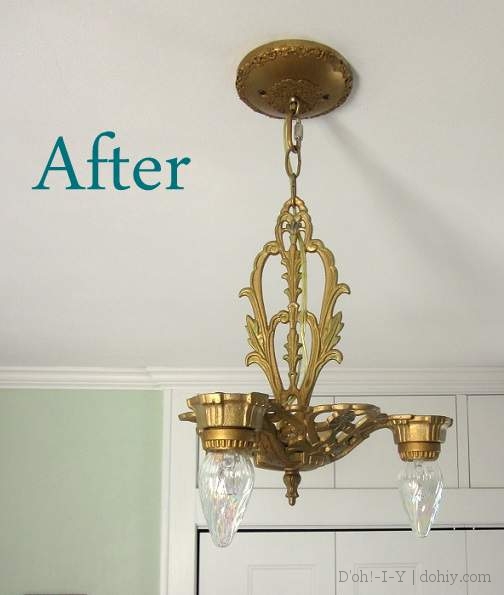
Ok, cat indulgence over. Here are some better pictures (apart and installed):
I later Rub-n-Buffed the porcelain ring to match the rest of the fixture.
Sticking the sockets in is not wiring as such, and this thing will need to be wired for use. I know something about wiring. My grandfather was an electrician, my dad and I wired all sorts of things when I was a kid (some of them legal!), and the Kev and I have done a stack of inspector-cleared jobs on this place. This light is an easy wiring job, but an easy job still requires basic skills and knowledge. So in the interest of not being responsible for your well-being, I’m not going to walk through the wiring. But here are some options for this part of the project:
- Have an electrician or lamp repair technician wire it up for you. They could wire it for your installation, or the electrician could wire and then install it. It should cost relatively little, and you’ll have complete piece of mind.
- If you want to wire or install it yourself, check out code requirements and seek out competent instruction. BobVila.com and ThisOldHouse.com (no longer affiliated, those two!) both offer relevant guidance.
To assemble the pieces, the “pan” part faces down. I bought a finial to replace the hex nut that had been holding the thing together (in the wrong orientation) when I received it. The new finial screws onto the big matching “finial” (I really want the formal name for this part if anyone has it — there seems to be some diversity of terminology out there) that stiffens up the fixture so it hangs straight. This piece attaches to the chain. Finial bone’s connected to the chain bone, chain bone’s connected to the canopy bone (more about the canopy here), canopy’s attached to the HOUSE.
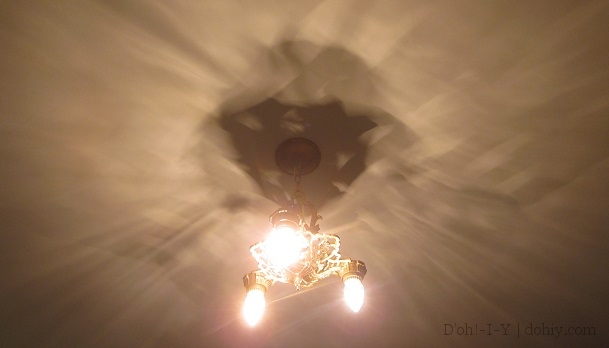
One of the things I really love about these old fixtures is the shadows they cast. Hard to photograph, but here goes:
That was a long one — thanks for reading to the end. I hope you found it illuminating! BWAHAHA! I crack myself up.
Linking up at House of Hepworths and Thrifty Decor Chick — thanks for hosting!




7 Responses to Before and After: Art Deco Light Fixture