Marge: Homer, we have a perfectly good bookcase.
Homer: Yeah, but this is what they’re doing on campus.
– The Simpsons
 The whole pointed pointy point of our bedroom project was to open up the wall to access closet space. Having done that and installed trim and doors, we were using the much-desired closet space for the ladder and tools at night. Now that we’re nearing completion, it’s time to kit out the closet.
I used a few online closet organizing tools, and they all recommended something along these lines:
Every option included shelving. That made sense to me — when we were last living in England, we had three Ikea Billy bookcases in our bedroom for open clothes storage. The skinny Billy bookcases were ideal for neat stacks of clothes. When we switched to using the looming armoire, the big open shelves resulted in big messy piles. On this go-round, I definitely wanted shelves with cubbies to keep things neat.
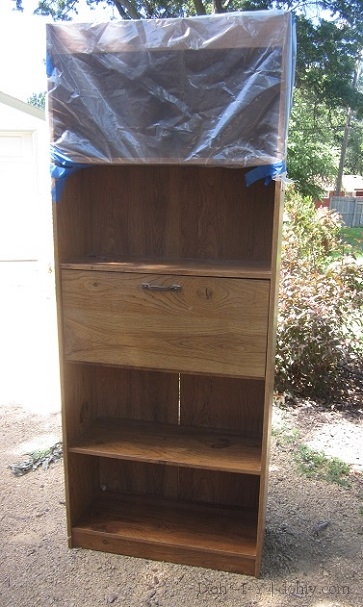
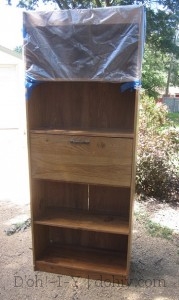
There’s an Ikea about 15 minutes from here. Did I go there and buy a Billy or two? No! I had an old flat-pack bookcase in the attic, and I was going to make use of it or wreck my marriage trying! Here it is after we hauled the surprisingly heavy thing outside:
The top shelf is swathed in plastic to keep something in until I could deal with it outside. It was one of these options:
- A package of Pixy Stix that had come open, coating the shelf with sparkling pastel sugar!
- Some glitter-coated holiday baubles were loose on that shelf — glitter is so hard to clean up!
- A bat pooped and then died on the shelf, and remained there in various desiccated pieces!
You’re right — it’s the Pixy Stix! And anyway, we don’t have bats anymore. They all died in our furniture.
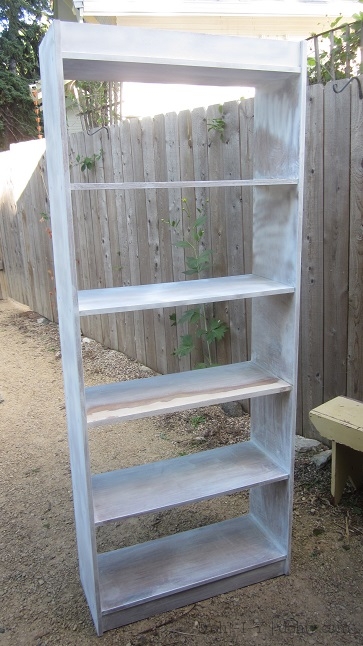
I took the unit apart and cleaned all the sugar powder. I used a little piece of trim to make the shelf that used to support the flip-down door (third from the top) the same depth as the other shelves. I woodfilled that fix, then primed the unit.
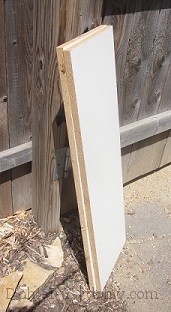
But, hey, this unit is not cubbified! I had a cunning plan that involved further random particle board shelves from the attic:
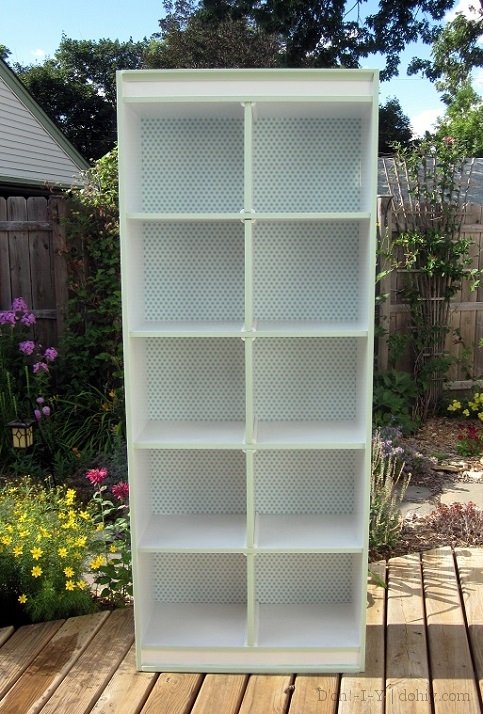
My plan was to cut center dividers from these white shelves so that each of the original bookcase shelves became two 12×12 cubbies. This would also better support the aged shelves. After measuring, I cut those puppies down to size. I was originally going to nail or screw these in place, but the particle board falls apart when you look at it crooked (or put a nail into it). The Kev glued down quarter-round to make channels for the uprights instead, and that worked great.
This was all taking longer than I expected, and I won’t lie — I was super-crabby about it. The particle board was engaging in passive resistance, the finish wouldn’t take paint, and I regretted not going to Ikea! But I took a deep breath and recommitted myself to making use of what we had on hand.
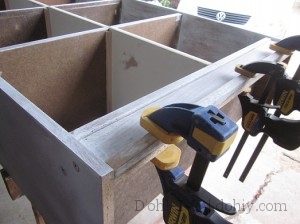
With my renewed outlook, I decided that as long as we were gluing stuff, I would trim out this bad boy. I cut down a square garden stake and sanded, primed, glued and clamped it.
Now here’s something that Kevin won’t know until he reads this post with y’all: Honey? This trim was supposed to be on the top of the bookcase. I managed to stick it to the base. This is why I came scampering through the house howling about how we never have enough clamps. I had to clamp a whole different piece of trim (and actually, a nicer one) to the top of the dang bookcase so you didn’t know I was an idiot. Love ya!
I had a heavy work week (plus, crabbypants), so Kev painted the unit and the dividers, then I just painted the front of the frames and the trim. I had some perky Hallmark wrapping paper on hand that I stuck to the back panels with spray adhesive. It’s what all the cool bloggers are doing! And it did brighten the thing up. Before again:
And (FINALLY) the I-didn’t-go-to-Ikea-despite-bats-Pixy-Stix-and-crabbiness after:
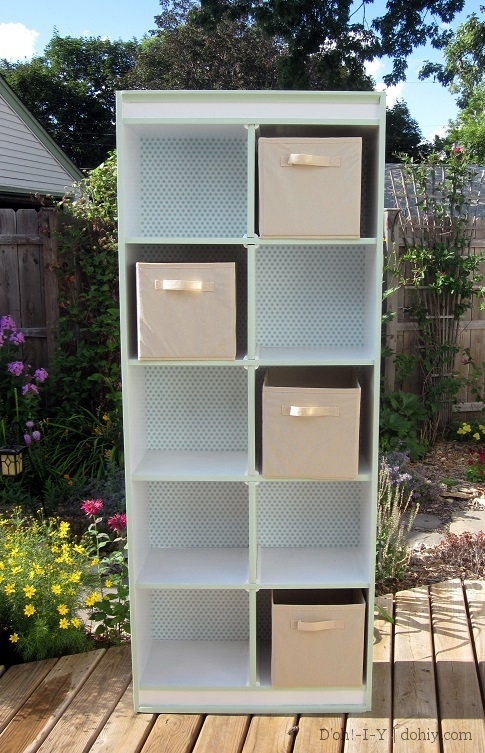
I picked up some fabric boxes from K-Mart on super-clearance for $2.50 apiece, and they work well in the cubbies.
After the photo session on the deck, we moved it into the closet so I could start loading it up.
All right, tools and ladders. You don’t have to go home, but you can’t stay here! It’s starting to look like a real closet now.
PS: I linked up at Rain on a Tin Roof’s “Give Me the Goods” party — check it out!






4 Responses to Before and After: Refreshed Flatpack Bookcase