The brain is so stupid.
– Homer Simpson
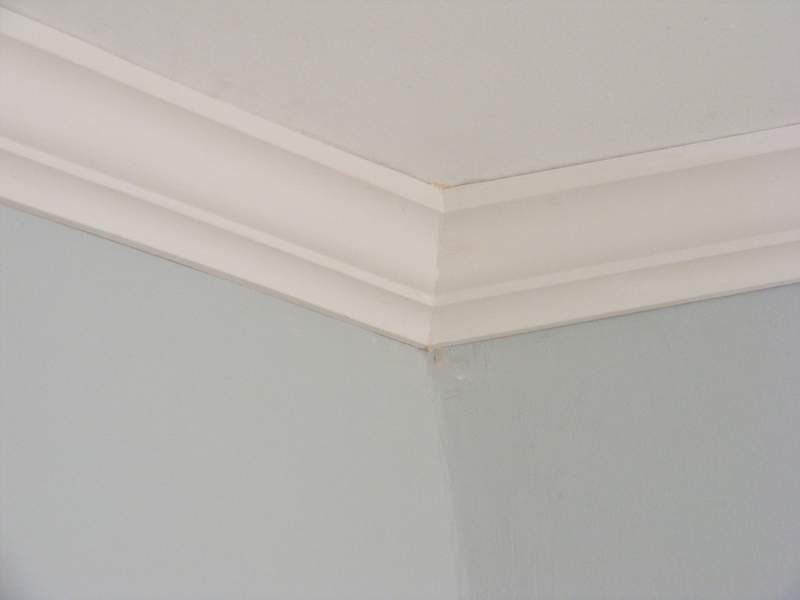
I’ve been installing the crown molding in the bedroom. We put the same kind of molding in the other ground floor bedroom last year. Incidentally, it’s called coving in the UK. So, another one for the UK versus US terminology list.
Putting up crown molding can be a fun, satisfying project. It can also be frustrating. Frustration may come from walls that aren’t straight or corners that are somewhat irregular. But most of my frustration comes from within. I find that, unless I give the project my full attention, it’s easy to make stupid mistakes.
There’s an old adage that I keep in mind when working on projects. Measure twice. Cut once. Unfortunately, I forgot it yesterday.
I’d mitered one end of the molding for an internal 90° angle. I wanted to cut the other end off square. So I measured the distance from the wall to the point where the top of the new molding met the already installed piece. Then I measured off that length on the new piece and cut it off square.
Did you spot the mistake?
With an internal corner, the bottom of the miter is longer than the top. So, I had cut my new piece 1½” too short.
I tried patching in a piece, but then decided that it would forever annoy me. So, I went to Menards and bought another length.
It really pays to think carefully about every cut.
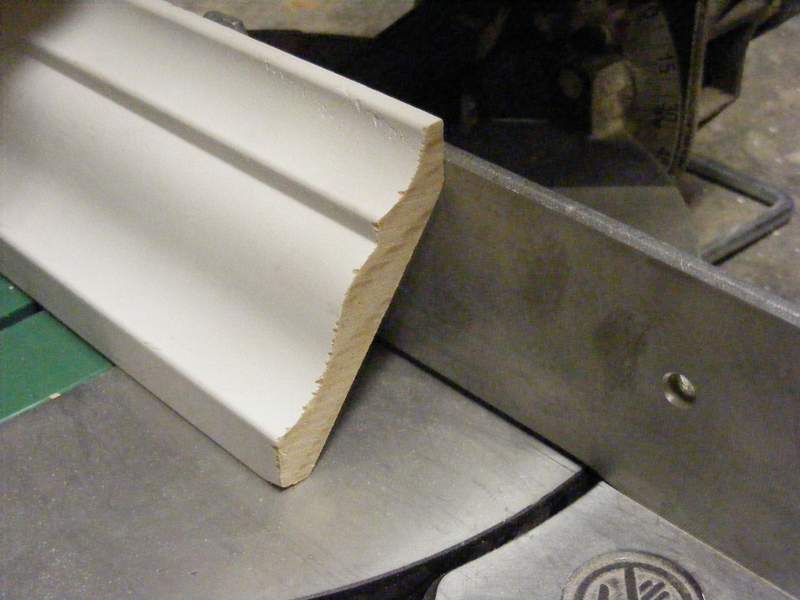
Another potential source of error is cutting the miter angle. I think the simplest method is to pretend that the bottom part of the miter saw is the ceiling, and that the vertical fence part of the saw is the wall.
Position the molding upside-down at the same angle as it would be when in position on the wall. Then, simply set the saw to whatever angle you require.
I have read of another method where the molding is held flat and the saw blade is angled in two directions. But that just seems way to complex and fraught with danger for simple guy like me.
Useful Tools for Crown Molding
Miter Saw
You don’t have to use a miter saw, the same methods apply with a hand saw. But, a miter saw is a jolly handy thing to have. It will create cuts that are straight and accurate.
Nail Gun
Another thing you don’t need, but makes the job much easier is a nail gun. Especially if you are doing this job alone, the one handed operation of a nail gun helps with fast, accurate fixing of molding.
A couple of years ago, we bought a cheap 18 gauge brad nail gun from Harbor Freight for about $15. Well, the other day it decided that we’d had our money’s worth and gave up the ghost. So, we went up market a bit and spend $80 on an Hitachi. So far, it’s been awesome. Much better than the cheap one ever was.
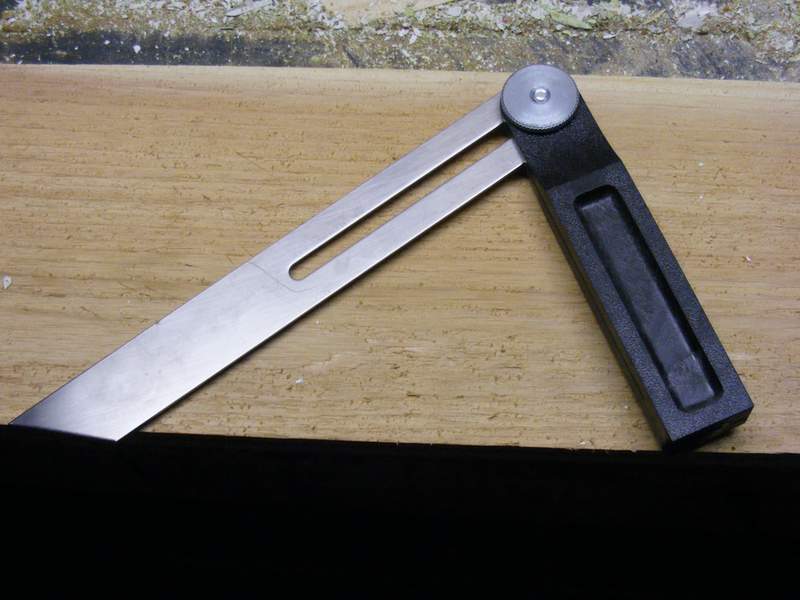
Adjusty Angle Thing
It’s probably got a proper name, but I don’t know it. It looks like this:
If you are creating joints at angles other than ninety degrees, measure the angle with an angle measuring tool. The angle for the miter will be half the total angle.
So, those are a few of the things I’ve learned about installing crown molding. Essentially, power tools can make the job easier, but paying attention will save the most time and money.


