
Lisa: I started an organic compost pile at home.
Jesse: Only at home? You mean you don’t pocket-mulch?
Lisa: Oh, it’s so decomposed!
– The Simpsons
Occasionally, I do community education sessions on gardening topics. My favorite subject is composting. People come in having read lots of complicated instructions online, and I have the fun of telling them how easy composting really is in practice. Basically, if you make a pile of vegetative matter, it’s eventually gonna rot. There’s not much you can do wrong!
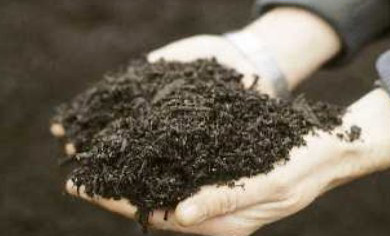
Rotten goodness! (image: Sonoma County Master Gardeners)
The more complex instructions, including carbon/nitrogen ratios, layering techniques, and compost thermometers, aim at the fastest possible end result. If you just want a place to put your leaves and scraps to make compost at some point, it’s much easier.
What you don’t need:
- An understanding of C/N ratios (thinking browns/greens is more intuitive).
- Compost starter of any sort (microbes that make stuff rot are everywhere).
- A compost thermometer (life’s too short).
- A special plastic bin (fills up too fast and often ugly as sin).
- A kitchen scrap caddy with charcoal filter (plastic baggies or cookie jars work fine; if it smells, take it out).
What you do need:
- An outdoor spot for a pile of stuff.
- A pile of stuff.
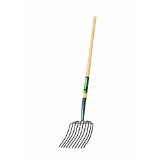
- A garden/manure fork.
What to do:
- Pick a place for your compost pile. You probably want to make this somewhere that isn’t in the middle of your view (or your neighbor’s).
- Start throwing down some plant-based stuff. No animal, meat or dairy waste (eggshells are ok). You can throw in coffee grounds and filters, tea bags, and shredded black-and-white newsprint — they are plant-based too. Avoid throwing weed seeds in there in case they don’t get baked enough.
- Try to vary the size of the stuff. It’s good if air flows through the pile a bit, and variously sized chunks gives you the needed texture.
- Think roughly 2:1, browns to greens. Or 3:1, or 4:1. There’s disagreement on this, so basically, have some of each, but more browns. A “green” is something that would become slimy if left in your fridge for a while. A “brown” is dead leaves, newsprint — the vegetative stuff that wouldn’t get slimy in your fridge. These things aren’t necessarily green or brown, obviously. Don’t worry too much about the ratio, though — if you have a lot of leaves in there, boost up the wet, juicy kitchen scraps a bit, or vice versa. If the ratio’s wrong, it will still rot.
- Every couple of weeks, take your fork and turn the stuff over a bit. If you don’t, it will still rot — it will just take a lot longer.
- If the pile dries up, sprinkle some water on it. It helps if it stays moist but not soggy. But if you don’t, it will still eventually rot.
- When you start to get some finished compost, throw that business down in your garden beds. BOOYA!
You can make this more complicated or fancy. We have a two-bin system on a concrete platform that works great, but we made it out of scrap wood (free!), and it’s just an enclosure for a couple of piles of stuff. A chicken-wire cylinder is also good, but it’s still a pile of stuff. That will eventually rot. (Lots of designs are available here, here and here.)
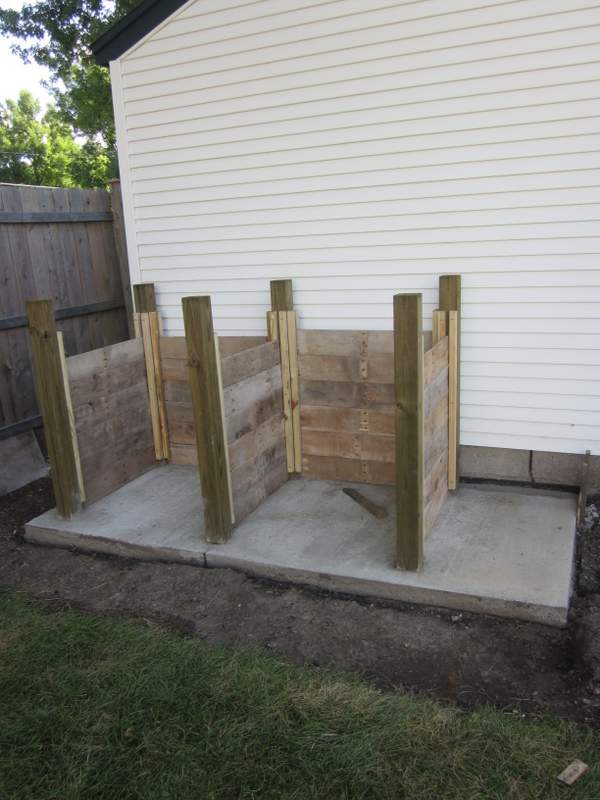
Our two-bin system, made of pallet wood, while under construction.
Only the internet could make “put things in a pile and let them rot” into a source of confusion and overwrought commentary! I hope this post helps make this process as simple as it really is.
