Picking Paint Colors: The Left Brain Part

AAAAAH!

– Homer Simpson’s Brain

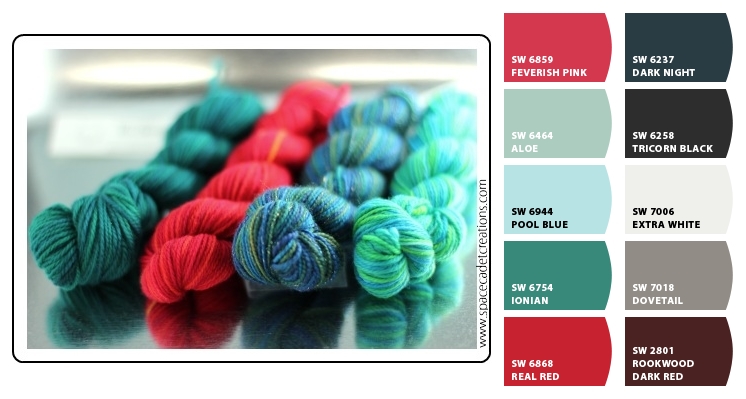
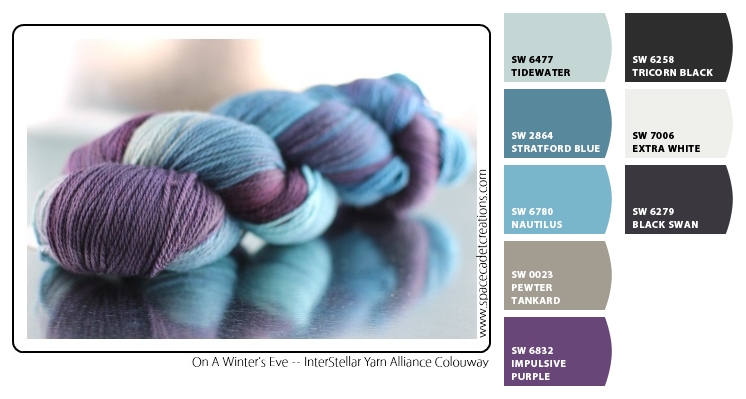
In my last post on choosing paint colors, I talked about the subjective, fun part of the process — finding great colors and translating them into paint chips to pick up and play with.

"If you choose not to decide, you still have made a choice." I thought that was mega-deep back in the day. Doesn't Geddy look unsettlingly like Doctor Who in this picture?

If you choose not to decide, you still have made a choice. Ooooh, deep! Doesn’t Geddy Lee look unsettlingly like Doctor Who in this picture?

But at some point, you have to make a decision! And that, my friends, is less fun. Try to remember that it’s ONLY PAINT! Hate it? Repaint it!

Fact is, though, I hate painting, so I don’t want to repaint. This is how I winnow down the choices as rationally as possible to keep painting to a minimum.

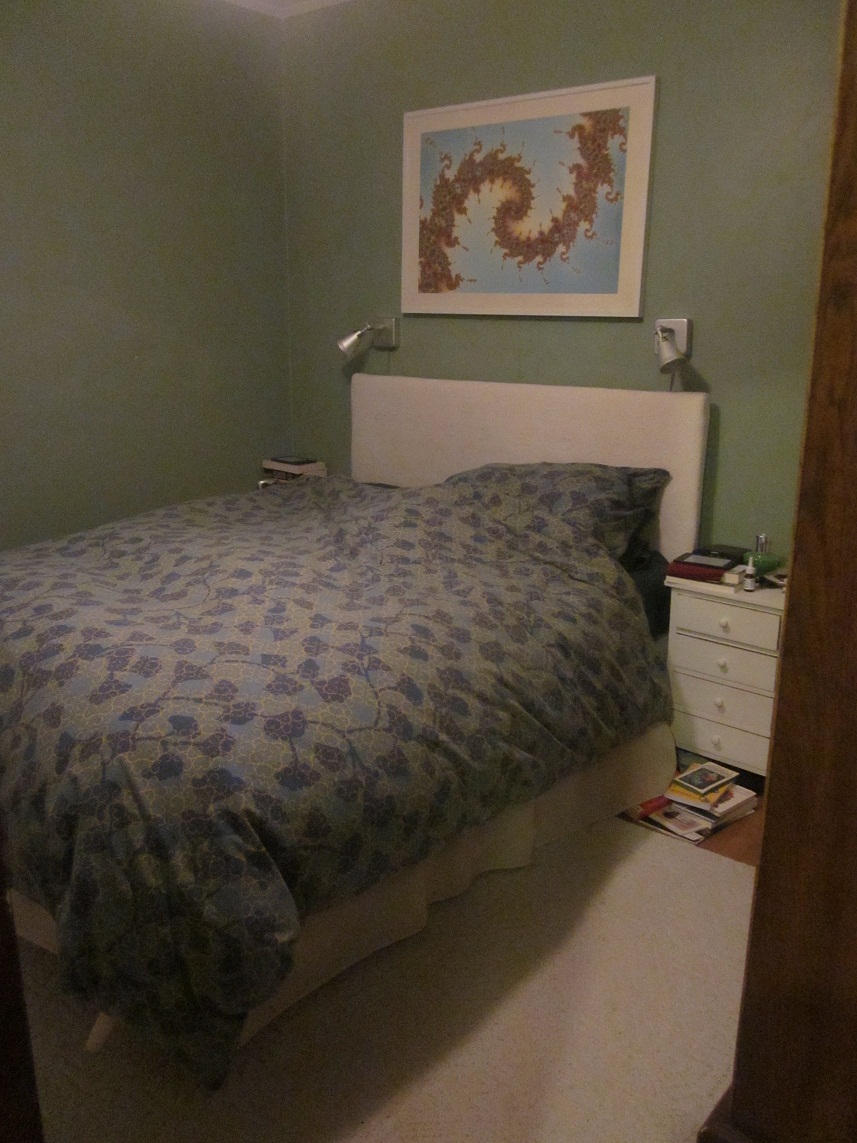
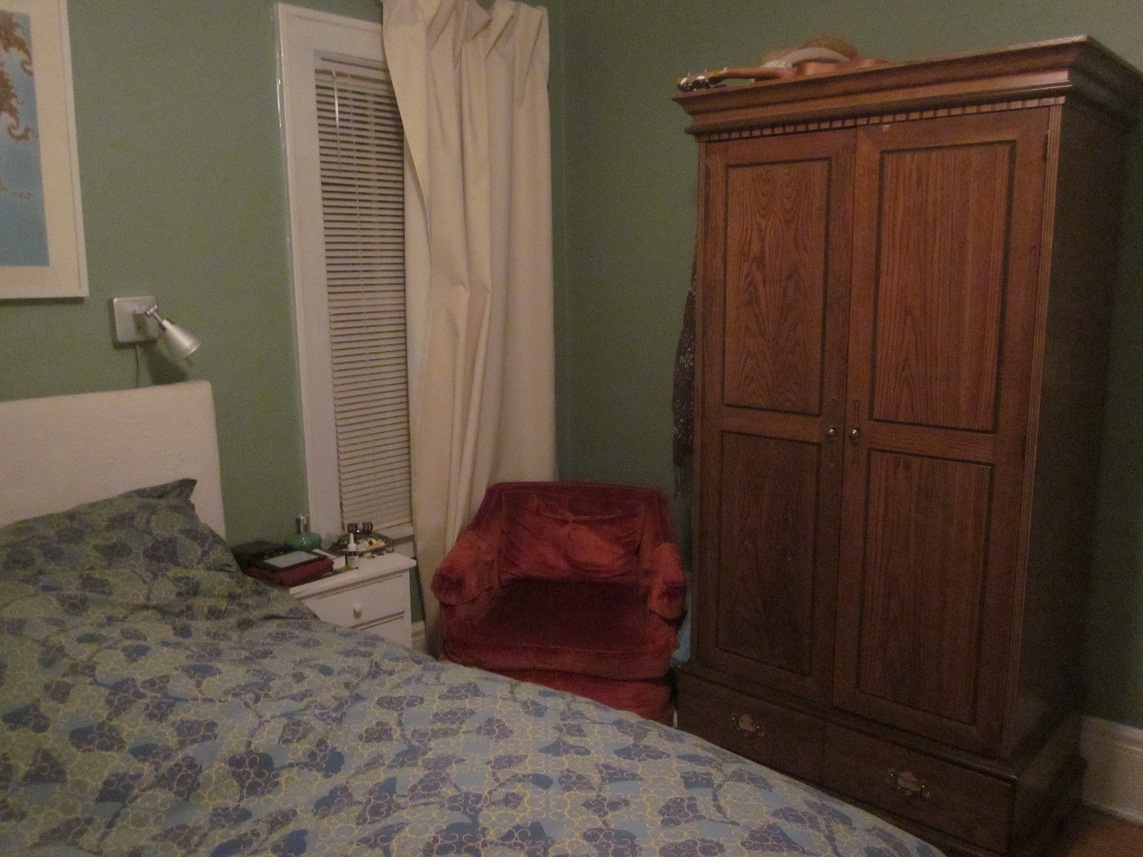
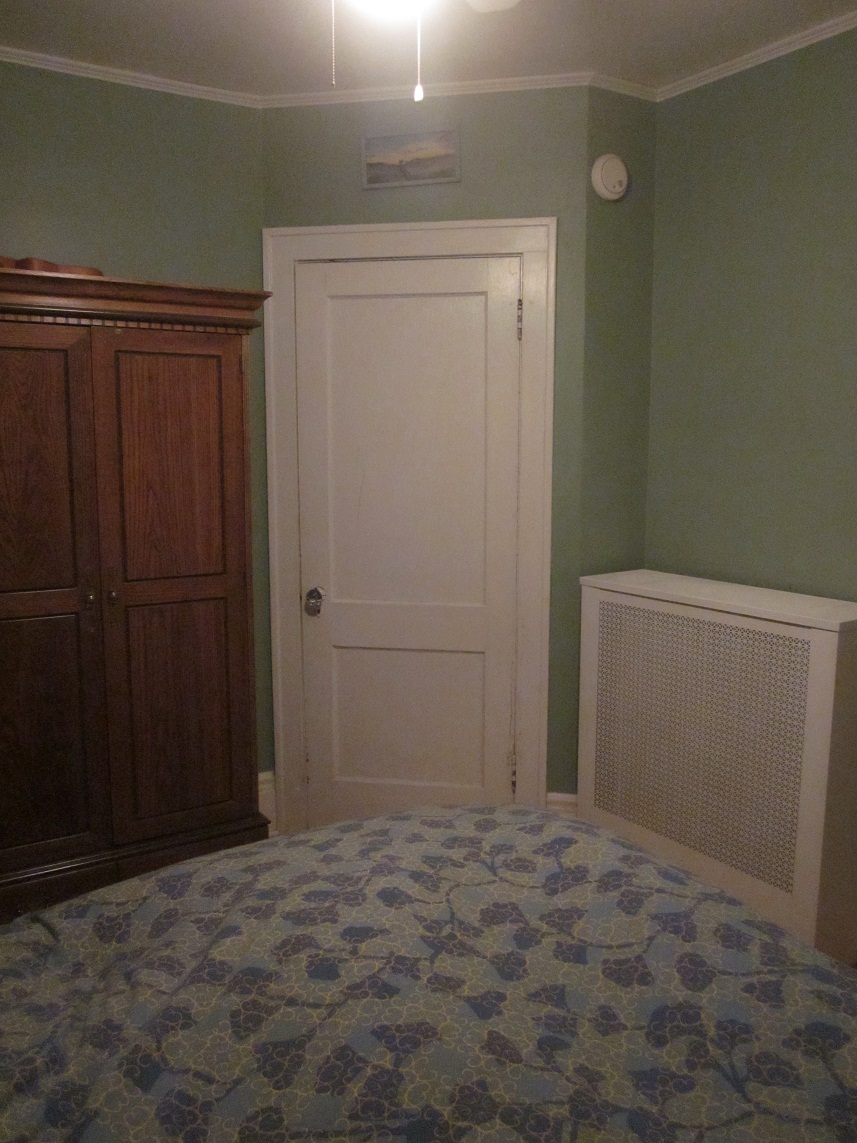
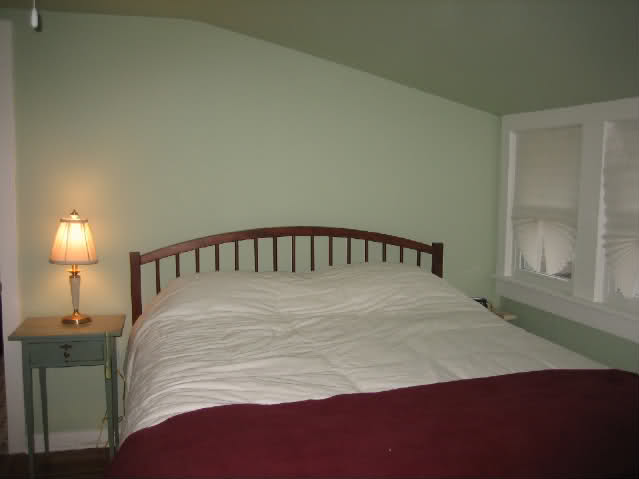
Our bedroom is currently a mid-green — not exactly a sage, but close (exact color is Mangrove Shade by Sherwin Williams). It’s time for a change, but not too much of a change — we still want green, but a different green.

paint-chips

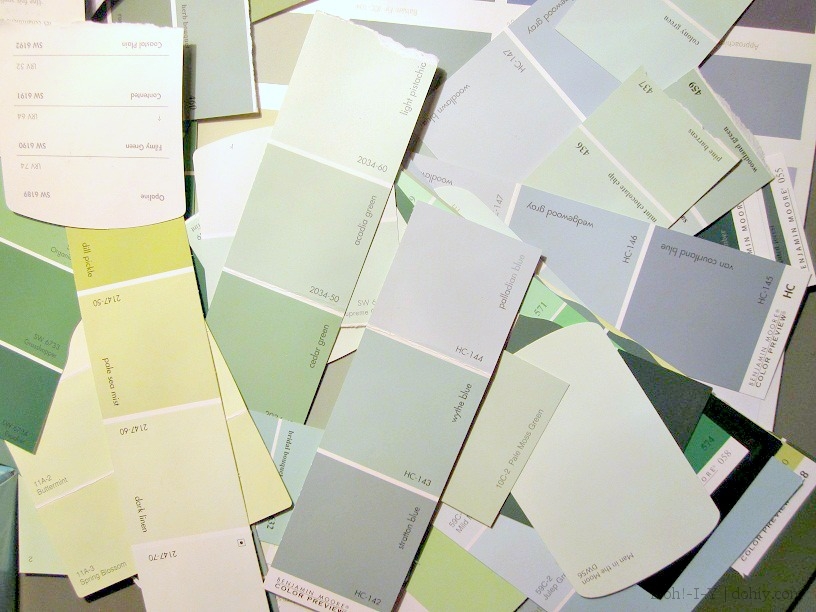
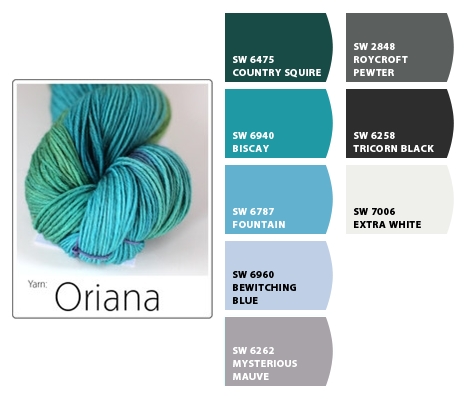
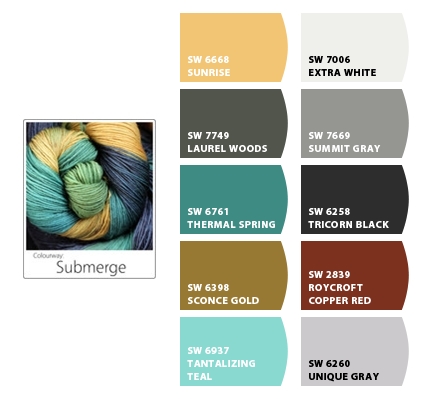
From the great mass of green colors from my bag o’ chips, we picked out the paler and bluer versions. Colors can “lean” toward the colors on either side of them on the color wheel, so greens can tend more toward the yellow or the blue. Not sure? Take your chip and hold it up against the main color. A blue-green against a pure green will look more blue, while a yellow-green will show up yellow. (It can also help to pick up chips that are on either side of your preferred chip and compare them.)

When I have some favorite chips, I take to the internet and run image searches for the paint manufacturer and color name. Colors look different in changing light and various settings, so seeing your color on actual walls is really useful. Check out this Benjamin Moore color (Van Alen Green, HC-120) that looks like a nice sedate green on the card:

hc120chip

And here’s how it looks in some actual rooms:
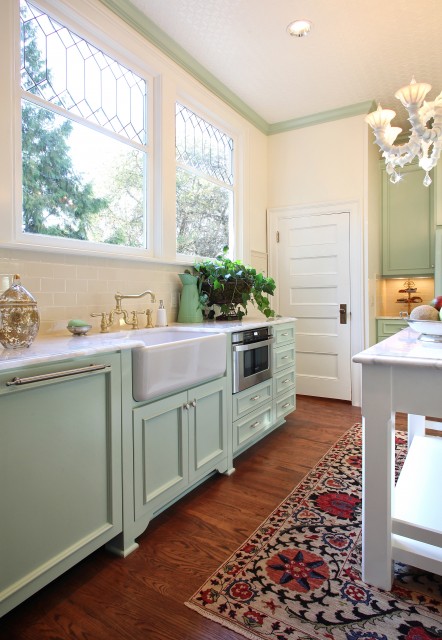
From user Buddyrose on Gardenweb

From user Buddyrose on Gardenweb (in artificial light and possibly with flash)
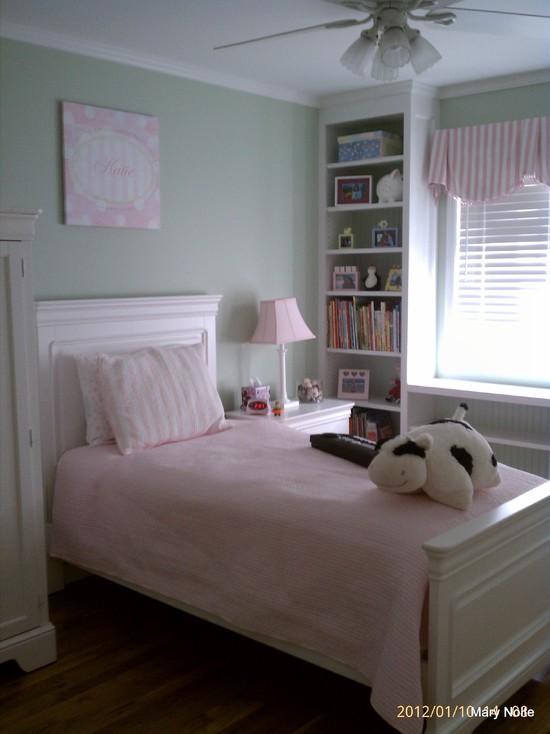
This is a great way to narrow down your choices. If you don’t like a color in any image, or it looks weird in a room with lighting similar to yours, then you may be able to throw it out. But remember that whoever posted the picture may have tweaked the colors in the image–the more pictures you can find for a specific color, the better idea you will have.

Alternatively, you can tweak it. Suppose I like Van Alen Green overall, but it’s a little too minty for me. Here are two websites that can help:

I can look up Benjamin Moore‘s Van Alen Green on either site and find near-match paint colors. On ColorCharts, I can find a range of commercial colors that are close to my subject, and then search for images of those colors to check. ColorCharts is also great for chip card shopping. No Benjamin Moore dealer nearby, but Home Depot is down the street? Martha Stewart’s Celadon is a 90% match for Benjamin Moore’s Van Alen Green. I’m out the door!

Easy RGB shows colors next to each other, so if I’m looking for something just a touch more green-green, I might check out Pratt and Lambert’s Placid Green. Easy RGB also gives you color themes to harmonize with your choice, which you can convert to paint names. Both sites are made of pure ginchiness.

But say you like how Van Alen Green looks in photos, and you especially like the images that most replicate the light in your room. No need to tweak! It’s time for the liveability test.  Buy a sample and see how it looks in real life.

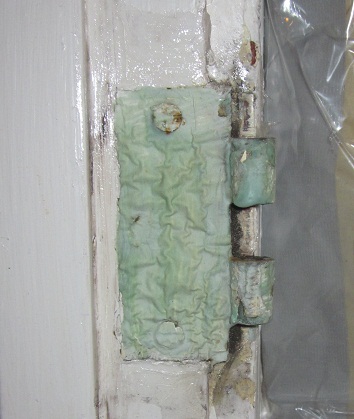
We’re not at this stage yet with the bedroom, but after I’ve done some plaster touch-ups and primed, I’ll have a clean slate unaffected by the current green paint. Then I’ll pick up samples of my three (or so) finalists and paint a reasonably big patch of each. Looking at these colors at various times of day will bring us to a decision…or let us know we need to start over.

THIS is the stage we're at with the bedroom. The closet opening just keeps getting BIGGER.

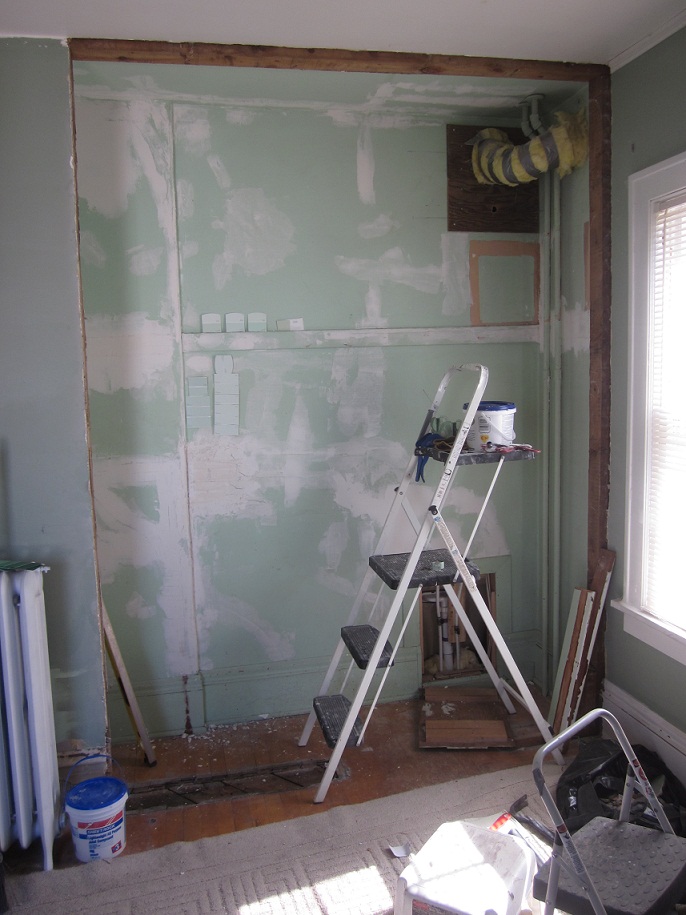
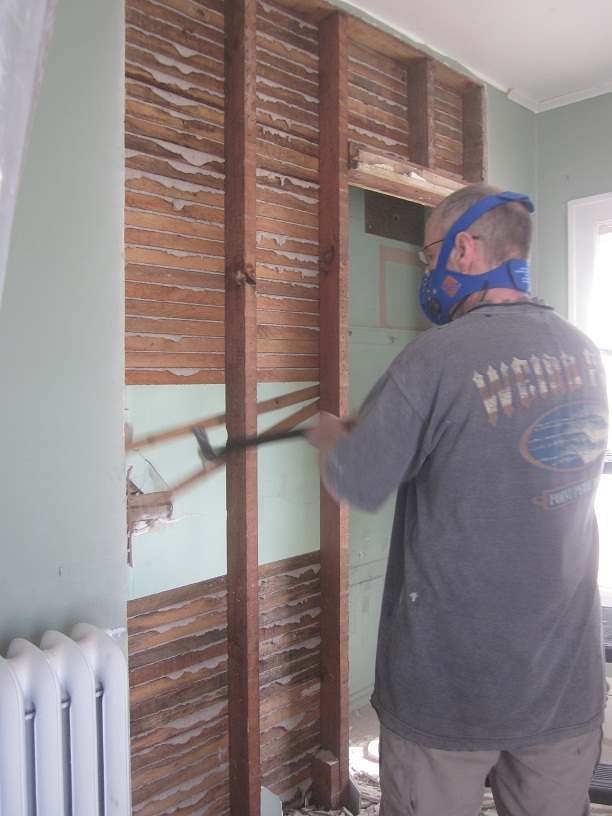
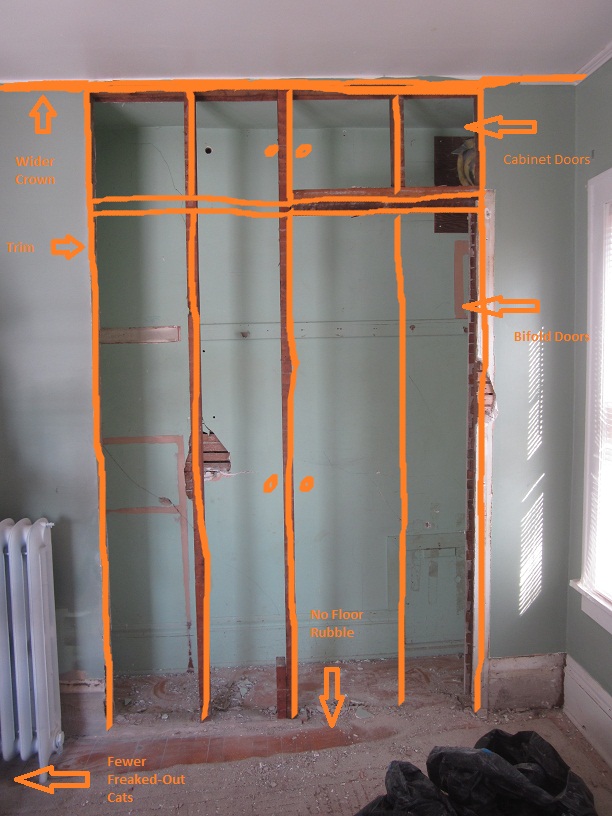
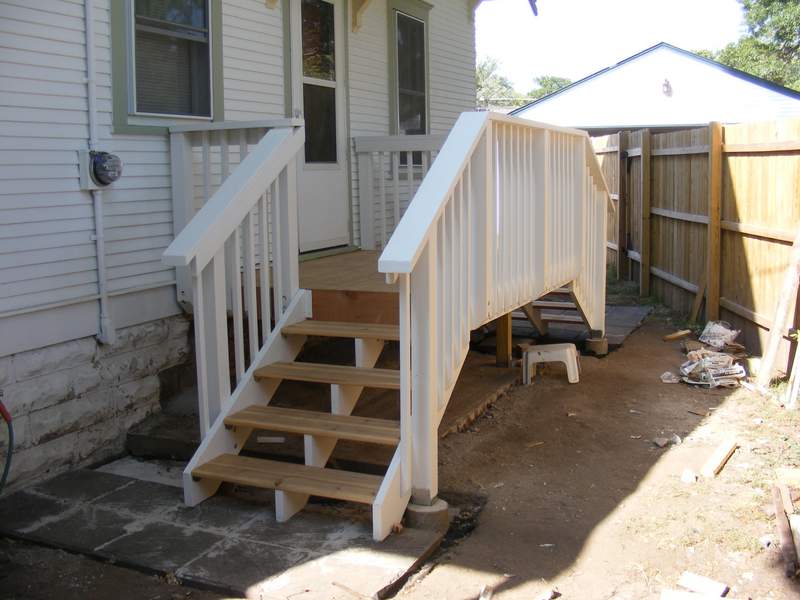
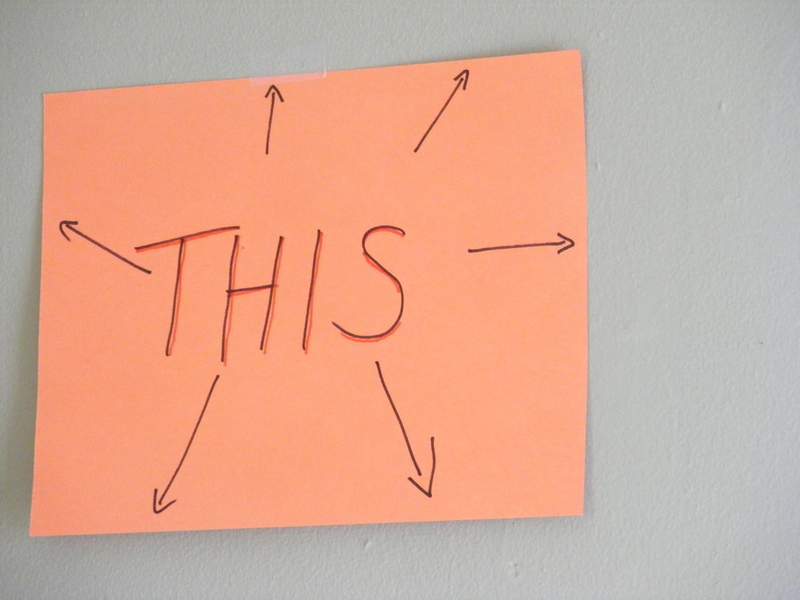
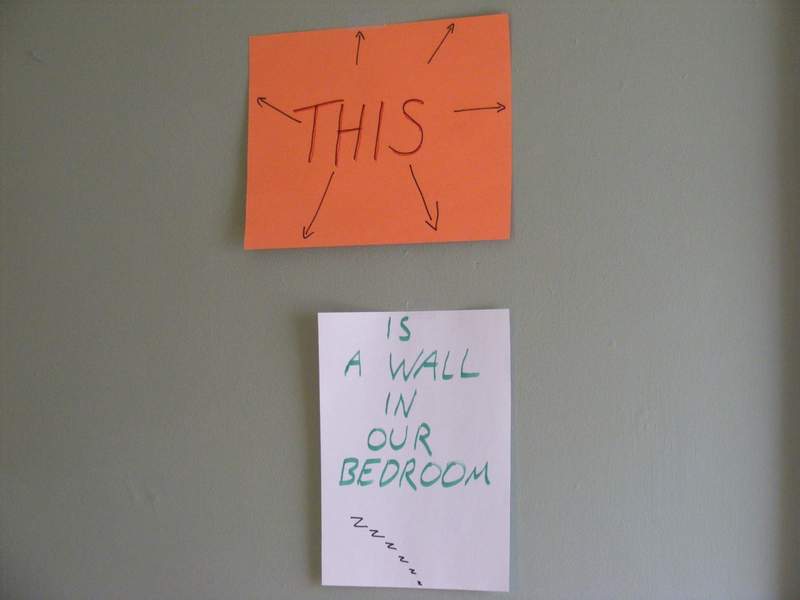
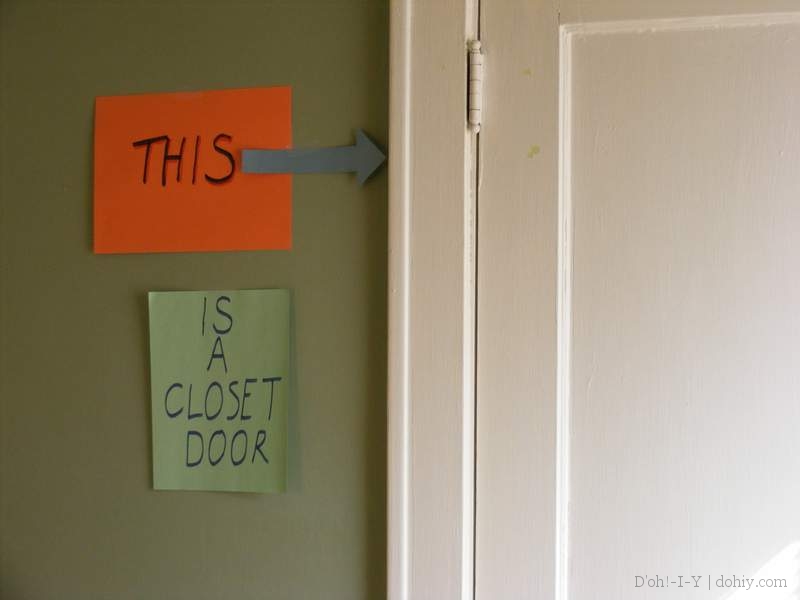
THIS is the stage we’re at with the bedroom. The closet opening just keeps getting BIGGER.

By the way, while I’m a fan of specialty paints (particularly Benjamin Moore), I’m not a purist on samples. Last I checked, Sherwin Williams doesn’t really do samples (you have to buy a quart), and Ben Moore has tiny samples of a select number or they will do a pint. I go to Home Depot and have samples made up in Behr (also a good paint). They are big enough to paint a good area, they are about $3 each, and they have most major manufacturer’s colors keyed into their system. Color matching will not be super-precise, but it will be plenty close for decision-making purposes.

Frankly, I drive myself pretty crazy with this part of painting. I hope these tips help keep you sane in comparison. Happy painting!

Posted in Decor, Walls & Floors | Tagged , , , | Leave a comment

Demolition Man

Huh? Noise! Bad noise!!!

– Homer Simpson

The Kev started tearing down the closet wall today. Let joy be unconfined!

Action cam at the demolition site

Action cam at the demolition site

(Lest you think me a girly-girl who lets my husband take care of the dirty work, I assure you that I’m usually up for some light demolition; my day job intervened.)

This is one noisy activity, and caused the cats much consternation. When I was a kid, I had a book featuring drawings of feline expressions, including something called the “look of doubt” involving one cocked ear and a slightly worried look. This cracked Mom and I up big-time. Because it’s funny! So funny that many of the “serious” LOL cats use this expression.

iarseriouscat128511186313750000

And with the noise from the bedroom, we’ve had quite a few examples here today.

Inigo expresses concern.

Inigo expresses concern.

Mayya plays it cool, but her ear gives her away.

Mayya plays it cool, but her ear gives her away.

This is not a load-bearing wall (yay!), and I wouldn’t recommend cutting into anything you aren’t sure about on that point. We also did not need to contend with wiring or pipes in this area, which is another thing to look out for (before whipping out the sawzall). Kev used our reciprocating saw to break out panels of plaster, then the crowbar (as shown above) to take down lath. To get a nice straight line in the plaster by the last stud, he scored the wall with an angle grinder before taking it out. He is currently using what’s left of the sawblades to remove the studs.

Prior to stud removal

Prior to stud removal

The stud by the new (still not leaking!) radiator is further right than we expected, but we will still be left with a five-foot closet opening. Bifold doors are sold for the actual size of the opening, so a 60-inch opening calls for two pairs of 30-inch bifold doors. The manufacturers figure in the necessary gaps. There’s a lot of wiggle room in this type of installation — you wouldn’t need to be Houdini to escape from our new closet.

With the wall open, it’s easier to show what we’re trying to accomplish.

Behold my amazing Paint skills!

Behold my amazing Paint skills!

We generally strive to be sympathetic to the house’s era, but ultimately, the house serves its occupants. While bifold doors aren’t exactly 1922 state-of-the-art, accessing this storage space more easily is going to be very enjoyable. Almost as enjoyable as watching the Kev be all manly wielding implements of destruction.

Posted in Construction, Walls & Floors, Windows & Doors | 2 Comments

Picking Paint Colors: The Right Brain Part

And now it’s time for Match Game 2034, with Billy Crystal!

– The Simpsons

paint chip bagSince our bedroom renovation is underway (and going well so far), it’s time to start thinking paint colors.

Who am I kidding? I’m never NOT thinking paint colors. I have a big ol’ bag of paint chips that I’ve collected over the years. The ever-expanding Chip Bag is a great conversation starter (no lie), but it’s also a good place to start sorting through colors.

But what if you have no specific direction in mind? You gotta start somewhere, so why not start with, “PRETTY COLOUR!!!! WANT WANT WANT!” Maybe that color isn’t on a paint chip. Well, hurrah for technology…

SpaceCadet Creations' unbelievable hand-dyed yarn translated to Sherwin Williams paint colors

SpaceCadet Creations’ unbelievable hand-dyed yarn translated to Sherwin Williams paint colors

Sherwin Williams offers LetsChipIt, which allows you to generate paint colors from a digital photo — either uploaded or found online. It’s great fun! I was in a winter-will-never-end funk the other night, but running SpaceCadet Creations’ yummy yarn colors cheered me up no end

Yarn 2

People, I don’t even knit, but SpaceCadet makes me want to start! The hand-dying (and photography) are so gorgeous.

Yarn3

SubmergeSherwin Williams gives you the paint color, name and number, and you can click on the colors online to play with them in their Color Visualizer feature (applying colors to a room).

Sherwin Williams isn’t the only game in town. Several paint makers have apps:

  • PPG has the Voice of Color app to match photos to the Pittsburgh Paints pallette.
  • Olympic Paints’ ColorClix gives matching and coordinating colors from your photos.  
  • Benjamin Moore offers the well-reviewed Color Capture app to pull colors from your images.

So the next time the color of the dusk sky softly calls your name … just whip out your phone and find out how to replicate it!

SpaceCadet

Special thanks to SpaceCadet Creations for being so nice about letting me use their images. And for cheering me up out here on the tundra. Give them a click!

Posted in Decor, Walls & Floors | Leave a comment

The Unbelievable D’ohless Radiator Swap

Catch you later, radiator! I’ve never felt more alive!

– Marge Simpson

A strange thing happened today that left me with an unfamiliar feeling. As I mentioned before in This ‘n’ That, the radiator in one of our bedrooms needed to be swapped for a smaller one. I did it today. There was a plan, and everything went according to that plan. I don’t remember that happening before.

This radiator was too big.

This radiator was too big.

We were going to have a heating professional do the job for us. But three quotes came in that were very similar, and way more than we were willing to pay. So we decided to do it ourselves.

This was all new to me. I had never worked on a heating system before. I didn’t know how to drain down the system, and I was even unsure about how to turn off the boiler correctly. I did all the research, read everything I could find about how remove and install radiators.

It didn’t seem that hard. I couldn’t see any reason we shouldn’t try it ourselves.

Unscrewing the collars from the pipes.

Unscrewing the collars from the pipes.

We went to Menards yesterday and bought a few things that we thought we might need: a key to bleed the radiators, some thread paste, and a length of hose to go from the boiler to the drain.

We had heard that we would need to replace the valve and elbow. I couldn’t see why that should be. But anyway, we went and found a plumbing supply place (remember Love in the Time of Radiator Repair?), and checked that they stocked any bits we might need. They did, which meant I could run over there if I needed anything.

Extended Pipe Wrench

Extended pipe wrench

As it turned out, we didn’t need any new bits. The fittings all came apart in good condition. Some of them weren’t too keen on unscrewing, but they were persuaded by the sight of a three-foot length of pipe on the end of my pipe wrench.

I cleaned the decades of paint off the fittings, cleaned and wire brushed the threads, and made sure the internal contact surfaces were clean.

The cleaned up pipe fittings

The cleaned-up pipe fittings

Thread paste was applied, and the fittings were screwed into the ‘new’ radiator. The pipe wrench, with its three-foot extension, was used to tighten the fittings as far as possible.

1563 1564

The radiator was moved into place. It took a little bit of fiddling around with a crowbar to line up the fittings, but once in place, the collars on the fittings easily screwed onto the inlet and outlet pipes. Tightening up the collars pulled the radiator into position, and again, the extended pipe wrench finished the job.

I refilled the system and turned the boiler on. The first time I checked the ‘new’ radiator, there was a very small amount of water underneath the top fitting. Here we go, I thought. Now I’m going to have to re-drain the system, undo the fitting and work out how to stop it leaking. This, I thought, is going to take ages and become really annoying.

But, to begin with, I thought I’d see if I could stop the leak by tighten the fitting a bit more. I was able to turn it a very small amount, about 20º or 30º. Then, I stood back and waited. Nothing happened. It didn’t leak any more. I still go in there and check for leaks every half-hour or so. But it’s been three hours now and it’s still dry. Wait a minute while I go check it again…yep, still dry.

New radiator in situ

Et, voila! New radiator in situ.

And that was it. At no point was there any reason to get even slightly annoyed. I think this is a first for us.

So, I’m left with this unfamiliar feeling. It’s not an unpleasant feeling. I think it’s mostly happiness and satisfaction, but there is an element of ‘have I left the cooker on?’

Posted in Before & After, D'oh!, Plumbing | Leave a comment

Stepping Out (Without Falling Over)

This is how we left the new side door steps in Conquering the Stoop.

building steps 049

We needed a way to access the deck that didn’t involve any sort of vaulting. I’d heard that steps were a handy way to move from one level to another, so that’s what we decided to go with.

Plus, stairs make the house safe from Daleks.

Plus, stairs make the house safe from Daleks.

When you design steps, you have a choice of stringer type. You can either buy or make one with notches cut out for the steps to sit on. Or, as we did, you can use galvanized brackets screwed to the stringer to support the steps.

If you make your own stringer, calculating its length and the rise and run of the steps can be quite tricky. My preferred method is to make a full scale drawing on a sheet of plywood. I first measure the rise and run  from one corner. Then, I draw in the stringer. Then the rise and run for each step can be calculated by dividing up the length of the stringer.

There is an easier way: you can use an online stair calculator. Follow the link to read about the ones that I think are the best.

building steps

Steps attached to the platform and posts. You can see the top of the concrete pier that the post sits on.

The steps are three feet wide, which is a long span for a deck board, so we used a notched stringer as a center support. I cut out the notches so they fit snugly under each step.

The top of the finished steps was fitted to the deck, and the bottom was fixed to a pair of posts. These posts serve as both an anchor for the steps and a base for the handrail.

These posts stand on concrete piers similar to, but a smaller diameter than, those forming the base for the platform. The posts are attached to the piers with bolts set into the concrete. The bolts attach to metal brackets that support the posts. Nail through the brackets to really lock them into place.

building steps

Steel brackets attach the steps to the platform. This is before they were painted, but the paint didn’t stop them rusting.

The do’h for this project was in using painted rather than galvanized steel brackets to hold the top of the steps to the platform. In a short time, the backets began to rust and discolored the nice cedar boards on the side of the platform. We swapped them out for aluminium ones, which have been great so far.

building steps

Sorry, little plastic stool. You had your chance and were found wanting.

With the steps in place, it’s now much easier to get into the house. All that’s left is to add hand rails all the way around. Check local codes for the correct height and remember to leave gaps for stair access.

The before:

demolishing steps 003

And the after:

building steps 031

We don’t miss the astroturf at all.

Posted in Before & After, D'oh!, Outdoor Building Projects, Porch, Yard & Garden | Leave a comment

Step by Step: Stair Calculators

Whether you are building a deck or a staircase, you’ll need the steps to fit in the available space and to be easy to navigate. To do so, you’ll need to determine the size and depth of the steps, keeping in mind that building codes may impose specific requirements.

I’ve got my own technique for determining stair rise and run, but there are easier ways. I recommend a couple of really good calculators that can help you when building stairs.

The step calculator on Decks.com is easy to understand and gives very useful  information. There is a diagram that illustrates all of the terms used.

The information it asks for is:

  • Total rise,
  • Step run, or tread type,
  • Deck joist size, and
  • Stringer attachment method.

Output includes:

  • Stringer length,
  • Total run,
  • Total height,
  • Step run,
  • Step rise, and
  • The angle between the ground and the stringer.

The other good calculator is the one provided by Blocklayer.com. This calculator gives you loads of information, including ALL the measurements you’re gonna need. But it can be a bit daunting at first sight. It also has a diagram that explains the terms used. The really cool thing is that it redraws the diagram to scale for you.

All inputs are chosen from drop-down menus or radio buttons and include:

  • Total rise,
  • Possible and ideal rises for each step,
  • Ideal run, total run, or angle,
  • Stringer width or concrete thickness,
  • Tread thickness, riser thickness, nosing, and stair width, and
  • Headroom or floor opening, and floor thickness.

The output includes:

  • All the measurements provided by Decks.com, plus
  • All other possible stringer dimensions.

If you just want a quick rise and run calculator, go to Decks.com. But if you want a detailed, scale diagram with all measurement, Blocklayer.com would be the best choice.

Posted in Calculators, Construction, Outdoor Building Projects, Porch, Walls & Floors, Yard & Garden | Leave a comment

Life Lessons: Giving Away a Mattress on Craigslist

Hey, they’re trying to learn for free!

– The Simpsons

We’re avid Craiglisters, so I thought I knew a thing or two about the site, but today was just super-instructive. I end this day older and wiser for a change.

The much-desired bed.

The much-desired bed.

We’re taking implements of destruction to our bedroom walls, so the mattress and boxspring have to go until we’re ready to move back in. It’s time for a new mattress, so we thought HEY, let’s give this set away on good ol’ CL.

I listed it, and received 20 inquiries in fewer minutes. I contacted the first responder (I’ll call him Bob) who wasn’t trying to cherry-pick. (Seriously, people, it’s a free bed — I don’t know what the coil count is!) Bob said he could come in a half-hour. SWEET!

About a half-hour later, I notice a truck drift past the house and park around the corner. After a weirdly long gap, Bob’s at the door. But he only wants the mattress, not the boxspring. We are very apologetic, but explain that it’s a package deal or nothing.

LESSON 1: If you are listing something with interdependent pieces, be clear in the ad that it’s all or nothing. I didn’t explicitly say that the mattress and boxspring had to go together. It didn’t even occur to me.

I go back to the responses and call the next guy. Carlos is VERY EXCITED about the mattress, and says he can come in 45 minutes. I make sure to ask, “You want the boxspring too, right?!” He confirms, and all is well.

Twenty minutes later, the bell rings. Carlos must be early! I go to the door, and a very pleasant man introduces himself.

His name is Bob.

?????????????

Ruh-roh?

I am flustered, to say the least. I tell him the whole sad tale, and he is very nice about it. I promise to call him if Carlos doesn’t show. For the second time today, I apologize. Profusely!

So this is a thing now? You put your general location (not even an address) on the CL map feature, and some random guy drives to your neighborhood, looks around for the house with the MATTRESS ON THE PORCH, and then brazens it out?

LESSON 2: Don’t use that map thing on Craigslist!

Also?

LESSON 3: Ask for their name when they arrive. That first Bob wasn’t the One True Bob, and I could have saved myself considerable embarrassment (and True Bob some inconvenience) if I’d figured out that Fake Bob was only a pretender to the mattress succession.

Which leads me to the most surprising lesson of the day…

LESSON 4: Don’t underestimate what folks are willing to pay for. It would seem that people will trample their own mothers for a free used mattress! I could have charged a little something for this puppy and still had it gone same day, all without having to meet Fake Bob.

Posted in D'oh!, Furniture, Salvage | Leave a comment

The Lazy Stripper’s Guide to Hinges (Continued)

Remember when I succumbed to laziness and stripped paint off door hinges without removing them? There, I discovered that regular cheapo masking tape didn’t fully protect the door finish from the effects of the stripper. We just took a door off the hinges to haul a cast iron radiator out of the basement (everyone survived!). While that was down, I tried some different techniques.

1.  Good Masking Tape

I looooove ScotchBlue Painter’s Tape. It’s great for avoiding paint bleed and for making super-sharp lines between areas.

I painted the panels on the flat side garage door with ScotchBlue tape, and they are SHARP. This picture is not super-sharp because I ran out there to take this picture in a semi-blizzard. I love Minnesota in springtime.

I masked the panels on this flat door using ScotchBlue tape, and they are SHARP. This picture is not super-sharp because I ran out there to take this picture as the wind was picking up for a blizzard. On March 18. I love Minnesota in springtime.

But as with the regular masking tape, the stripper eroded the adhesive bond. I don’t think there’s any getting around that chemical reality. In this case, it was exacerbated by the fact that I had to do two applications of paint stripper because of the nastiness on the hinges. My scraper technique certainly didn’t help the tape edges stay taut.

2. Freehand!

Nope. Just no. Next!

3. Duct Tape

I still had seepage and adhesive erosion at the edge, but the worst thing was that the duct tape pulled off some of the door finish. It just caused a whole different problem, and I don’t recommend it.

4. Petroleum Jelly

This is not an absurd non-sequitur: I have a white blaze on one temple.

Elsa Lanchester as the Bride of Frankenstein; this is, of course, the look I'm going for.

Elsa Lanchester as the Bride of Frankenstein; this is, of course, the look I’m going for. Check out the eyelashes!

Thing is, it wouldn’t be just a blaze if I didn’t cultivate it. I started to go grey in my early 20s, so I’m a long-time home colorist. When I decided to let the blaze part grow in, I started protecting it from the hair color with Vaseline. So I’m coloring my hair the other night, and it occurs to me…

…WHY NOT MASK PAINT WITH VASELINE TOO?

Why not, indeed — it works!  I carefully spread petroleum jelly on the paint surrounding the hinge face, taking care not to get any on the area to be stripped.  I went about an inch out from the hinge in all directions. Then, I carefully painted the stripper onto the hinge face.

Zinsser's on the hinge, Vaseline on the door. Note that the finish I'm covering is not all that great to begin with.

Zinsser’s on the hinge, Vaseline on the door. Paint chipping issue at the bottom right was pre-existing.

Ideally, when I had to go to a second coat of stripper, I should have cleaned around the hinge and reapplied petroleum jelly. I also could have gone further out from the hinge with the protective coat. But the outcome was still head and shoulders above my other ideas.

Hinge detail after. Paint intact! Not that it's great paint, but still.

Hinge close-up detail after. Paint intact!

Now, I still wouldn’t do this if you have a pristine surface, which this obviously isn’t. But if you are feeling rather lazy and don’t mind the possibility of a little touch-up down the line, give Vaseline a try.

Posted in Decor, Garage, Repair & Maintenance, Windows & Doors | Leave a comment

This ‘n’ That

All we need to do is follow the trail of destruction.

– Homer Simpon

We’ve moved out of the bedroom, so it’s Time.

DSCF9934DSCF9935DSCF9936DSCF9937DSCF9938DSCF9939DSCF9941DSCF9943DSCF9950DSCF9952DSCF9959

That is, if we can get the replacement radiator out of the basement…

Posted in Construction, Salvage, Uncategorized, Walls & Floors | Tagged , , , | Leave a comment

The Best-Laid Plans of Stacey and The Kev

I’ve got a plan! A plan that’ll fix you good…

– Homer Simpson

We are in the midst of moving our stuff so we can (finally) renovate the master bedroom. It’s always funny to me that just before we create a huge cloud of dust and rubble, we need to spend time clearing and organizing stuff. To make room for the chaos, you see. We’re sliding next door into Ben’s room while the master is out of commission.

Before..hopefully the after won't take too long.

Before..hoping that after won’t take too long

We’ve never done much to our room — other spaces were a higher priority — but our exasperation finally put it on the to-do list. A few years ago, struggling with a lack of clothes storage, we purchased a Lane armoire (Craigslist!). It’s a nice piece of furniture, but it was a monumentally bad decision (mine) for our needs. Despite having more space than our prior dressers, it’s not great as drawer replacement. It’s dark inside, and clothes tend to draft toward the back, where they are even harder to see. We both end up with clothes draped on chairs and radiators so we’re not fumbling around in there all the time. Plus, it looms.

Looming near the bed

Looming near the bed

The petite orange velvet chair is a favorite of mine, but it’s not usually so easy to see.

Looming near the door

Looming near the door

There is a plenty-big closet in this room. The problem is, it has one little tiny door into it, so most of the space runs inside the wall and is not easily accessible. It’s where things that need to be organized go to die.

Behind this 24" door? Almost 90" of inaccessible closet.

Behind this tiny door and huge radiator? Almost 90 inches of virtually unusable closet storage.

So under the category “not before time” we’re going to do something about it! After we clear out, the plan is:

  1. Swap out the oversized radiator for a smaller unit.
  2. Remove the door and open up the wall so we can reframe the opening to install bifold and cabinet doors.
  3. Install new crown molding.
  4. Add a couple of new electrical outlets.
  5. Touch up room plaster and paint.
  6. Bring in a storage bed and swap out other furniture.
  7. New drapes, new lights, new bedding, etc.

No biggie, right?! Fingers crossed we’re done by summer. Will keep you posted.

Related Posts Plugin for WordPress, Blogger...
Posted in Construction, Decor, Furniture, Organization, Walls & Floors | Leave a comment