
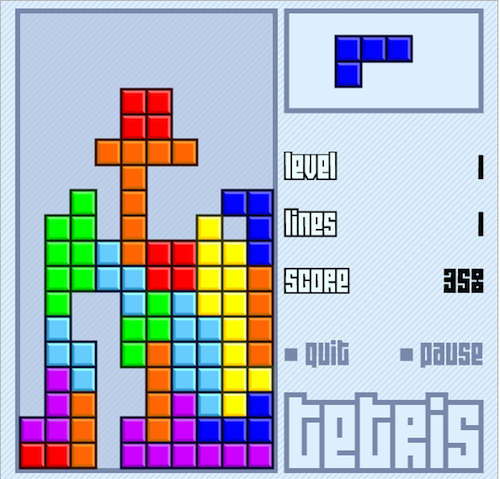
Bart: There is no way all this junk is gonna fit.
Homer: Now, don’t worry. This is what all those hours of playing Tetris were for.
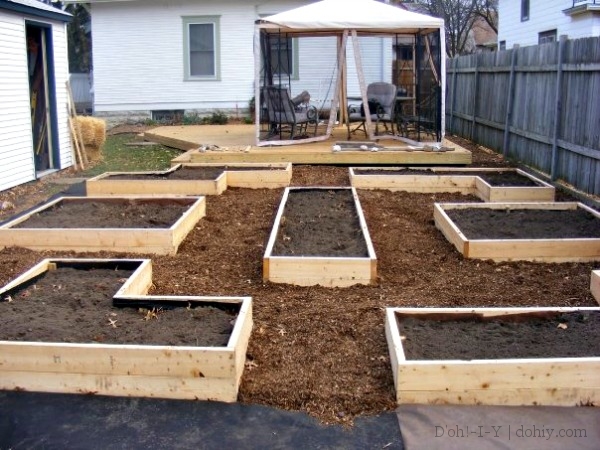
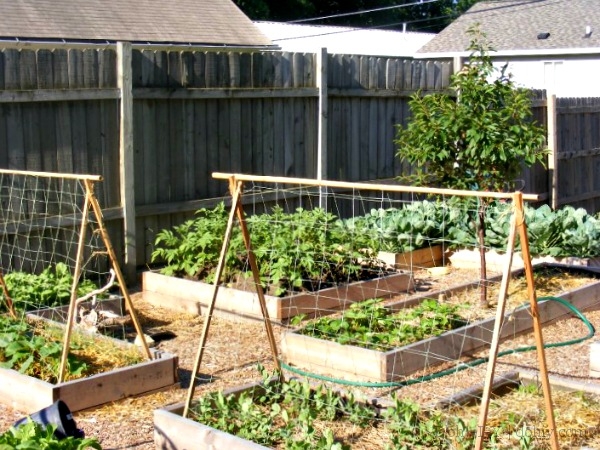
Fall is a great time to put in raised beds — do the construction now, and in the spring, you’re ready for the fun stuff. When we started dealing with the redneckitude of our backyard, we knew we wanted raised vegetable beds — we just needed to figure out the lay-out. We knew we wanted a central bed and enough room between the beds to move a wheelbarrow. One day, Kevin showed me a plan that made me laugh and that made sense. Here’s how it looked when we first completed it in fall, 2009:
Each bed is a Tetris piece, based on a 2.5 foot “square” — the paths are also 2.5′ wide so that everything is spaced out evenly. A great way to fit a bunch of raised beds into a confined space!
BUT MOST IMPORTANTLY, it tickles our geek sides! We get such a kick out of showing it to people who will also be amused by it. And for those who would not be amused, it just looks like a nice set of raised beds. Win-win.
The beds are constructed with 2″ x 6″ planks, doubled up for the height we wanted. Cedar is generally recommended for raised beds because of its rot resistance, but we used plain, untreated pine. Thing one, it was cheaper than cedar. Thing two, we were thinking we would tire of the Tetris lay-out and want to change it before too long. But this is their fifth full year in all weather; no planks are rotting yet, and we’re still loving the lay-out. This is one occasion where whimsy and function aligned, and how often can you say that?
I don’t have a photo of this, but once we marked the location for each bed, we leveled the ground for each unit and tamped it down with vigor. And with a tamper.

Then we laid landscape fabric across the whole area and set the beds. The planks are attached through their ends with three-inch deck screws. The stacked planks are attached vertically to stakes driven into the ground inside the corners and along the long sides.
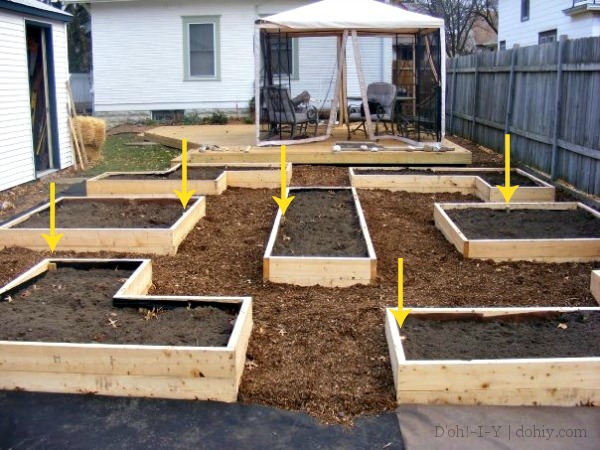
Some of the stakes are visible in this picture.
We used a large spirit level to make sure that the bed was sitting flat and level. Then, we cut the landscape fabric inside the beds and turned the flaps up against the inside of the bed walls, as shown in this superb diagram:
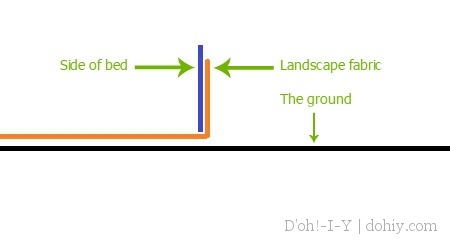
Cross-section (I hope that’s obvious): path on the left, bed on the right.
We tacked the landscape fabric a few places with staples and then filled up the beds about 75% full with good rich dirt. We put wood chip mulch down around the beds to make paths. Here it is in its first growing season:
Look at that tiny pie-cherry tree in the middle! It was the northern stand-in for a bay tree in the center of the garden.
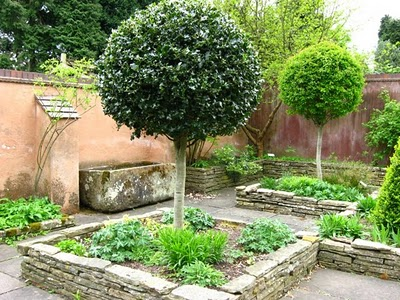
In the Birmingham Botanical Garden (via)
That cherry tree looooooooved that spot and got Big. Fast. It’s not bigger than it was supposed to grow…eventually…it’s just it’s already there and judging by what it’s doing to the side of its bed, it needs more root space!
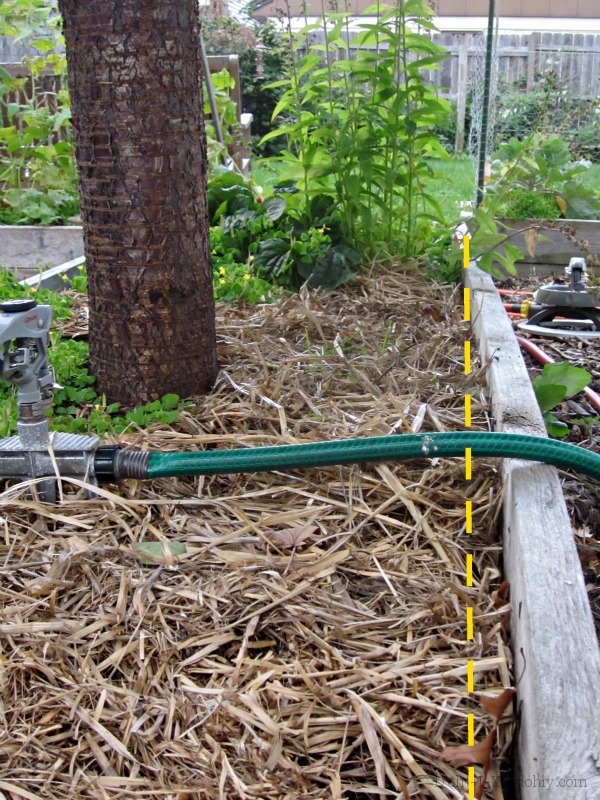
The tree is about its full height and width only four years on (10-12′ in both dimensions). It’s just too big for a 2.5′ bed. Come spring, we’ll enlist about 20 folks, detach the bowed side, and move this tree. I hope we can transplant it successfully so it can really dig its roots in. (I love this tree and regret that I didn’t think further ahead. Bah!)
But other than the misplaced tree, these have been perfect raised beds. The Kev knows how to put the “fun” into “function”!

3 Responses to Geek Garden