
It’s that damn chandelier again!
– Elton John
When I found the vintage light fixture for our bedroom, it did not have its matching canopy with it. I got a little overexcited while craft shopping and MacGyvered a new ceiling canopy to blend with the old light.
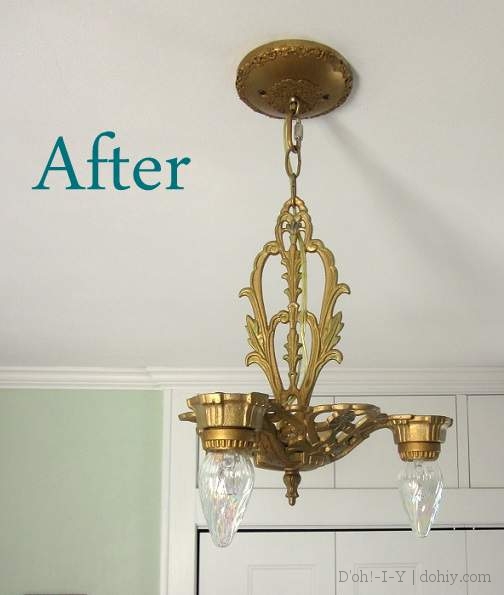
But I wasn’t thrilled with my canopy solution, and it distracts me from the fixture itself. Instead of enjoying the vintage light, I’m shaking my mental fist at my lack of craftiness on the canopy front.
Accordingly, I was on the look-out for a vintage or reproduction canopy that would better match the fixture. While strolling around Etsy one day, I saw this:
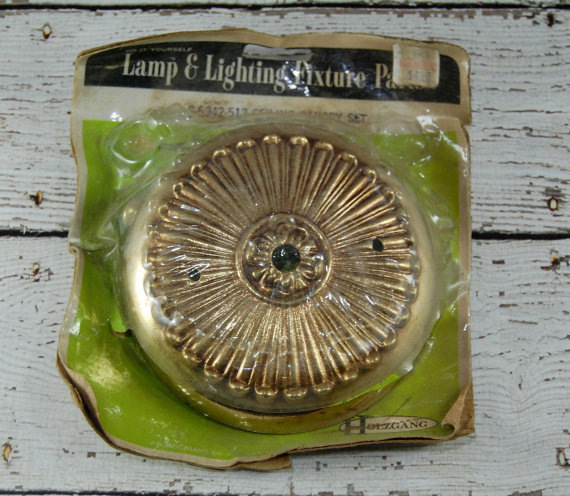
New old stock from Tahoma Salvage Supply
The seller listed this canopy as dating from the 1960s, but I thought it had potential to go with our much-older light. The motif and relief depth are similar. Plus, it’s the same size (and screw spacing) as my Super Special Craft Edition Canopy, so it would simplify installation.
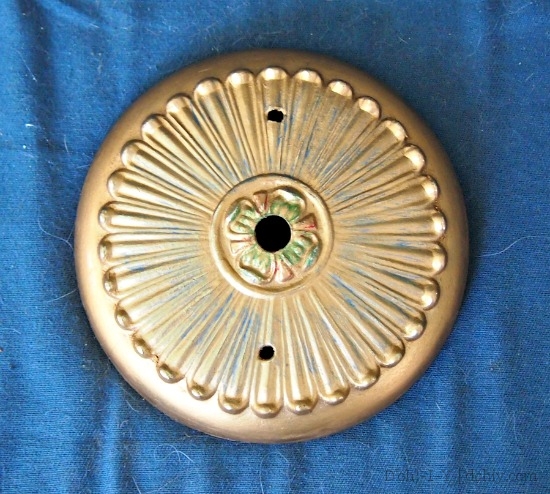
The canopy looks brass, but it’s just coated base metal. To bring it into line with the look of the finish I put on the fixture, I spraypainted it gold, then used Rub-n-Buff in Grecian Gold. I also added polychrome accents as I did on the fixture itself.
So far, so good, but we’re still on the ground. Swapping a ceiling canopy is like changing your underpants: you can’t do it without taking something else off first. The fixture is attached through the canopy, so the wiring needs to be undone and the fixture removed to execute the maneuver.
That need makes this a good juncture to talk about how to remove and install a chandelier or pendant ceiling fixture from a canopy loop. A canopy loop set-up hangs the fixture from the canopy itself, which is attached to the electrical box. The loop and integrated bolt are hollow so the wiring can pass through into the box to make connections. (If you are swapping a different type of ceiling fixture, check out the useful directions on About.)

A canopy loop kit (via)
Assuming that this is how your light is hanging, here are the steps to swap it out.
1. Gather Your Supplies
This is a low-tool-count project. The things you need (other than the fixture and the canopy with associated hardware) are:
- A friend
- A ladder (or, in our case, a tall bed)
- A voltage tester (either an amp meter or a simple light-up version)
- A screwdriver
- A wrench

Inigo with the tools and wire nuts
2. Safety First
The most important thing is TURNING OFF THE CIRCUIT. If you don’t know what I’m talking about, please don’t undertake this project right now (but do enroll for an Electricity 101 course near you and then stop back). If you do know what I’m talking about, make sure that you’ve turned off the correct circuit. Flip the wall switch a couple of times, but also use a voltage tester to double-check.
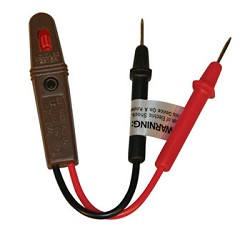
Cheap voltage tester with light — make sure the light is working before testing! (via)
To test a fixture, you don’t have to access the wiring itself — you only have to visit the wiring’s representative on the fixture. With the wall switch “on”, unscrew a light bulb, and use the tester to make a connection just like the bulb does.
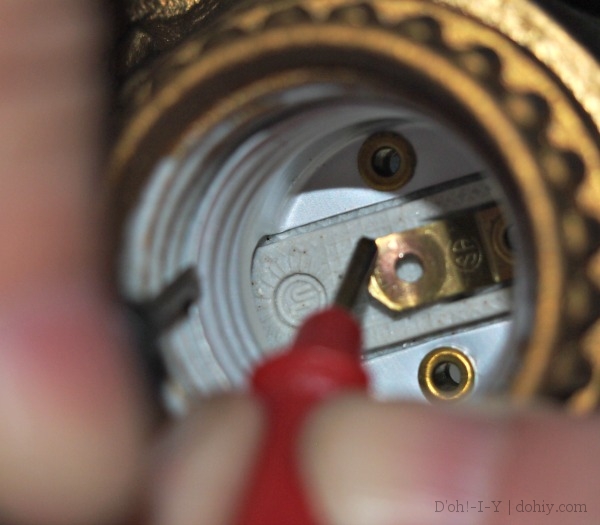
Put one probe on the tab at the top of the light socket, and the other probe against the metal threading on the side of the socket. If the circuit is off, there should be no current with the light switch on.
It’s still a good idea to also check the wires themselves once you’re up in there.
3. Get Loose
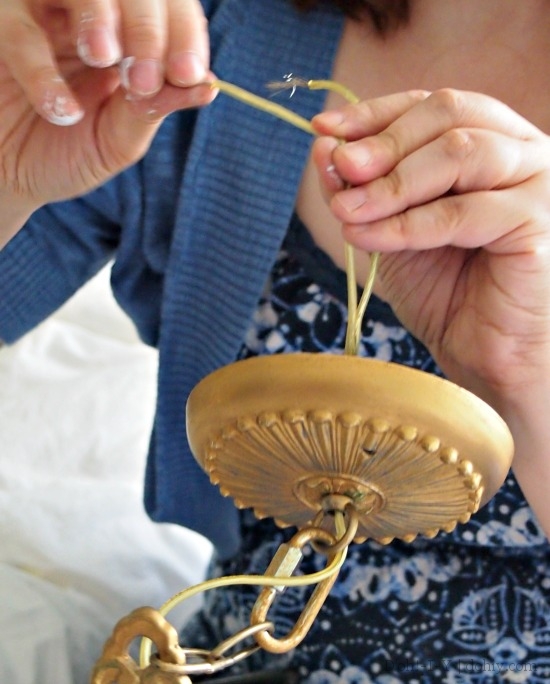
Here’s where your friend comes into the equation. One of you loosens up the canopy screws while the other one holds up the light fixture.

Or hold the light and unscrew the canopy while your friend takes an action shot for the blog.
This is the point that always makes me think of a classic bit from Only Fools and Horses (short and worth a watch if you haven’t seen it before).
Set the screws aside and unscrew the wire nuts holding the fixture wiring to the supply lines (set those aside too). Avoid touching the wires until you’ve checked them for current as well (just put a probe on each bare end of the supply wires). If the supply wires are not colored or marked for hot and neutral, note which one is attached to which fixture wire and mark them for the rewire step.
Now you can lower the fixture and the existing canopy. While it’s down, check that the box in the ceiling is solidly fixed. Ours is a ceiling fan box spanning two structural beams, and it’s firmly attached. If your ceiling box is wobbly or there isn’t one, you’ll need to deal with that before proceeding.
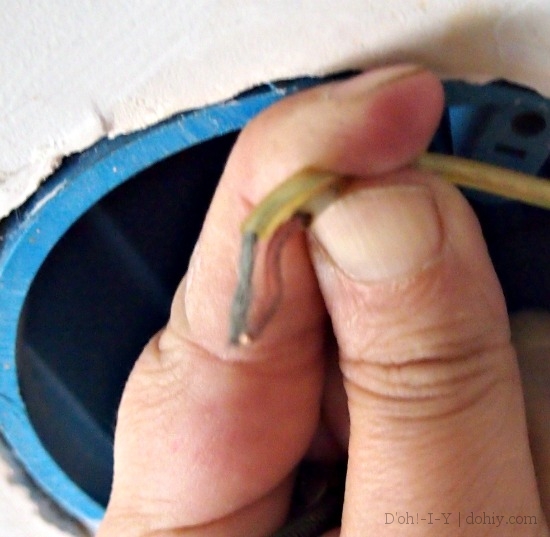
The box will either have holes for holding up the canopy or a metal cross-bar (various examples here) attached to the box for the same purpose. While you have everything down, measure the distance between the holes in the canopy and match those up with your target holes; otherwise, you might choose an option that’s off-center for your installation, meaning more time fiddling around while you are trying to hold everything up.
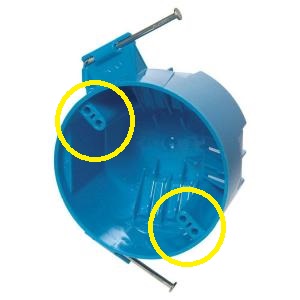
The holes to screw the canopy in are circled. Check whether your canopy fits the inner pair or the outer. If you use one inner and one outer, everything will be out of line and you will need to rescrew the canopy.
4. Swapsies!
Here’s where you attach the new chandelier or pendant to the new or existing canopy. I’m using the same light fixture but a new canopy. If you are reusing the fixture or the canopy, use the wrench to loosen the nut on the inside of the existing canopy.
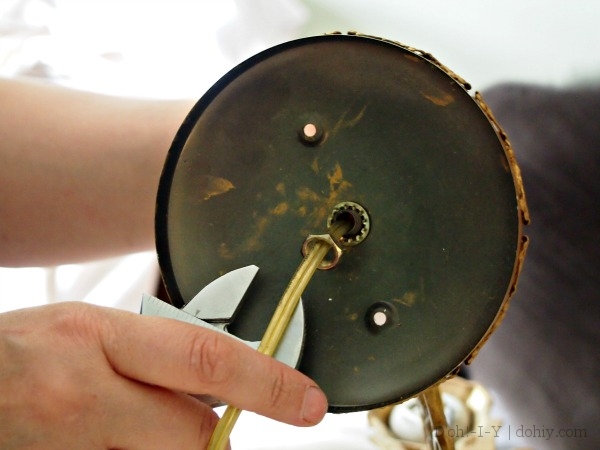
Set aside the nut and the locking washer. Then, take the wires from whatever fixture is going up (in our case, the same one) and fish them through the hollow core of the loop.
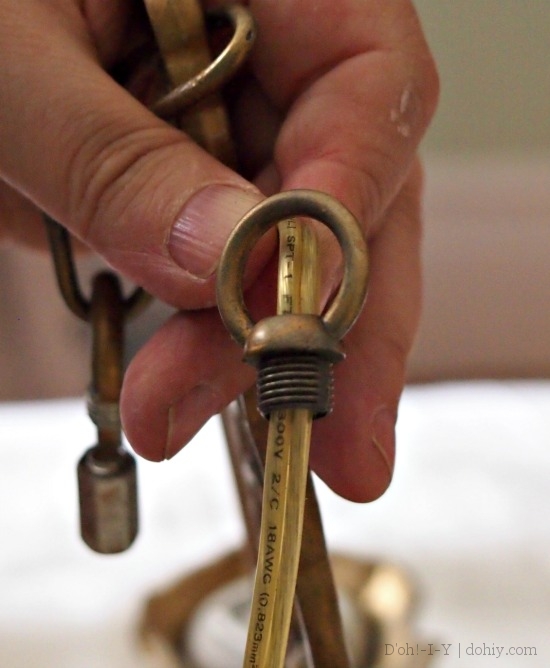
Put the wires and the loop through the hole in the canopy you’re using, then reapply the locking washer and the nut and tighten it up with the wrench. Make sure the fixture is connected to the loop and that there’s enough slack in the wiring to supply the fixture and make connections in the box.
5. Wiring
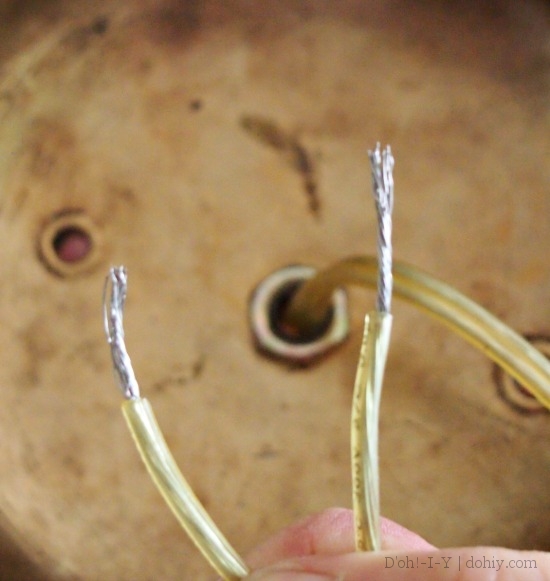
Circuit’s still off, right? RIGHT?? Ok, time to rewire. While you’re still on the ground, make sure you have about a half-inch of bare wire at the end of each fixture wire; strip the last half-inch if not. (You may or may not have a ground wire, which will typically be completely bare.) Using your fingers, smooth and straighten the ends.
If they are multi-stranded, twist them slightly to make them easier to work with.
Find your wire nuts. I was going to reuse the original wire nuts, and I had one of them tucked in my bra (bras are underrated as a hands-free DIY resource) for that purpose. I could NOT find the other one. When I finally exasperatedly grabbed a new one, I looked up and saw that the lost one was still dangling from its supply wire. Lesson: “up” is a place things can be.
Once you have your wire nuts in your bra/pocket, have your friend lift the new fixture and canopy with loop and wires in place up to the ceiling box. If the fixture lines are not color-coded, the wire with the ridges on the outside of the sheathing is the neutral/silver/white wire. Line up the bare ends. You might want to give them a slight twist to align them.
Focus! Focus! Fine, whatever.
Insert the ends in the wire nut, and twist it all together. Give each wire a light tug to make sure the nut is tight and making a good connection. Do the same with the other wires. If there’s a ground wire from the house and the fixture, hook those together; if there’s only a ground wire from the fixture, ground that to the box if it’s a metal box or to a grounding strap or screw.
6. Attach the Canopy
Tuck the wires into the box. Using the attachment screws you set aside earlier (or the ones that came with the new canopy), screw the canopy to the box or crossbar, making sure you are using a centered pair of holes. Get that nice and solid, then check that the fixture hook or C-connector is attached to the look. Carefully lower the fixture and let it hang, making sure that it is hanging from the hardware and NOT from its wiring (you might need to pull more wire through the loop; proceed carefully).
7. Blue Smoke Test
If you removed light bulbs, put those back. Turn the circuit on and try the wall switch. If there’s light, you’re done! If not, check your light bulbs and make sure any dimmer switch is turned up. If there’s still no light, you have a bad connection. Turn the circuit back off, unscrew the canopy and recheck your wiring.
Lights on? DONE.
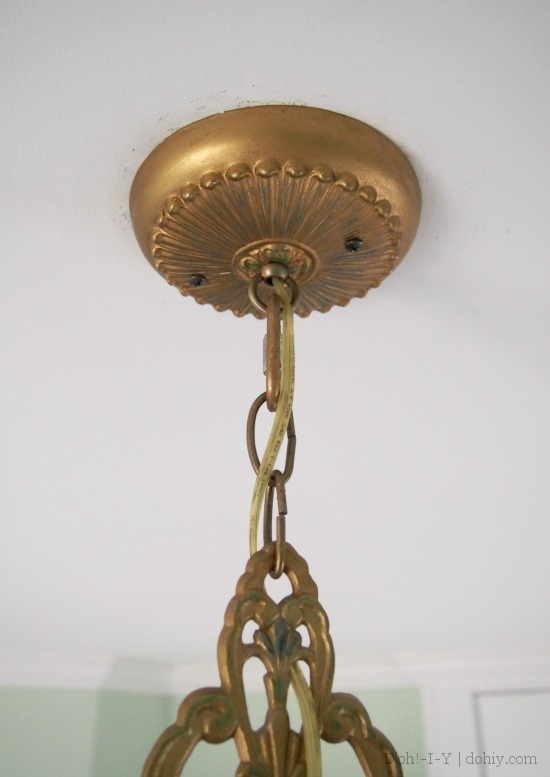
It’s always something: I need to touch up the ceiling paint.
And the whole thing:
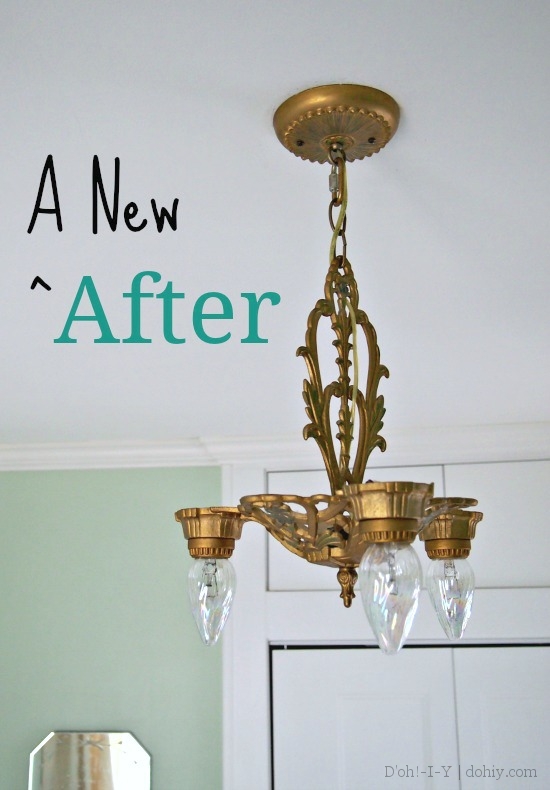
Now I have a spare fancified ceiling canopy. Perhaps I’ll use it in the garage.
