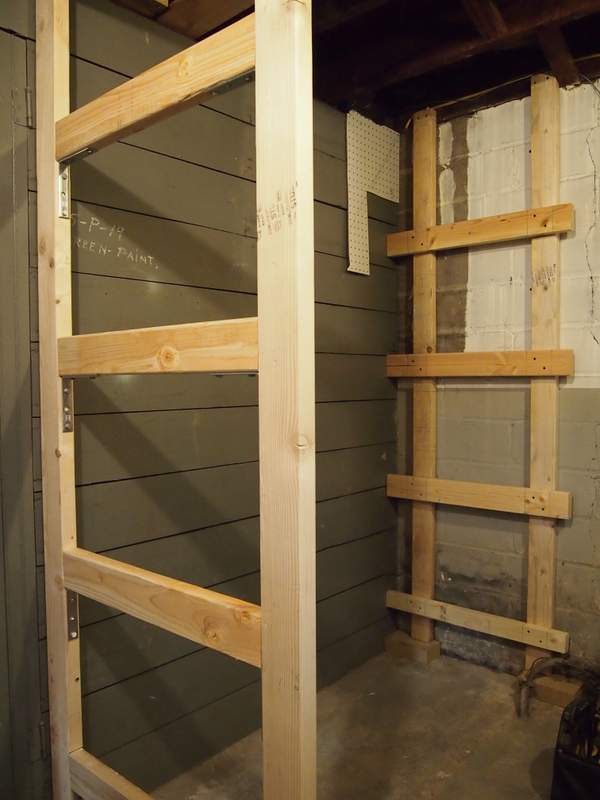
As part of the plan for our basement, we are extending the workshop by taking out the wall between the workshop and the storage room next to it. So we had to find an alternative storage solution.
Aside from the stuff in the storage room, our basement is a bit of a mess. It wasn’t always this way. It happened gradually as we “stored” detritus from home improvement projects down there. Among other things that live in the basement are the door frame and trim from the bedroom closet project, the counter tops from the recent kitchen project, and a random five-panel door that doesn’t even belong to this house.
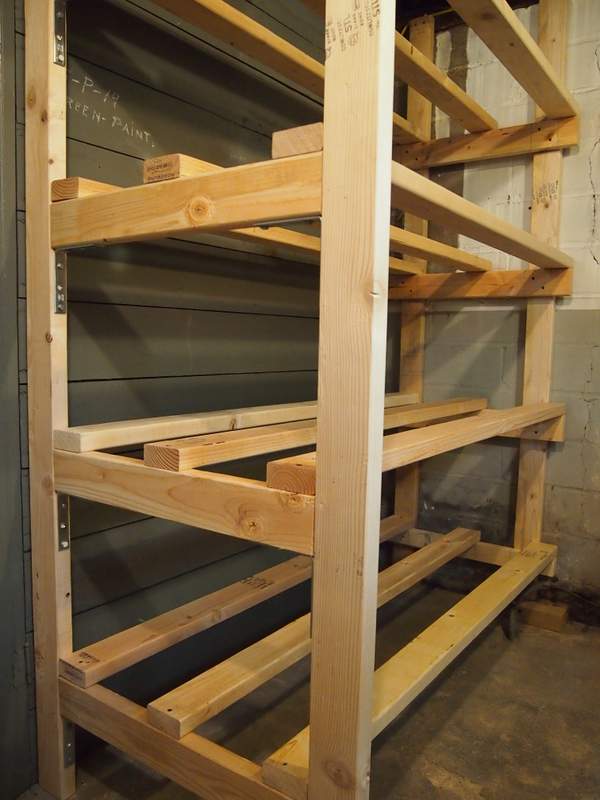
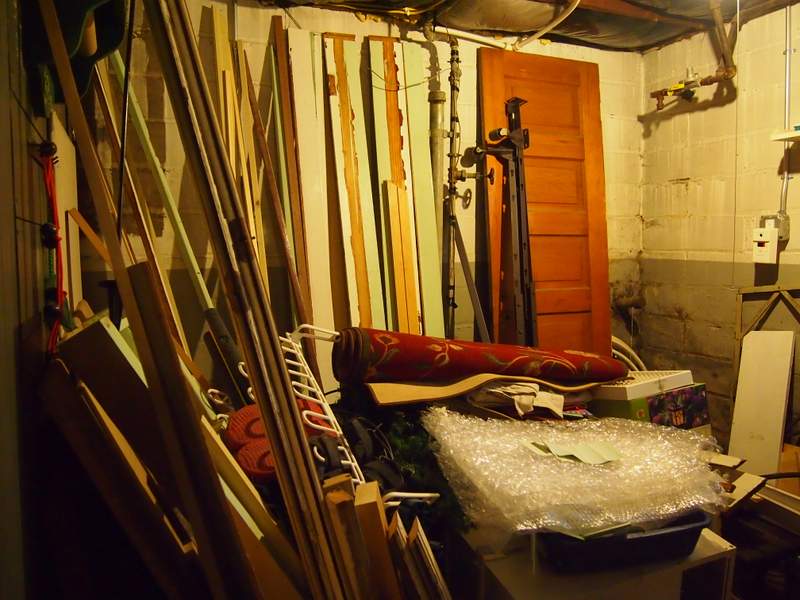 The solution we came up with was to build two parallel racks for storage bins in the corner of the basement next to the storage room. That corner was the dumping area for things that we didn’t know what to do with. There was also a sink in that corner that was never used.
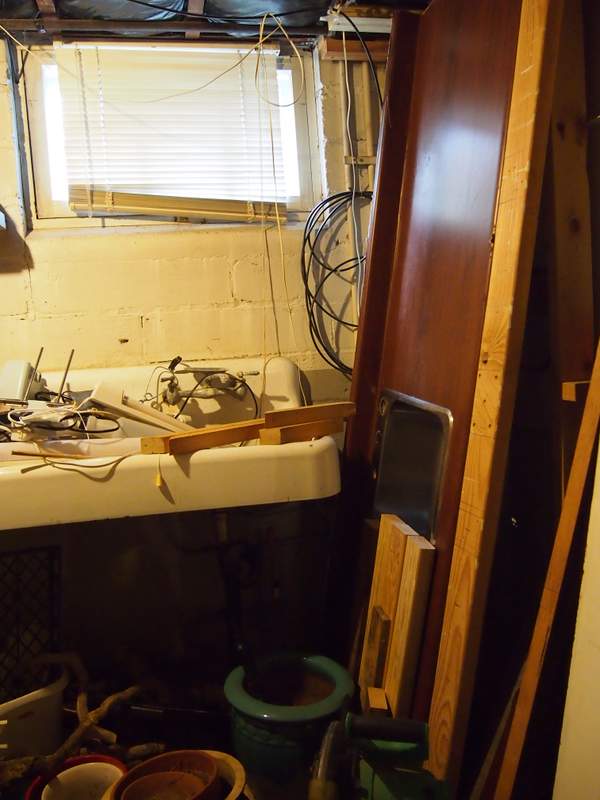
First I had to take all of the stuff out of that corner and pack it into the few spots in the basement where it isn’t in the way — much. Then I took out the sink and capped off the drain.
Now, with the corner emptied, it was time to build the racks. I used 2 x 4 construction timber. At one end, I could attach the rack to framing members of the basement bathroom wall. At the other end, I installed two uprights to attach the cross pieces to.
At the top, the uprights were screwed to joists. At the bottom, they were not fixed in place as the horizontal parts of the rack would be enough to keep them in place.
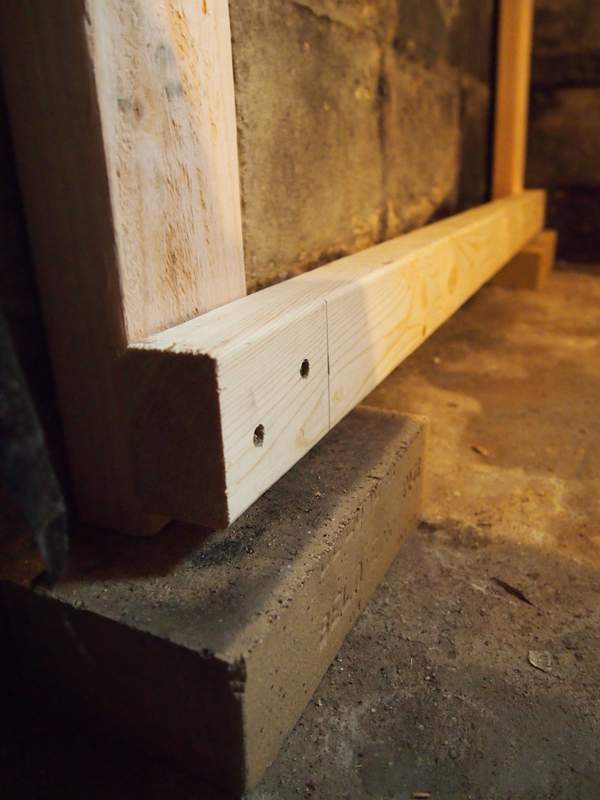 Since water occasionally infiltrates this corner of the basement, the uprights were stood on bricks.
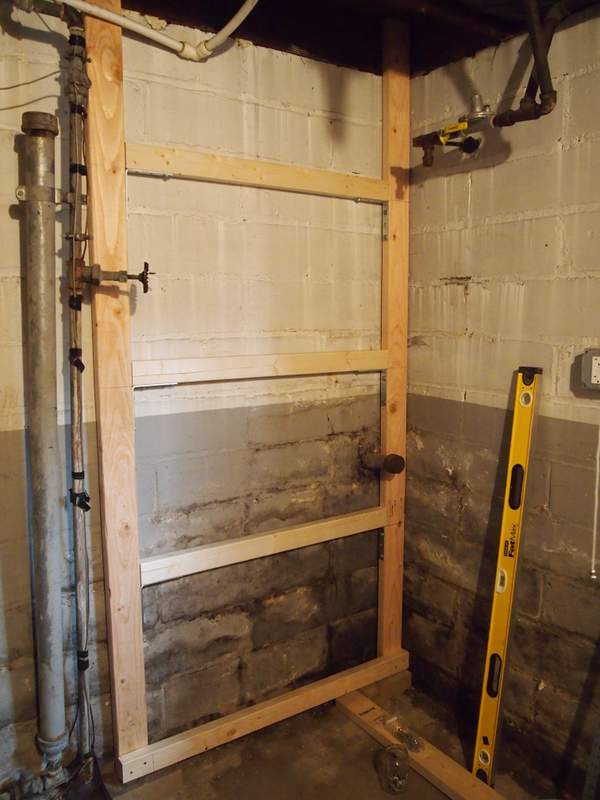 Once the uprights were secured, the cross members were installed at both ends. Obviously everything was as level as I could make it.
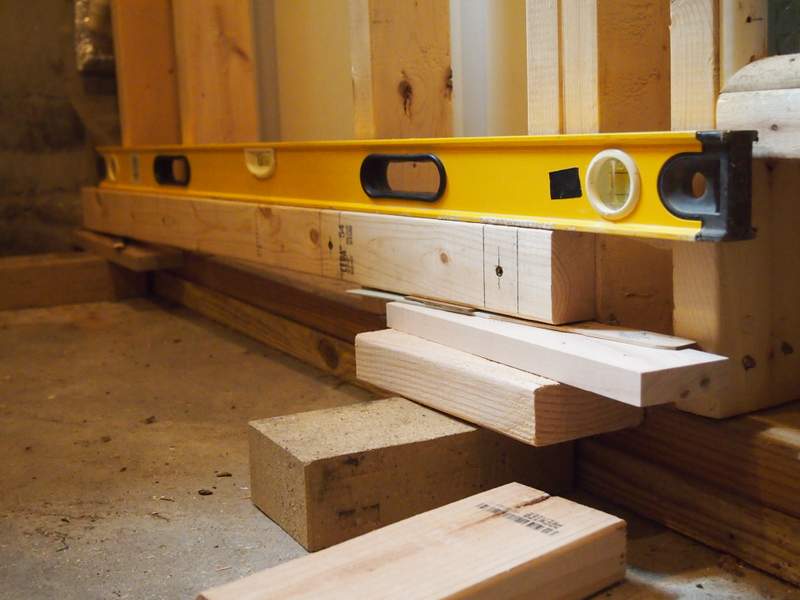 This rack, the longer of the two, would need additional support near the middle to stop the 2 x 4s bending under the weight of our stuff.
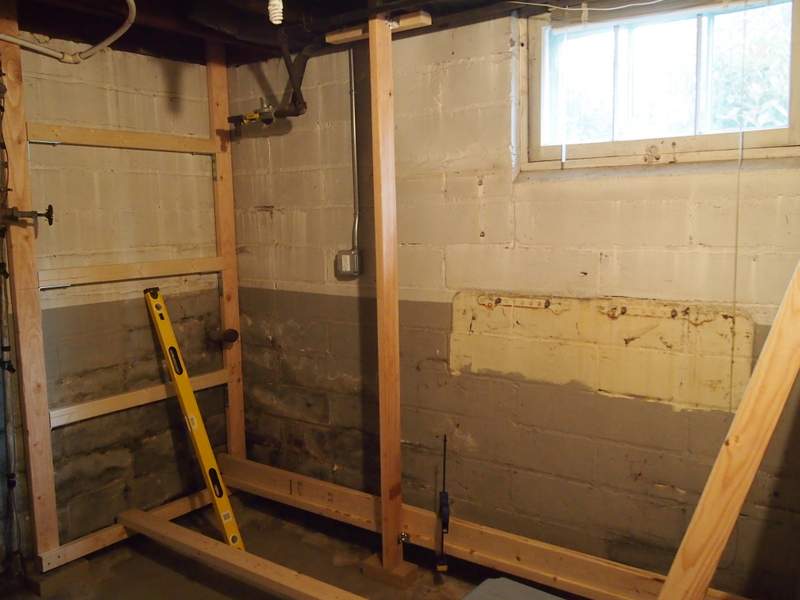 Each shelf would be wide enough for five bins, so, the support was positioned so that there would be three bins to the right of it and two to the left.
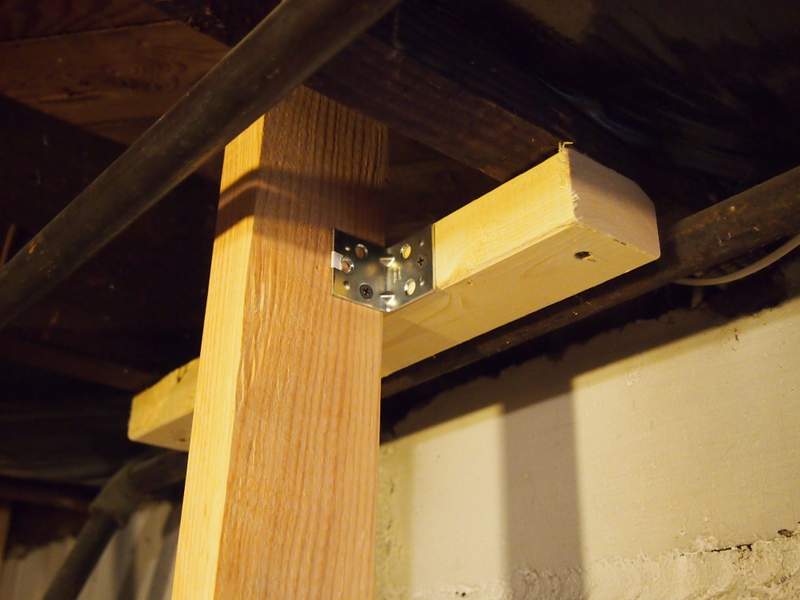 The top of the middle support is attached to the ceiling joists and the bottom is fixed to one of the 2 x 4s that makes up the bottom shelf. The shelf 2 x 4 was clamped to another 2 x 4 on its edge to keep it straight.
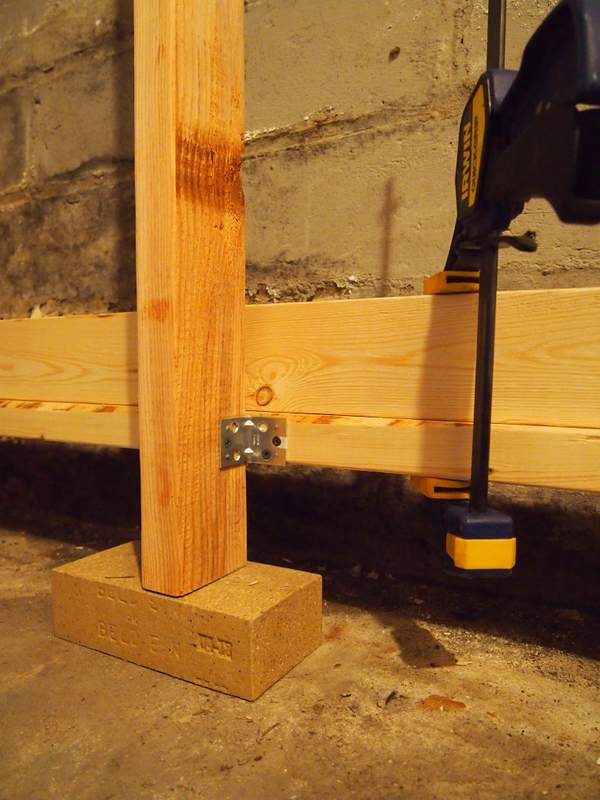 Cross members were installed in line with those at each end.
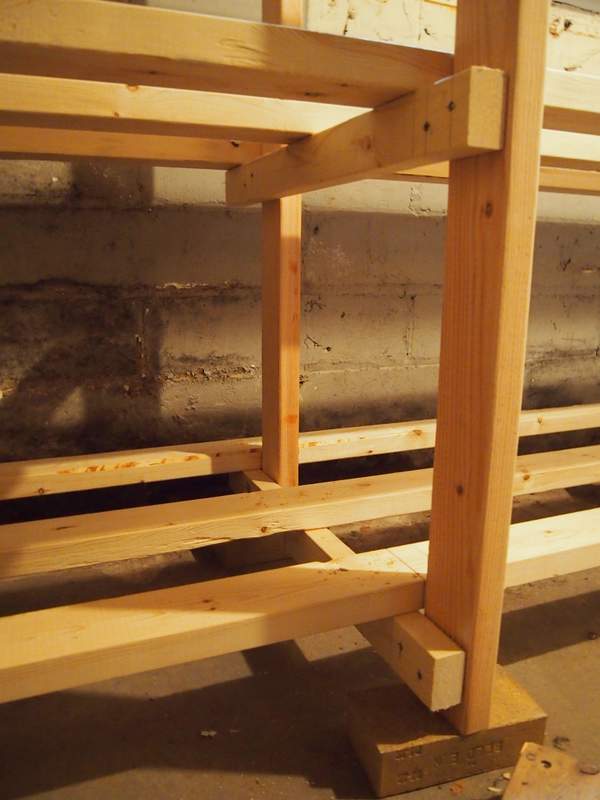 Then the shelf pieces were screwed in place at each end.
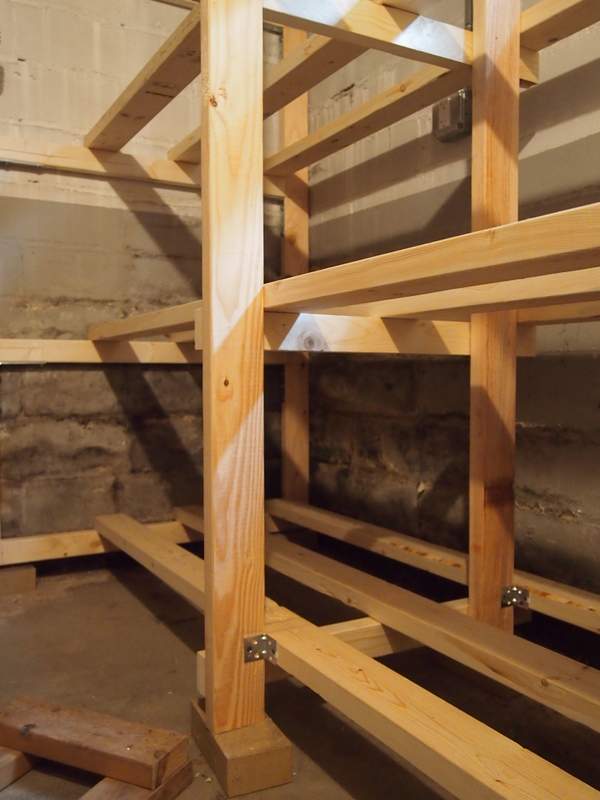 And that was the first rack completed.
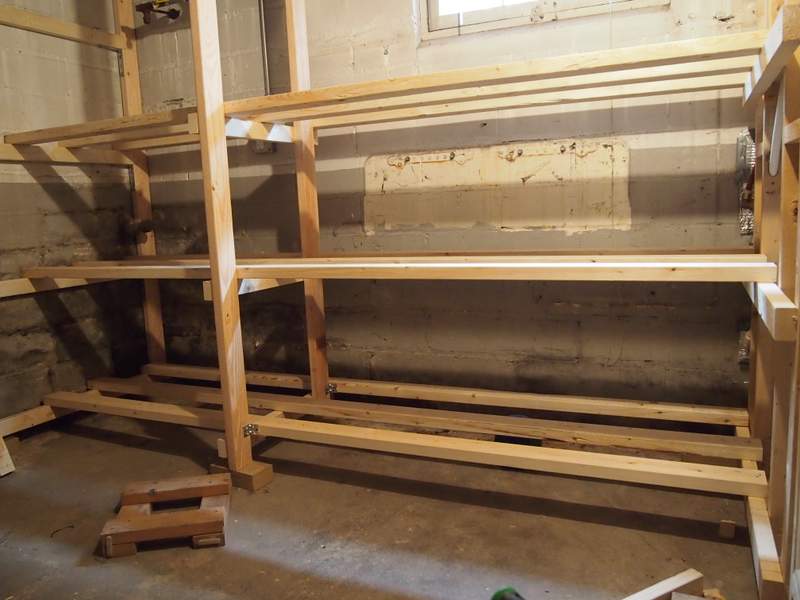 The second rack was made in a similar way, but being shorter, it didn’t need a middle support.
 So now we are in the process of organizing our stuff. Quite a lot will go to Goodwill (a charity shop), some will end up in landfills, and the remainder will be easy to locate in well-organized, labelled storage bins.
Once the storage room has been emptied, we’ll begin work embiggening the workshop.

