
This doesn’t look easy. But I bet it is!
– Homer Simpson
Every year, I plant seeds at the coldest time of the year and put them outdoors. Weirdly enough, winter sowing is a great way to maximize seed performance in the cold latitudes without using energy-hungry grow lights. The technique also yields extremely hardy seedlings that don’t need to be hardened off before transplant. But it does involve used milk jugs, so you’ll want to put those out behind your house to avoid the appearance of complete redneckitude.
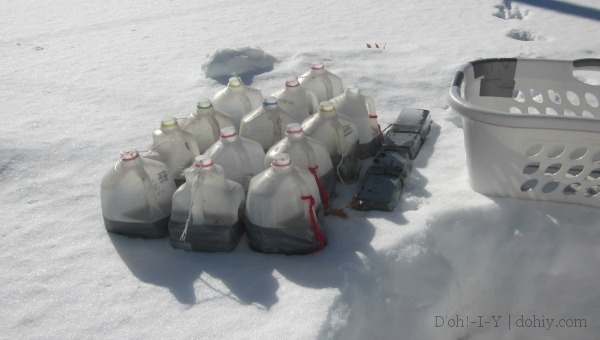
Classy jugs outside in March
I winter-sow every year, but I had a later start than usual this time. I put my mini-greenhouses out in March. Since this last winter was looooong, the seeds still had plenty of time to do their thing. As of late April, I was seeing some good results:
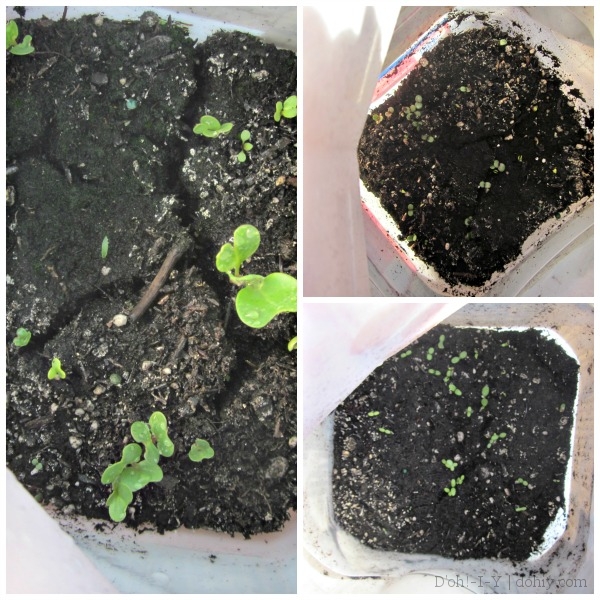
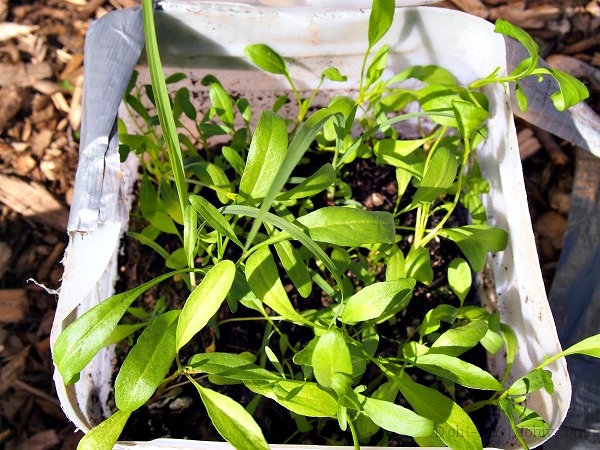
Here’s how they were looking when I cracked them open this month:
Shasta Daisy (Silver Princess)
Coneflower

Don’t even start, Goldblum.
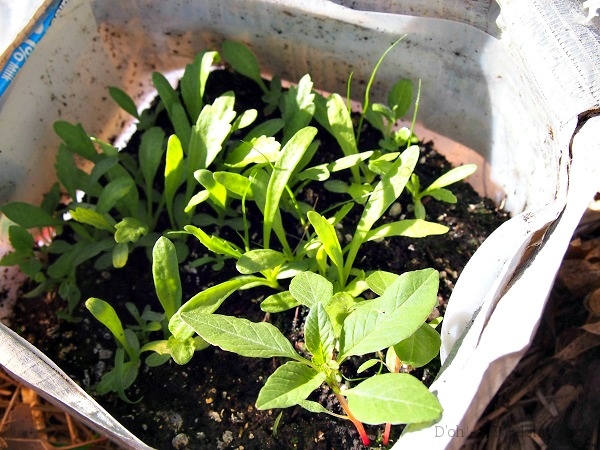
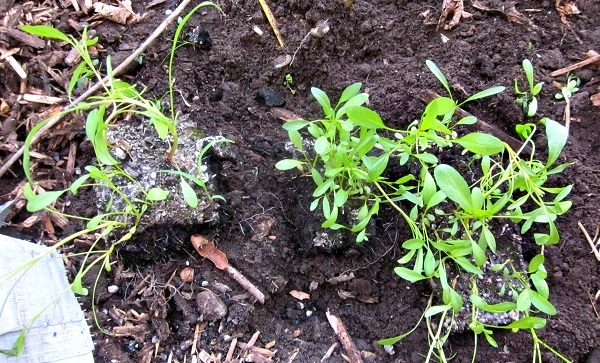
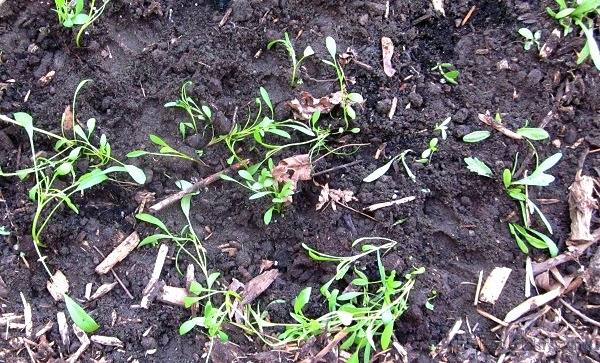
Of course, they weren’t all successes. Two are complete losses, and one jug has many seedlings, but possibly not the seedlings I started–they could all be volunteer weeds. In fact, every jug ends up with its share of weeds and grass, so wait for “real” leaves to distinguish your plants. One year, I tenderly nurtured a single seedling for a much-desired plant that turned out to be a weed.
Chagrinned, I was.
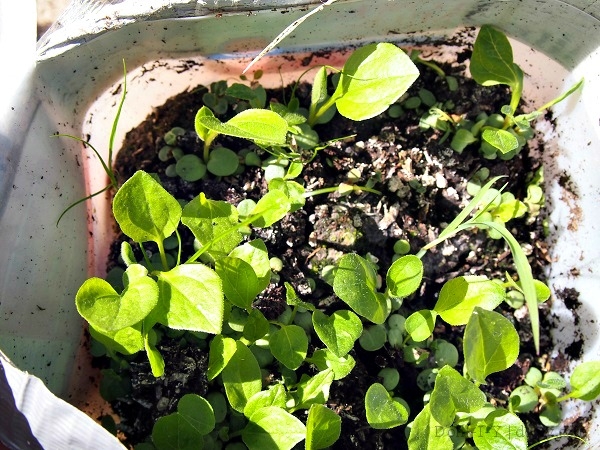
While you do want to wait for identifiable leaves, you don’t want to leave these in the jugs too long once spring comes. There’s not a lot of dirt in there, and young plants yearn to be free!
Coreopsis yearning to be free.
This is Mardi Gras Coreopsis, which, with a little luck, will look like this later this summer:

(via)
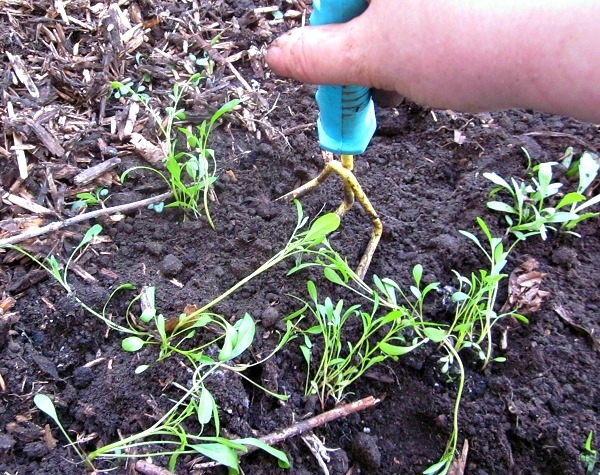
To transplant, first decide where the seedlings are going (selecting adequate sunlight and drainage conditions for the plant). You don’t have to dig a deep hole for seedlings–just loosen up the soil a bit deeper than the soil in the jug.
Peel back the tape and crack the jug open. Carefully weed out the grass and unwanted seedlings you can easily reach. If you have a particularly vigorous crop, also weed out the runts of the litter to give the healthiest seedlings more room.
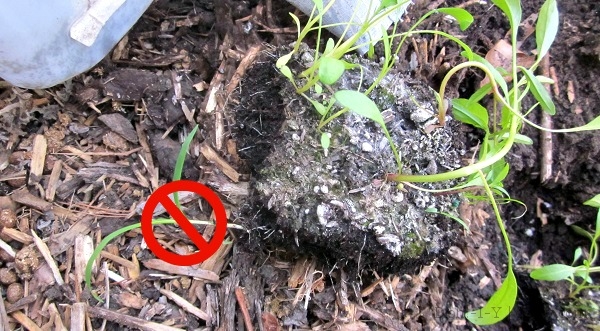
The soil should be moist, but will probably be rooted enough to more or less hold together. Splay a hand over the seedlings and gently invert the bottom of the jug to pop out the seedlings and their root systems.

The clump may fall apart into chunks quite naturally, or you can break it up. Depending on how many seedlings you have, you might have ten or more little chunks to plant, or just one (or none if you have a jug failure!).
Once you have your chunks, you may be able to do a little more weeding for unwanted plants that were exposed by breaking up the seedlings.
Take each chunk and press it into the prepared area. Gently add soil around the chunks and firm it all up with your fingers or other delicate implements.
Water (gently!) to settle everything together.
Add mulch to protect the new plants. As the seedlings progress, you can thin them down further to promote the strongest plants. Water according to the plant’s needs, and watch your garden grow.
It takes longer to read about than to do. So many healthy plants for so little effort and money–if you live in a cold climate, definitely give winter sowing a try!
