Mrs. W: Looks like young Simpson is going to kill himself.
Mr. W: Oh, maybe not. Maybe he’s just taking his boulder for a walk.
– The Simpsons
Well, it’s in.
How did we get here? Back when we ordered the quartz, we had an estimated delivery date at the end of March. We almost immediately received an email saying that they had a backlog of orders, so delivery would be a couple of weeks after template approval. Once we approved the templates, we received an email putting delivery into the second week of April. We were pleased with that because we wanted time to research installation and to do any needed prep work. Imagine our surprise–nay, DISMAY–when it arrived at Menards three days later.
We enlisted my brother and his wife for the next day, and we started reading up on quartz installation. There are three guiding principles:
- The cabinets need to be strong enough to hold up quartz.
- The quartz needs to be super-flat and well-supported when installed.
- The quartz must not be moved lying flat.
We picked cabinets with strong structural parts back when we put them in, so we were good there. We could also personally vouch for the base cabinets being screwed to the wall very solidly. Be wary of particle board or thinner plywood construction, weak fasteners, and cabinets out of square.
So far, so good. We thought we would be in good shape for the tops of the cabinets being level as well, because the laminate measured dead flat. That evening, we took off the laminate tops, and found that shims factored into laminate flatness. We had anticipated that we would do a bit of shimming and then put the quartz pretty much right on top of the cabinets. But the more we read about quartz (late into the night before the morning pick-up), the more pros we found who recommended adding support.
We did not sleep well.
Installation: Day One
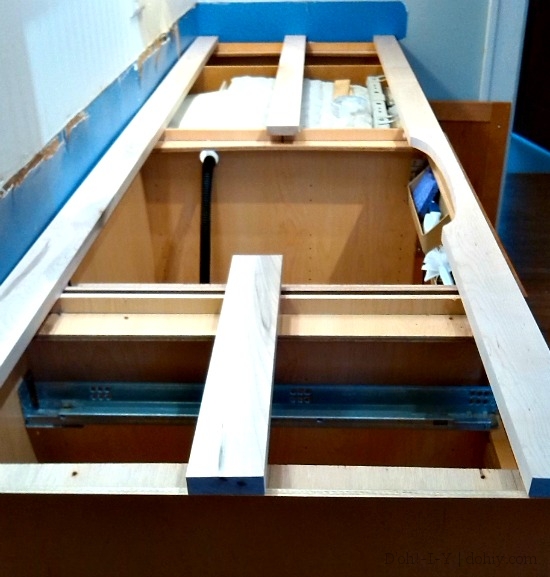
The Kev ran to Menards first thing and picked up some 1x4s (actually 3/4″ thick) to run across the tops of the cabinets.
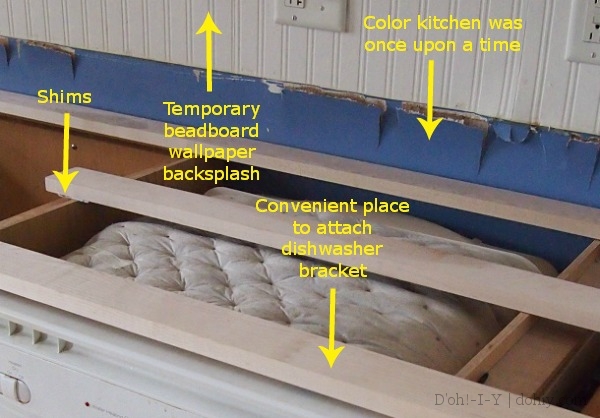
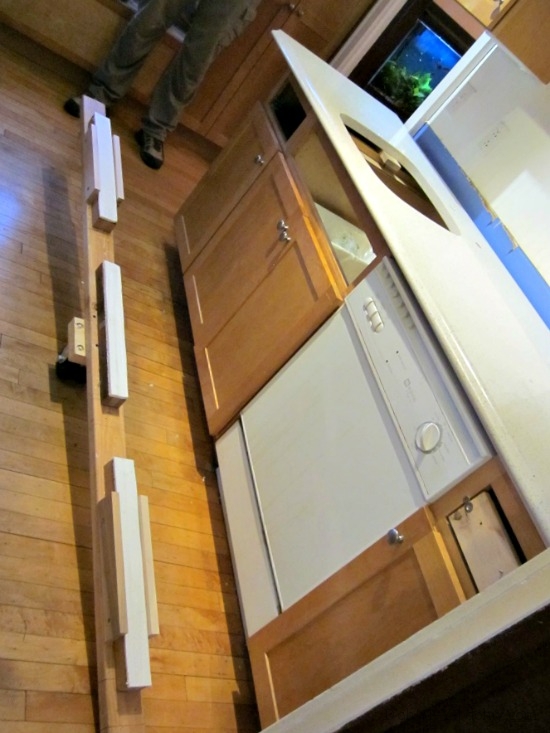
We shimmed and screwed these pieces down to provide a completely level surface for the quartz. The strips added more regular support for the counters, and put some structure across the otherwise uncovered dishwasher gap. As an added bonus, having this substrate gave the dishwasher mounting brackets something to connect to with ordinary screws instead of having to pick up a special rail to fit with epoxy.
This all sounds hurried but productive. It didn’t feel that way at the time. We like to plan and prep, and everything here was on fast-forward. With Andy and Mary on their way with the truck, we realized that we didn’t have long enough screws to attach the 1x4s. The shims kept falling out. The bubble got stuck in the level. We laid out the structure before remembering that there was going to be a sink and a piece of wood running through it would be a problem. This was the point at which Kevin shouted, “CAN ANYTHING ELSE GO WRONG TODAY?!”
Andy and Mary arrived, and we decided that we would go pick up the quartz and get it in the house, then take our time finishing the substrate. We would assemble a different team of muscly folks to move it into place. We set up a flat row of 2x4s on the dining room floor as a landing spot for the big piece of quartz and headed off to Menards.
The quartz was loaded on an A-frame. The yard staff helped us put it in the truck by lifting it from the side with the forklift, then approaching the back of the truck from the side. We were able to get about a third of the structure on the tailgate and manually push it into the back while the forklift driver slowly extracted the tines. It was some fancy forklifting! (Which reminds me, I need to take them some cookies.) We strapped the A-frame to the truck and headed back.
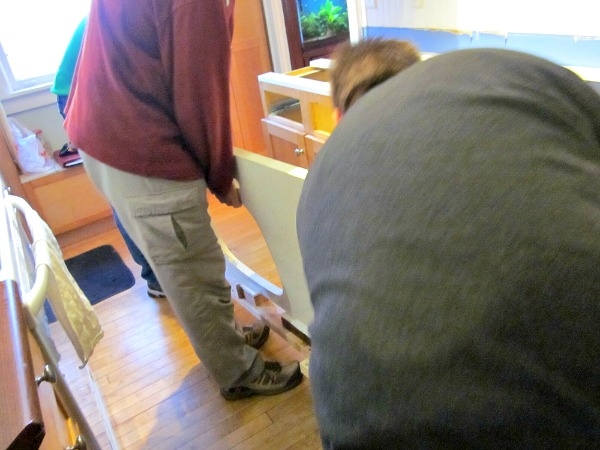
At the house, we cut the slabs loose and moved the two small pieces inside. Then, we arrayed ourselves along the length of the seven-foot piece to keep it vertical, and shuffled it off the A-frame, up the steps, and into the house.
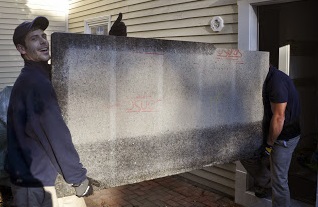
That guy is way too happy (via).
Remember: keep it upright. Your quartz is saving itself for your cabinets! Quartz (or granite or drywall) can crack if flexed too much along its flat surface–it’s just a function of its weight versus its depth (3 cm). Here’s some people moving granite to show you what I mean about keeping it vertical.
Mary kept saying she didn’t feel like she was carrying all that much weight, and neither did I. In fact, I was care-free enough to make off-color comments because one of my hands was grazing Mary’s hip. Four people moving carefully seemed plenty for seven feet of quartz. When we got to the staging area we’d set up in the dining room, we lowered the piece carefully into its temporary home. On the way to the floor one of us (ahem!) got a little overconfident, and then a little overbalanced, and could have been hurt. You really need to respect the weight of this stuff.
And that was day one. Not a single sleeping pill was required that night.
Day Two
My brother said he could come back the following afternoon to hoist the countertop in place. We also recruited our next-door neighbor, who brought his sister, taking us up to five people to make the final push.
Before they arrived, Kevin built a seesaw trolley for the big piece to cut down on the lifting. He picked up two fixed wheels (because pivoting wheels could turn at an unwanted time–think shopping carts) and put them at the midpoint of a padded rail onto which we would lift the quartz. Then we could scoot it into position and only have one big lift.
It worked great. It still requires a swarm of people, but holding the quartz up and scooting it is much easier than carrying it. The only change we’d make is putting the wheels further apart because the skinny “axle” width did tend to make the trolley kick out. Since we were all ushering the piece along and moving slowly, it wasn’t a problem.
When it was in position (and in the right orientation) in front of the cabinets, we lifted the big piece straight up (still vertically) until it was about halfway over the edge of the cabinets, then tilted it back onto the cabinet tops. From there, it was easy to push into place.
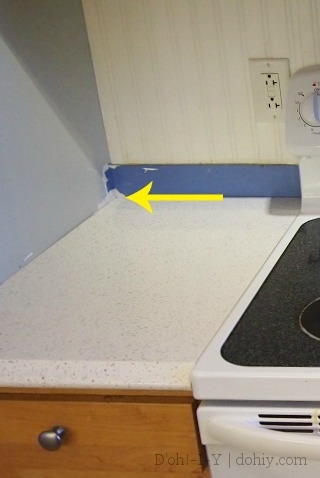
We also built up the tops of the cabinets for the short runs on the other side of the kitchen, but those pieces were so small that even I could hoist them into place unaided. The only issue we had was with the corner piece, where we needed to chisel into the plaster a little bit at the back corner. That corner wasn’t quite square, but we had measured with the possibility of digging into the wall a little bit. I only took off about a eighth of an inch for a good fit.
We put a few dabs of silicon adhesive on the back of the little pieces to hold them. The big piece did not seem like it was going to need fastening down just because of its weight, but we did end up attaching it as part of the sink installation (next post).
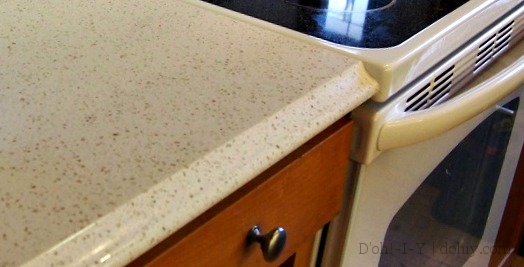
That was the major part of the installation finished. Since our new countertop with the substrate was now about a quarter-inch higher than the old laminate, though, our range (UK: cooker) was now lower than the surrounding surface. If you have a freestanding range, it most likely has adjustable feet that you can unscrew to bring the top up to the new counter level. Just note that this is not an exact science, and one of you will spend quite a bit of time crouched in the gap behind the stove, feeling attractive and comfortable.
Eventually, it was level!
That took care of the first major step, but we still had a big old hole where the sink belonged. More on that here. For another opinion on (and experience with) Menards quartz countertops, check out how they did it at St. Paul Haus.





8 Responses to DIY Quartz: Installation and Then More Installation