Today, we are so happy to host Christine and Jan from Little House on the Corner, one of our favorite DIY blogs. Please jump over to check them out–they are prolific and terrific! – Stacey & Kevin
Hi Guys, it’s Christine & Jan here from Little House on the Corner! We’re really excited to be stopping by and sharing this quick little craft idea with you – DIY Instagram Coasters.
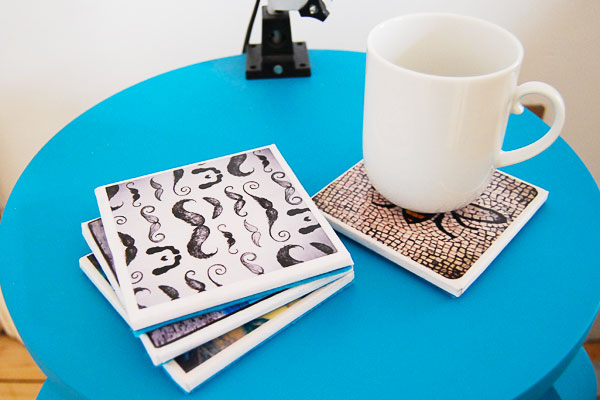 If you’re anything like us, you’ll have a load of Instagram pictures without actually doing anything with them all. When we came across a random box of little square tiles in our cellar, making these coasters instantly seemed like the perfect way to use some of them.
They’re really quick & easy to make and you probably even have most supplies lying around already.
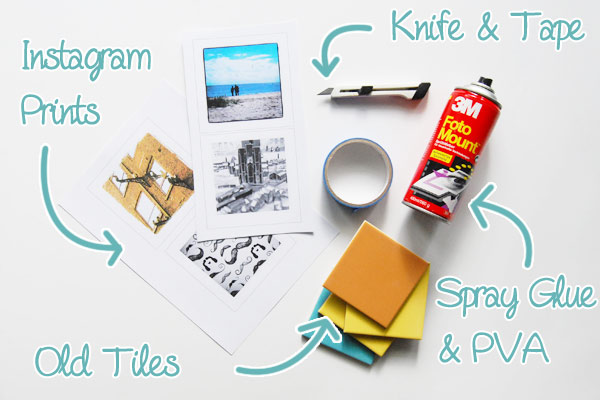
This is what you’ll need to make your own:
- Instagram prints
- Tiles
- Spray glue (you could use any other glue, but you’ll have to make sure that you apply it evenly)
- Craft knife & sticky tape
- Scissors (not shown)
- Felt (not shown)
- PVA (not shown)
- Varnish (optional)
This is how to make them:
#1 After deciding which of your Instagram images you want to turn into coasters (this the most difficult step of the whole process!), print your images onto some paper. We just used our standard inkjet home printer and printed onto some normal (thick-ish) paper. Make sure to print your images the same size as the tiles. Then cut out your print leaving an edge that you can later wrap around your tile and secure on the reverse side.
#2 The next step is to secure your print to the tile. Apply your glue evenly (that’s why it’s a bit easier with spray glue) to the surface of the tile.
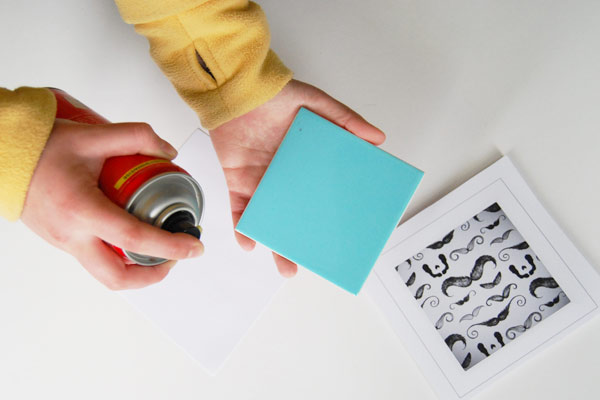 Then place your image on top and make sure it’s completely stuck down. It’s really important that the image is stuck down all over, otherwise you’ll probably end up with air bubbles later on.
#3 When the glue has dried, you can start to wrap the overhanging paper around the tile.
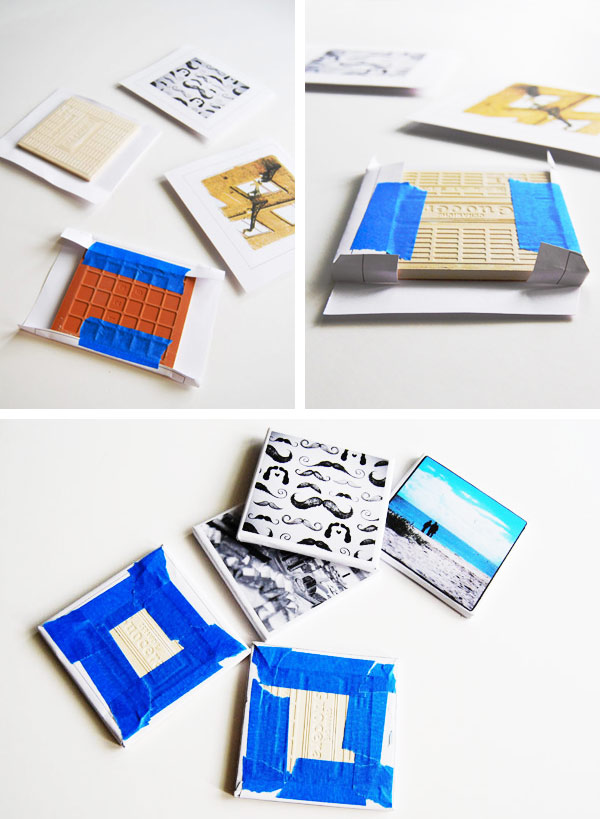 It’s a bit like wrapping a present! Make sure to pull the paper taught and then secure it on the back of your tile with some sticky tape. We found that we could achieve the neatest result, by carefully trimming the corners first. Don’t worry too much about the look of the back of your tile, as we’ll be covering it later.
#4 Now that you’ve made your coaster, it’s time to seal the picture.
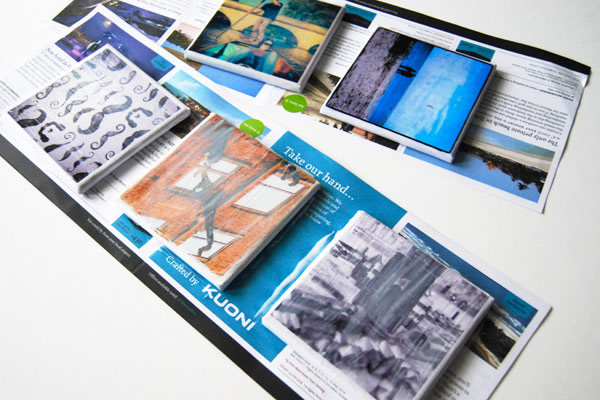 Paint at least 3 coats of PVA over the tile, making sure to let each coat dry before applying the next – this should make your tiles waterproof. Painting them with PVA (which will dry clear) not only seals the coaster, it also gives them a nice sheen. If you want them to be really durable, you could apply a coat of clear varnish, too.
#5 All that’s left to do is cover the back of the coaster.
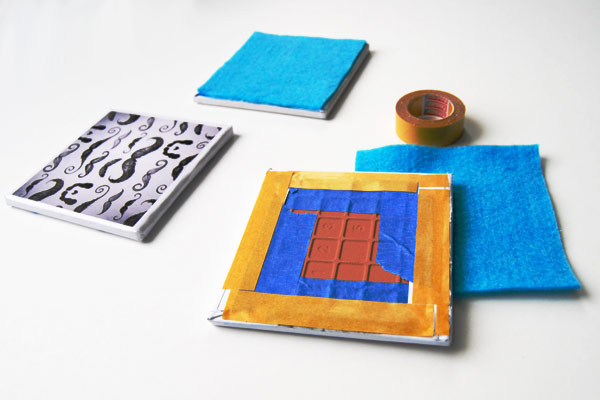 Roughly cut a piece of felt to the size of your tile and glue it to the back of your coaster. Then, using the edge of the tile as a guide for your scissors, trim the felt to the exact size.
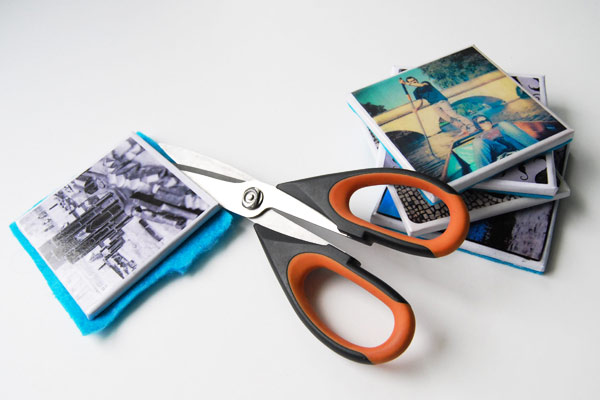 That’s all there is to it, told you it was easy!
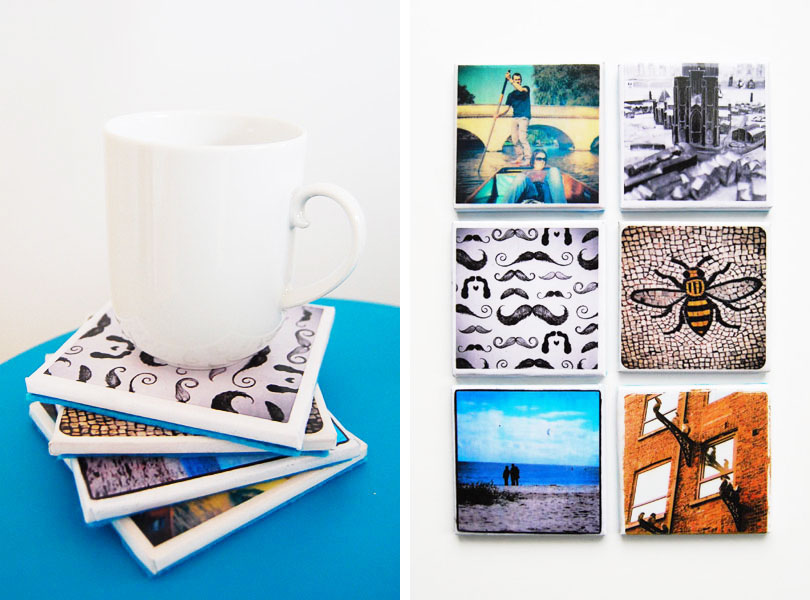 We love how they add a personal touch to the coffee table. Of course they’d also make a cute personal gift for someone, too!
Thanks so much to Stacey and Kevin for asking us to stop by! If you’d like to see more of our crafty projects, home improvement efforts or DIY disasters, why not pop over and pay us a visit at Little House On The Corner.



One Response to DIY Instagram Coasters