It’s hip to be square…like the song says!
– Homer Simpson
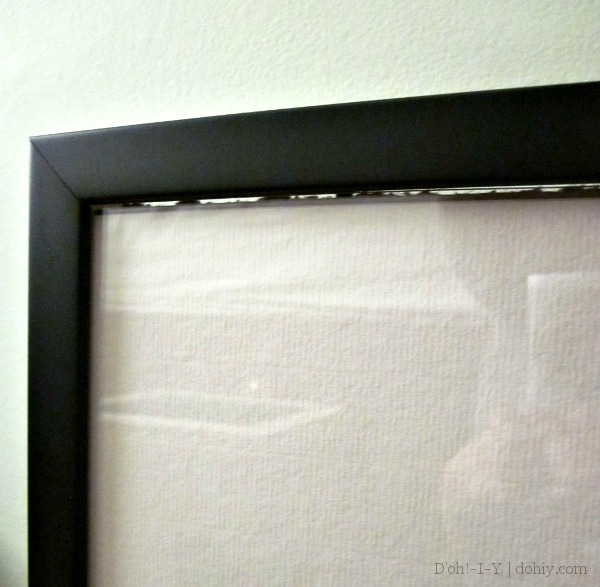
Ever buy a gallery frame, hang it up, get on with your life, and then later notice that the top rail is bowed? If you hang a frame from the top rail, the weight of the glass (and everything else) can pull the top out of square. Ikea frames and thin gallery frames are particularly prone to this effect.
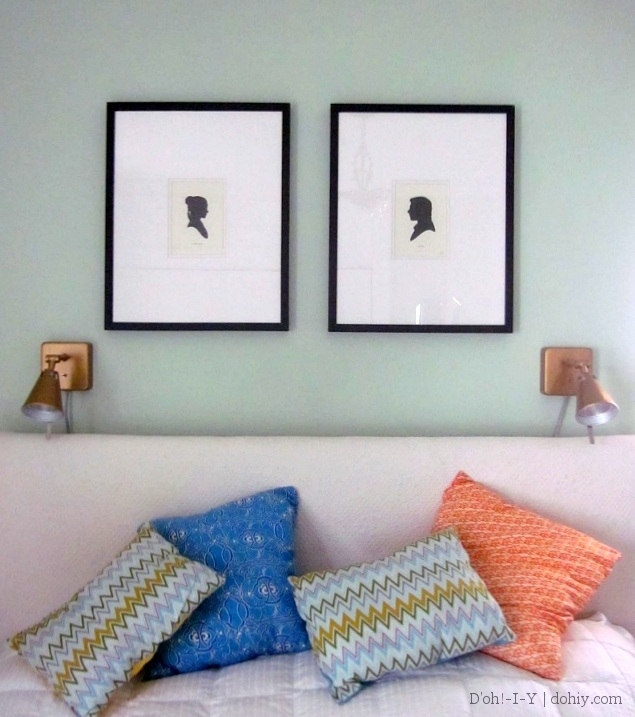
Last year, I used French cleats to hang some geeky art in gallery frames.
I used cleats to help hang the matched frames exactly at the same height. Since the cleat extends along the top rail for a few inches, I didn’t think that the frames would bend. I was wrong!
The better way to hang frames like this is to run a wire from side to side, which keeps the weight off the top rail. But I’d already used cleats, and many frames attach hanging hardware directly to the top, so this issue is pretty common.
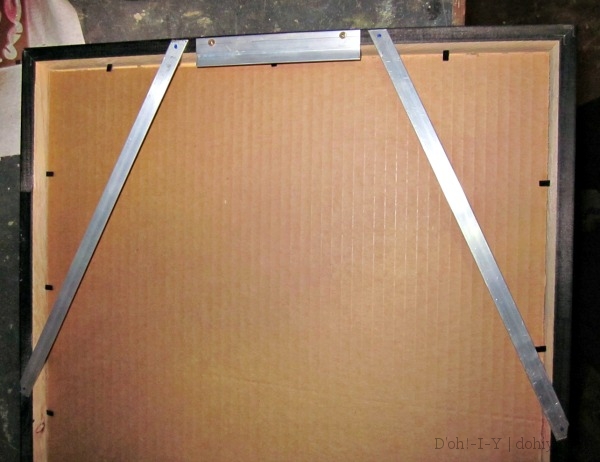
To fix the problem, I needed to either stiffen up that top rail or transfer some of the weight from there to another part of the frame. I went shopping for small angle brackets to insert in the top corners to pull the frame into square.
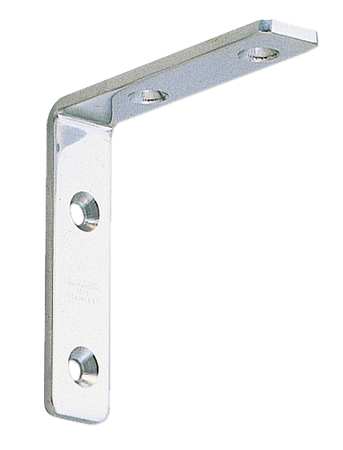
Angle bracket (via)
The Kev surmised (correctly) that a cheaper option would be buying flat aluminum bar to tie together the top and sides of the frame. A three-foot length was under $3, and I picked up some 1/2″ brass screws to hold everything together for 86 cents. Last of the big spenders!
 By the way, it’s “aluminum” in the states and “aluminium” in the UK (learn why here). “Aluminium” jives more closely with other elemental names (sodium and potassium, for instance), but the difference is basically just one of those things. We both use the -um and -ium versions situationally, but I’m never fully comfortable with -ium. I find that I take a break before I push through to the end: “Ah-LOOOOOOO. Minium.” As you might imagine, I’m often mistaken for a super-cosmopolitan chemist.
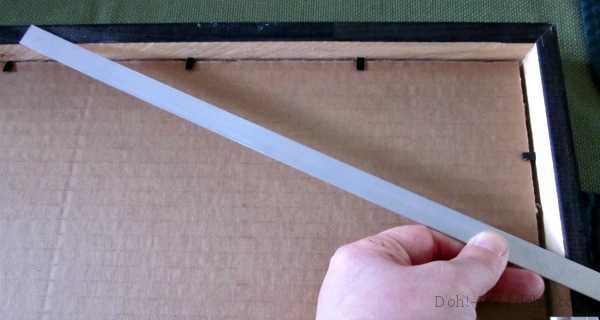
I laid the strip on the back of the frame and marked an angled cut for the top and for about halfway down the side. I used a hacksaw to cut my two pieces.
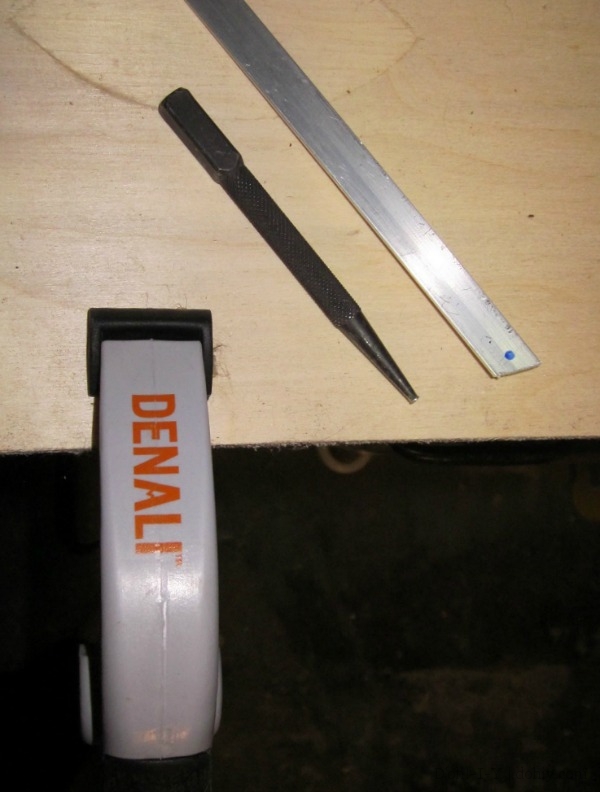
I marked where to drill the holes for the screws. It’s a little harder for a drill to bite into metal, so I use a punch and a hammer to make a little dent on top of the mark. The dent helps guide the bit so that the drill doesn’t just dance all over the place and make you feel like a dope. If you don’t have a punch, you can use the point of a large nail the same way. Hold it in place and tap it with the hammer. It’s also a good idea to clamp a piece of wood down that you can drill into once you’re through the metal.
So drill those holes! Use a file or sandpaper to take slivers and burrs off the sawed and drilled edges, then set the pieces back in place on the back of the frame. I used a ballpoint pen through the drilled holes to mark where the pilot holes would go in the top rail. I swapped for a skinnier drill bit to make the pilot holes, then I screwed the bar down to the top rail only.
You want to square up the frame before putting in the other screws. I pushed the frame’s top rail down and used a square to make sure the top rail was at right angles to the sides. With the square in place, I marked the side rails for the pilot holes, drilled, and then screwed in the sides.
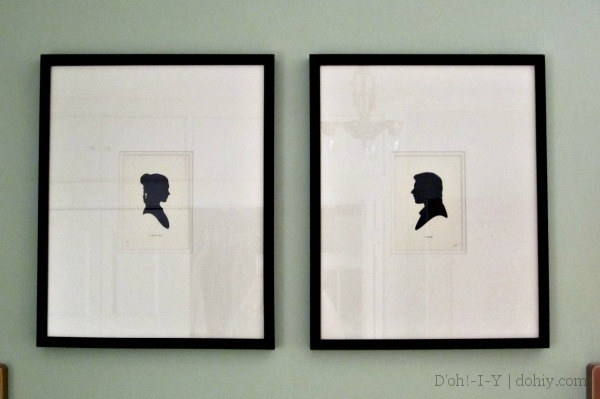
I wouldn’t really know if it had worked until I set the frames back on the cleats. Fortunately, we appear to have a result!
Square here too! Maybe a little frame nudging needed, but the bowing is gone.
The French cleats really help everything hang evenly, but I will brace the frames first before using them again. Eventual frame bowing rather ruins the effect of even hanging!




6 Responses to It’s a Frame-Up!