
Marge: My address?! It’s…umm…1-2-3…Fake Street!
Chief Wiggum: 123 Fake Street. Got it!
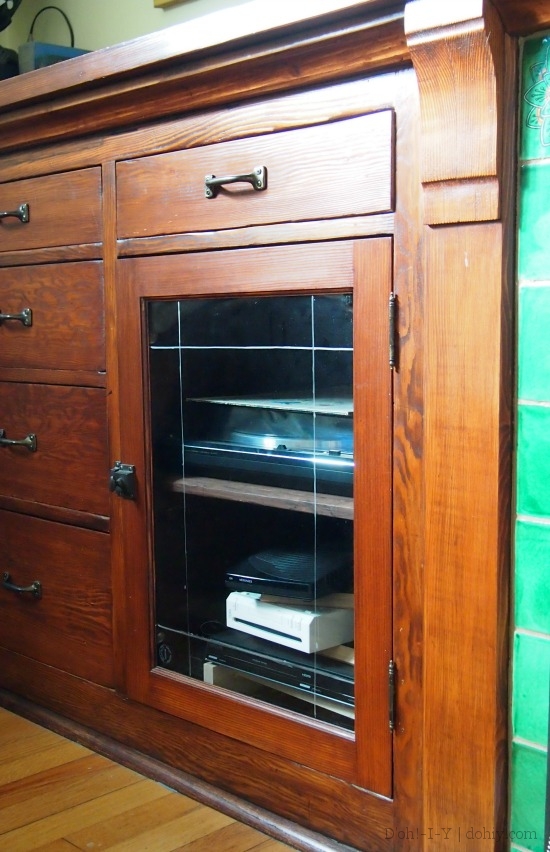
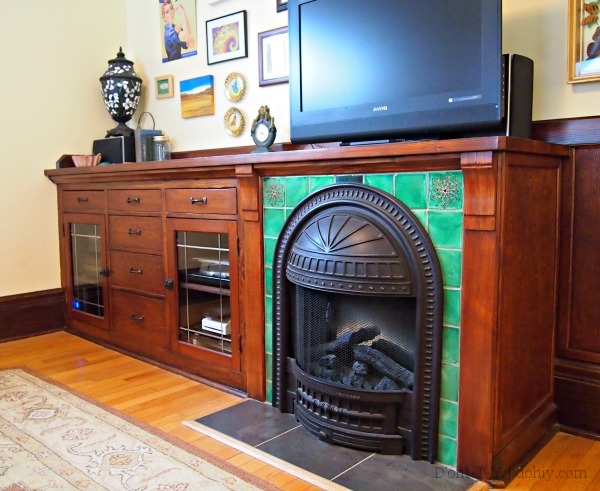
When we finished the built-ins, I intended to gussy up the glass cabinet fronts. One idea was making the glass look old, but I really wanted to emulate the leaded glass often used in 1920s cabinets.
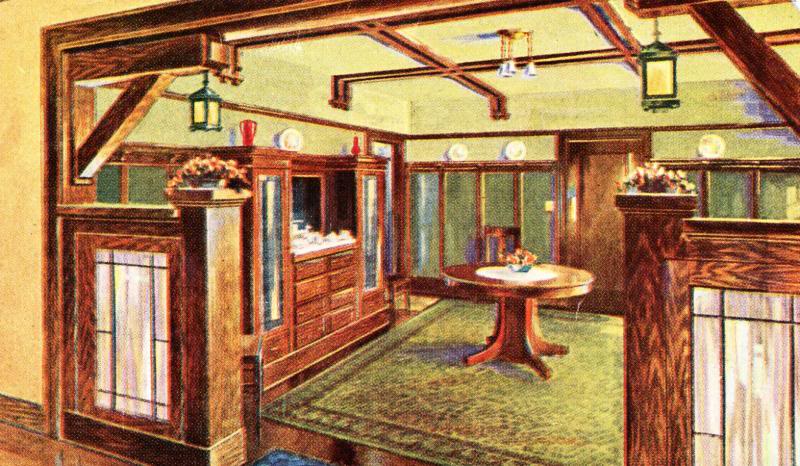
This Sears home included leaded glass cabinet doors.
The project required tempered (UK: toughened) glass, so I research ways to fake leaded glass. I bought Pebeo adhesive lead strip, doubted myself, and procrastinated for two, maybe three years.

I was shaken from my torpor by reading a post by Kristen at Storefront Life about her installation of the same product on her front windows. Reassuringly, Kristen also procrastinated, but her results were terrific!
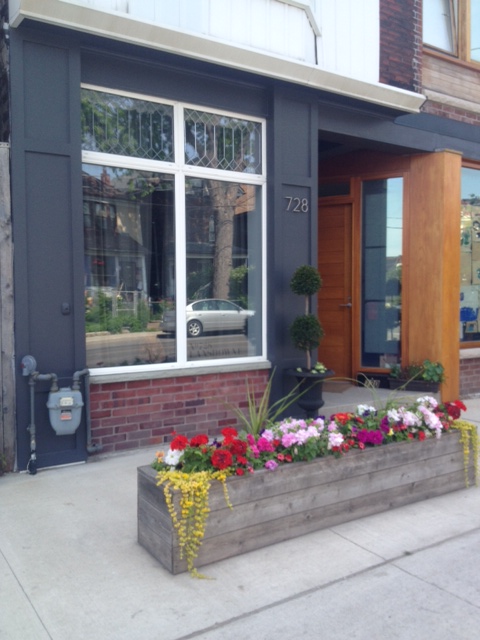
From Storefront Life: Kristen added Vitrail to the upper panes; the left side was completed earlier, showing how the lead ages nicely.
(Actually, all their results are terrific — definitely add Storefront Life to your feed.)
Thus encouraged, I decided to (a) wait another half-year, and then (b) follow an easier pattern: the prairie grill.
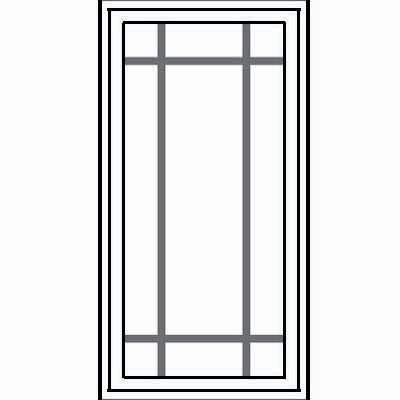
(Image: Pella)
I measured the proportions on several images, and found that the whole pattern depends on the width measurement.
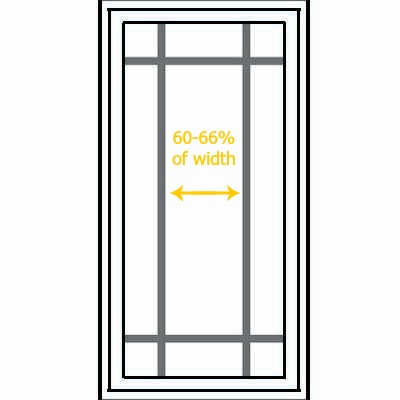
The central section measures 60 to 66 percent of the overall visible glass width. The sides split the remainder, then the top/bottom strips are the same height as the side width. Simply measure the width, mark the center line, and array the pattern evenly around the edges. See our Golden Ratio calculator for why this works — the ratio of the full width to the inside width is close to Φ (1:1.618).
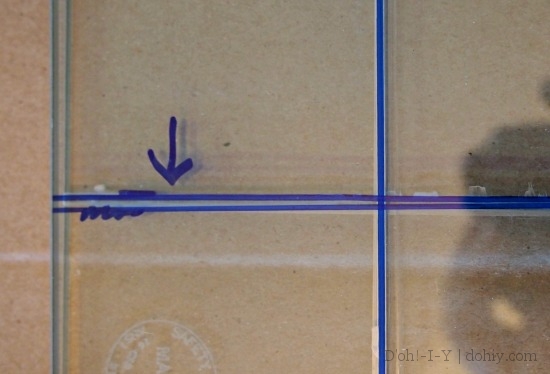
The visible glass on our cabinet doors measures 13.5 x 19.5 inches. Sixty-six percent of the total visible width (9 inches) made the sides 2.25 inches each. To test how this proportion would look, I marked the pattern and drew in the lines.
This step allowed further procrastination.
The measurements looked right to us, so I kicked my butt in gear and finished the dang project!
1. Preliminaries
If possible, remove the glass to install the lead strips; it’s easier and the strips can be run under the door edge.
I fussed over my lines to ensure they were square and straight,
Double-checking is advised.
Then, I flipped the glass over and cleaned it thoroughly before application. If your pattern is not reversible, tape a paper pattern to the back.
The strip was really stuck down, so I needed a razor blade to pry it up, but it unrolled easily after that. The adhesive is paper-backed, so I pre-cut all four pieces for each pane, making each piece a titch longer than needed.
2. Application
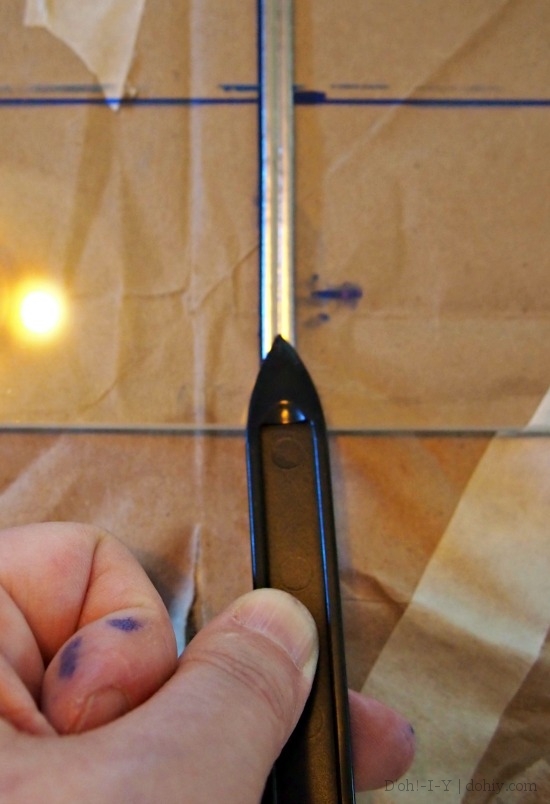
Longer pieces are applied over shorter ones, so I started with the horizontals. The lead is flexible, so it can be nudged into place to follow the pattern on the reverse side. If handled gently, the adhesive had a short open time for repositioning before smooshing it down.
The kit includes a pointed tool. Once a strip is pressed down by hand, run the pointed end along the groove on the top, then flip the tool over and use the flat edge to smooth down the whole strip. I repeated these steps at least twice per strip.
Use a razor blade to trim the excess at the edges.
3. Intersections
Use the same technique for the longer strips, but press carefully on either side of intersections with the horizontal strips. Don’t drape the material; make sure there are no gaps between the glass and the lead. After pressing down a strip, use the tool again all around — and on top of — the intersection.
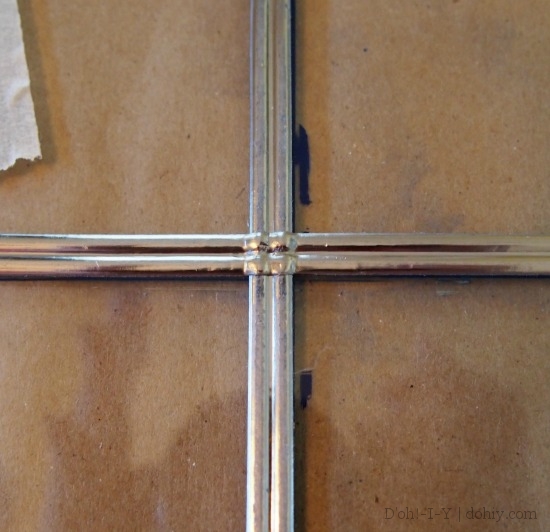
Intersection after this step
4. Optional Fakery
To be extra-fake, I used a blend of acrylic paints to create solder marks at the overlaps.

5. Clean-up
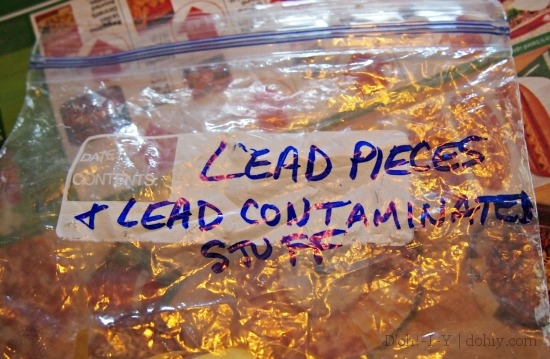
Lead is toxic, so I bagged the trimmings with some other detritus for the hazardous waste site. Do not eat or drink while working with Vitrail, and wash your hands thoroughly after clean-up. The stuff is safe enough once installed, unless someone starts licking it.
Nail polish remover removes the marker, and then it’s time to re-install the panes.
6. Done!
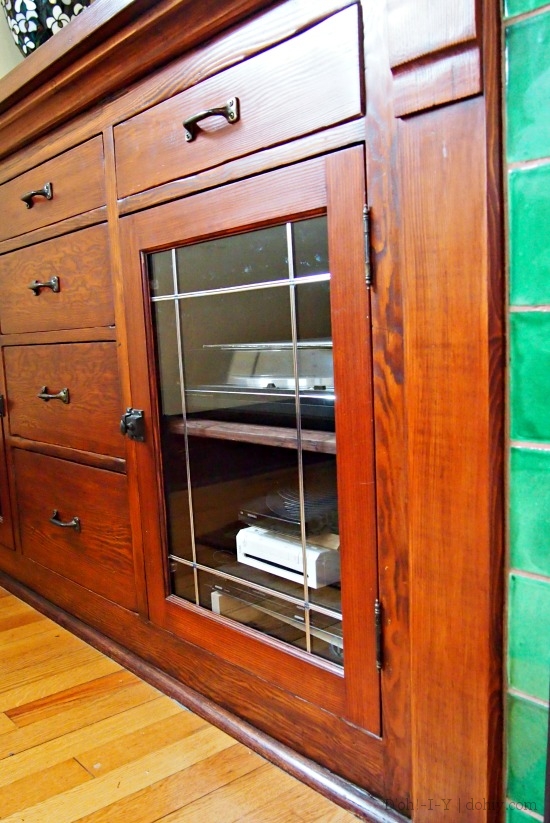
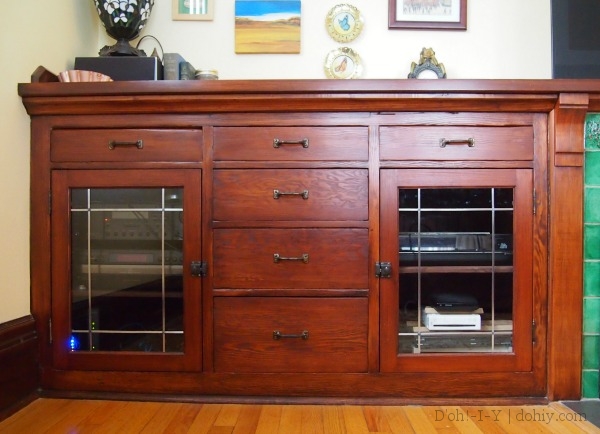
I love how it turned out, and it was not a tough project at all. I need to review my list of neglected projects and decide what else no longer merits procrastination!

6 Responses to Faking Leaded Glass in Cabinets