Learn Carpentry with the Beatles!
– Book in Ned Flanders’ library
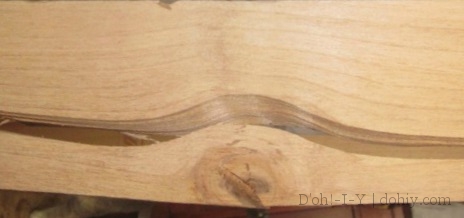
After deciding that our couch was worth recovering, the first thing on the couch agenda was fixing the cracked frame member. (Assuming you have a wood-framed sofa, this can be a worthwhile repair–or even reinforcement–regardless of whether you intend to reupholster.)
Actually, the very first thing was ordering fabric samples. I did that on the Day of Ultimate Coldness (Monday). My original plan was to go to S.R. Harris and Mill End Textiles, but when you’re suffering the effects of a POLAR VORTEX!!, leaving the house is not appealing. I ordered fabric swatches from Fabric.com and Decorative Fabrics Direct while sitting in front of the fire beneath three blankets and two cats. Basically, if either of us is home and it’s a POLAR VORTEX!! we’re going to be draped in cats.
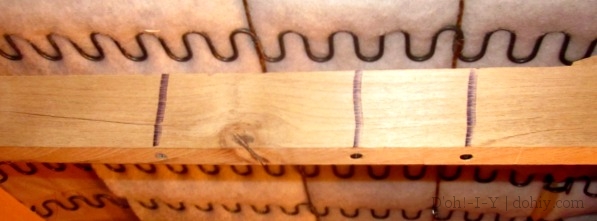
So on to the second thing! I drilled three pilot holes through the bottom of the frame member, then screwed through the crack to bring it back into shape. (Ben in the comments noted that wood glue should be part of this step, which is an excellent point — stick some wood glue in there!)
I drew lines on either side of the piece to remind me where the screws were inside the wood.
Most people can just keep track of this, but I’ve tried to drill through a screw before (d’oh!), so now I give myself a little reminder. Plus, when it gets to bolting time, I’ll be dodging the screws and the crack in the wood, so this information will be useful.
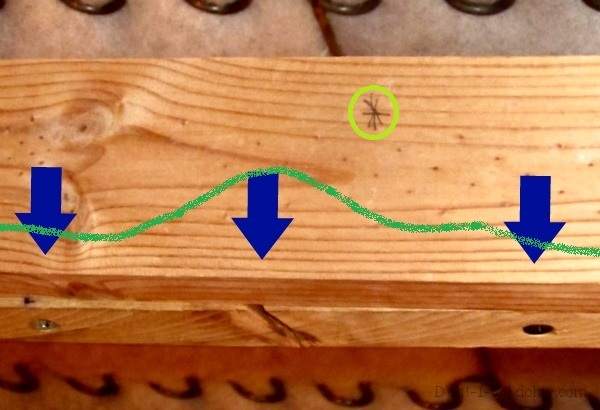
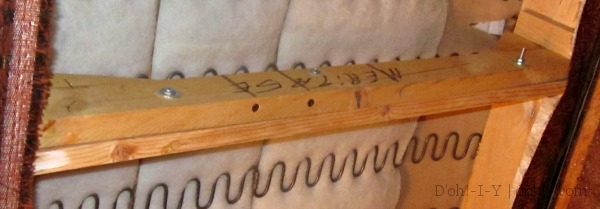
Next, I cut my sister piece out of some scrap wood and clamped it up. Then I marked roughly where the bolts would go through, avoiding the screws I just added and the cracked part of the original piece. Bolts shouldn’t be all in a line or they will decrease the strength of the wood, so my marks were at different heights.
Then I drilled pilot holes. Or at least I did until the battery ran out on the drill. I’d left the battery charger unplugged and one remedial hour of charging is not long enough. You know what that means? It’s HAMMER DRILL TIME!
I (carefully) used the hammer drill to put through the bolt holes–the hammer drill makes short work of boring through multiple pieces (should’ve started with it, really). Bolt holes should be just big enough to tap the bolt through, and they should be squarer to the wood than I drilled them.
I went rooting around in the basement and found three random bolts of approximately the right length with nuts and some random washers. They weren’t perfect, but they were going to have to do–I was not going out into the POLAR VORTEX!! for three bolts.
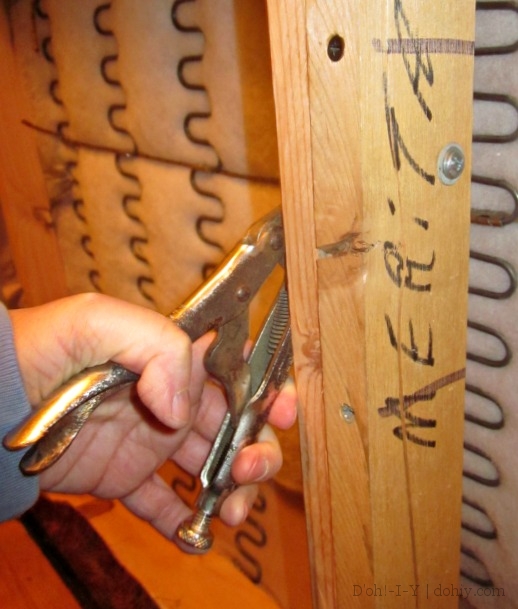
You can check drill bit size against a bolt by putting the threaded end of the bolt in line with the shaft of the bit (the smooth part that goes into the drill). Better yet, your bolts and bits are in containers that tell you their sizes (as mine were not). Stick your washers on, insert the bolt, add more washers and finger-tighten your nut. Then, hold the nut in place with a vise grip or wrench (UK: spanner) while you tighten up the bolt.
I popped a couple of nails through the frame and into each end of the sister piece to hold everything together, and voila: FRANKENSOFA!
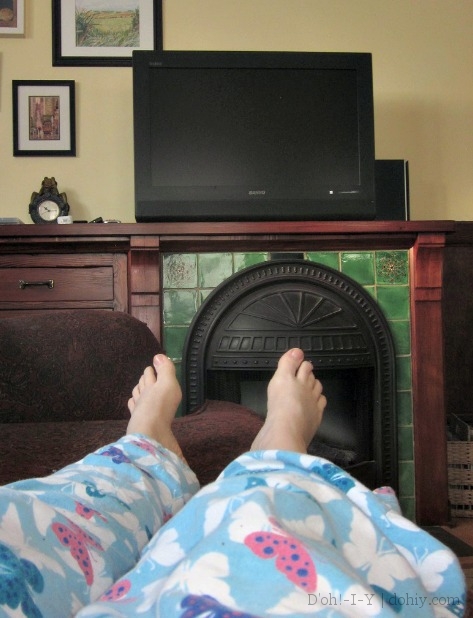
I’m now on the sofa trying to decide if it feels more rigid. Maybe it does? Or maybe it’s just because I know it could now take a direct strike that it feels more structured? It’s late as I write this, so my personal rigidity and judgment are not to be trusted. I couldn’t even be bothered to push the sofa back to the wall. Which is ok, because check out the resulting televisual alignment!
This is the life!




5 Responses to This Old Couch: Frame Repair