
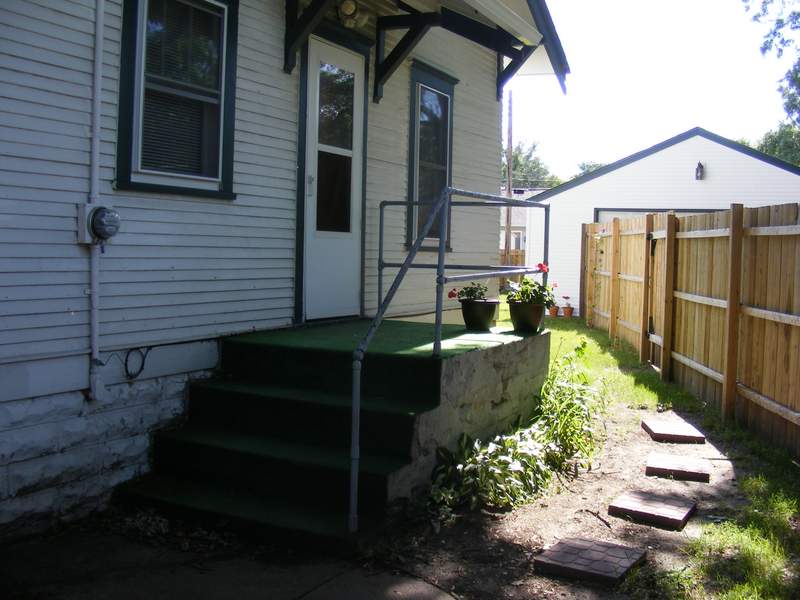
This is how we left the new side door steps in Conquering the Stoop.
We needed a way to access the deck that didn’t involve any sort of vaulting. I’d heard that steps were a handy way to move from one level to another, so that’s what we decided to go with.
Plus, stairs make the house safe from Daleks.
When you design steps, you have a choice of stringer type. You can either buy or make one with notches cut out for the steps to sit on. Or, as we did, you can use galvanized brackets screwed to the stringer to support the steps.
If you make your own stringer, calculating its length and the rise and run of the steps can be quite tricky. My preferred method is to make a full scale drawing on a sheet of plywood. I first measure the rise and run from one corner. Then, I draw in the stringer. Then the rise and run for each step can be calculated by dividing up the length of the stringer.
There is an easier way: you can use an online stair calculator. Follow the link to read about the ones that I think are the best.

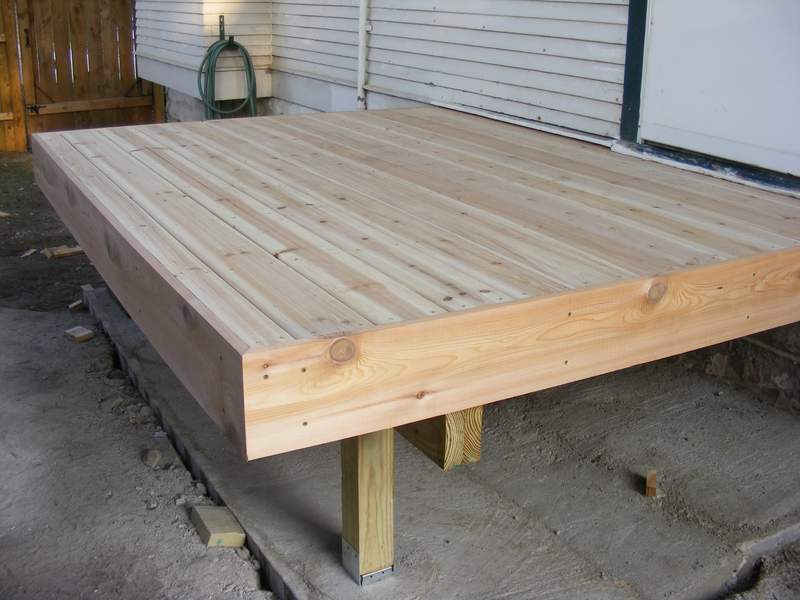
Steps attached to the platform and posts. You can see the top of the concrete pier that the post sits on.
The steps are three feet wide, which is a long span for a deck board, so we used a notched stringer as a center support. I cut out the notches so they fit snugly under each step.
The top of the finished steps was fitted to the deck, and the bottom was fixed to a pair of posts. These posts serve as both an anchor for the steps and a base for the handrail.
These posts stand on concrete piers similar to, but a smaller diameter than, those forming the base for the platform. The posts are attached to the piers with bolts set into the concrete. The bolts attach to metal brackets that support the posts. Nail through the brackets to really lock them into place.

Steel brackets attach the steps to the platform. This is before they were painted, but the paint didn’t stop them rusting.
The do’h for this project was in using painted rather than galvanized steel brackets to hold the top of the steps to the platform. In a short time, the backets began to rust and discolored the nice cedar boards on the side of the platform. We swapped them out for aluminium ones, which have been great so far.

Sorry, little plastic stool. You had your chance and were found wanting.
With the steps in place, it’s now much easier to get into the house. All that’s left is to add hand rails all the way around. Check local codes for the correct height and remember to leave gaps for stair access.
The before:
And the after:
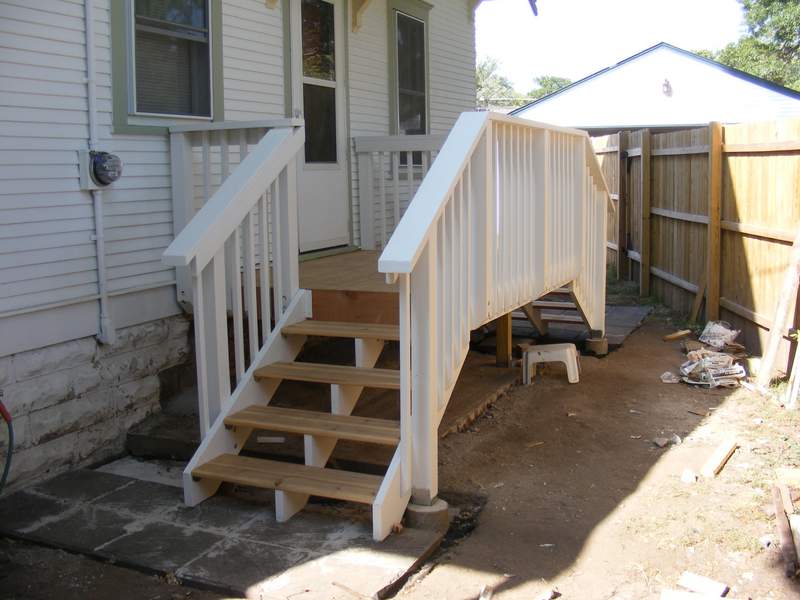
We don’t miss the astroturf at all.
