
All I need is a title. I was thinking along the lines of No TV and No Beer Make Homer…something-something.
– Homer Simpson
I started the backsplash! But first, I spent 20 minutes looking for our notched trowel. When I couldn’t find it, I flounced out to Menards, declaring, “I’m tired of buying tools that we already own!” Other things ticking me off today include my sunglasses being pinchy and David Bowie selling Cadillacs.
(Notched trowels cost $2.46, by the way.)
Aside from the notched trowel, we picked up most of our supplies over the weekend. We’re using “Vivant” 4×4 glossy tiles by Mohawk, currently on sale for $0.11/tile, which puts the whole tile spend on par with dinner at Chipotle. They come in white (our selection), cream, and gray. The white is really more of a soft white or an ivory than a bright white.
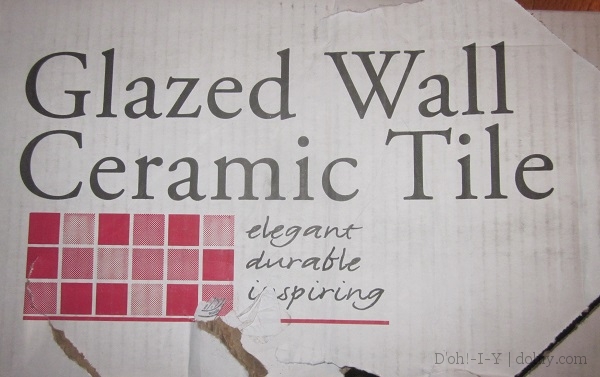
Elegant, maybe. Durable, maybe. Inspiring??
We also picked up a tub of tile adhesive and a bag of 1/16″ tile spacers. We haven’t picked a grout color yet, so that’s down the road.
I reviewed several tutorials about how to install wall tile, but the most useful (and concise) overall was How to Install a Tile Backsplash from Lowe’s. It’s very straightforward on the basics and includes a supply and tool list.
Having reviewed this tutorial in detail, I decided to start on the smaller wall. Every tile tutorial on the planet says to start in the center. The smaller wall in our kitchen is where the range lives. I pulled that out and decided to add a temporary ledge to help me level and line up the first row of tiles with the top of the counters on either side. I drew a straight line between the counters, then nailed a handy bit of wood to the wall. An experienced tiler wouldn’t need this crutch. I am not an experienced tiler!
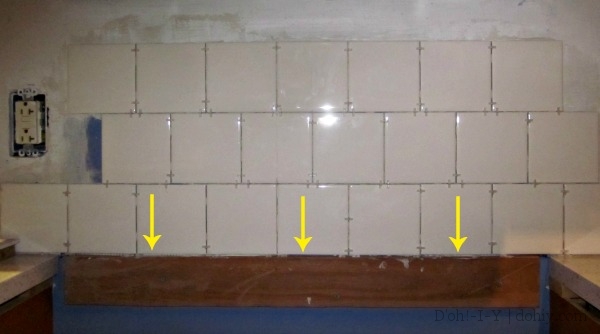
This piece of plywood is only here for the tiling.
I checked the level of the row after each and every tile in the first row, but that gave me the confidence that the subsequent rows would also be level. (I still checked after every second or third tile though.)
When setting tile in a running bond pattern (a/k/a brick, offset, or staggered pattern), it helps to mark halfway across the first tile in the next row so you can line that up with a gap in the prior row.
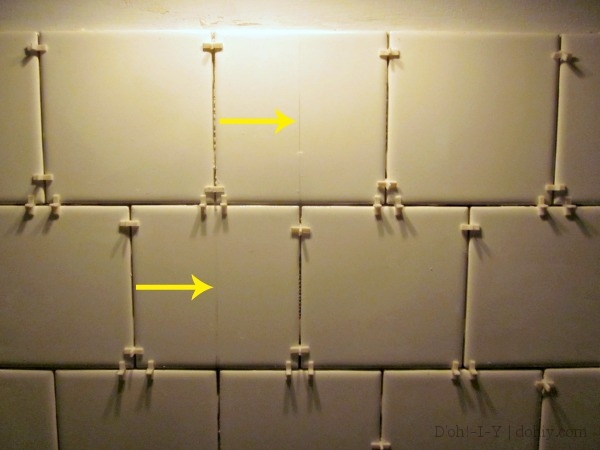
The tiles with the pencil marks halfway across were the first tiles in their respective rows.
These tiles, like many ceramic tiles, have nubs on the sides that act as built-in spacers. The so-called “lugs” are really small, though. If you want to use a bigger spacer (1/16″ was actually bigger than the lugs, although I think they are supposed to technically be 1/16″), make sure that you place the spacers so they are not on the lugs, which would distort the line. That’s why the spacers between the rows are way out at the edges of the tiles in the picture above.

Lugs on the edges of tiles (via)
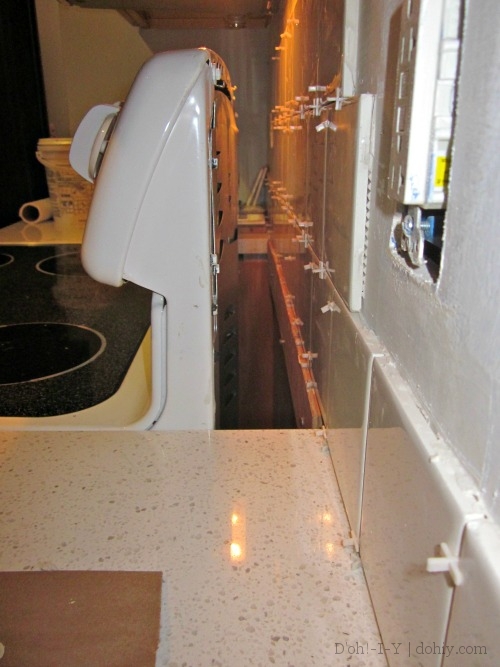
I only finished the center of this wall. I determined that I need to pick up a tile clipper to cut corners out of tiles around outlets. I was going to clip the tiles with implements on hand, but after a few tries, $10 started sounding pretty good for the right thing — plus, we don’t already own this tool!
When stopping in the middle of tiling, make sure you scrape all the tile adhesive off the areas not covered by tile. The adhesive sets up really hard, and it could mess up your installation if you tried to tile over it. I just used a putty knife to shave off the extra. The last step was to wipe any adhesive off the fronts of the tiles before retiring to the sofa for the evening.
It was a good first go! Especially because the stakes were really low: let me show you why this was such a great place to start.
That’s right. Most of what I just did will be completely covered by the back of the range. It’s a great way to get some practice in before moving to more visible areas.

Pingback: Tile Patterns to Show case Your Floor | whale orgone :: Finding ways to make the earth a better place