Mmmmmmm, floor pie!
– Homer Simpson
Ben bought a house last year. On a recent visit, I helped fix a couple of things around the place. The biggest challenge was tidying up the floor transition from the kitchen to the sitting room.
Before moving in, Ben and Lois did a lot of work on the house. They took up the carpet from the sitting room floor to expose the floor boards, which they also sanded and refinished. This has greatly added to the character of the house (check out their living room before and after).
A door leads from the sitting room to the kitchen. The floor in the kitchen is laminate, which looks nice. But the kitchen floor is 1½ inches higher than the newly refinished sitting room floor, and there was no smooth transition between the two. Additionally, the ends of the laminate floor boards were not attached to anything, and they were all different lengths. With the carpet gone, you could see underneath the laminate from the sitting room.

The doorway between the sitting room (left) and the kitchen. The exposed ends of the laminate floor need cutting off.
So our mission, which we did choose to accept, was to:
- make a straight cut across the ends of the laminate boards,
- secure the ends of the laminate boards, and
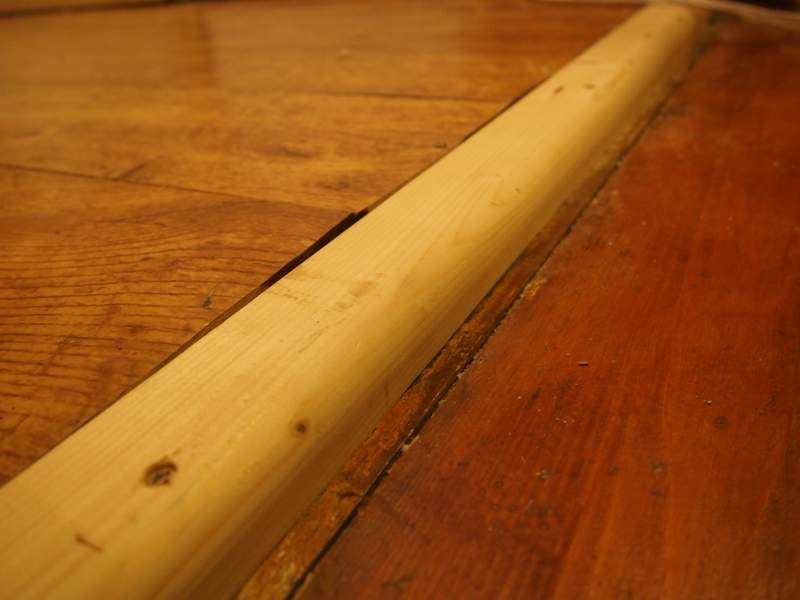
- create a smooth transition between the rooms.
Straightening the floor boards was the easiest part. We used a tenon saw to cut the ends of the boards along a line parallel to the floor boards in the sitting room.
Securing the ends of the laminate floor boards was somewhat trickier, because they sit ¾” above concrete. Obviously, if one is in possession of a hammer drill (which we were), it isn’t difficult to put anchors into concrete. However, we were trying to achieve an invisible fix, so that wasn’t an option.
Making the sill piece was also not without its problems. The biggest problem was the difference in slope between the kitchen and sitting room floors. The height difference between the floors ranged from 1¼” at the hinge side, to 1½” at the other side of the doorway.
We spent quite a lot of time discussing and researching possible solutions. Laminate companies do make end caps for this type of issue, but with the slope, this gap was beyond that fix. B&Q, the largest UK home improvement chain store, offered no help, and the independent stores were not much better. But eventually, we came up with a solution.
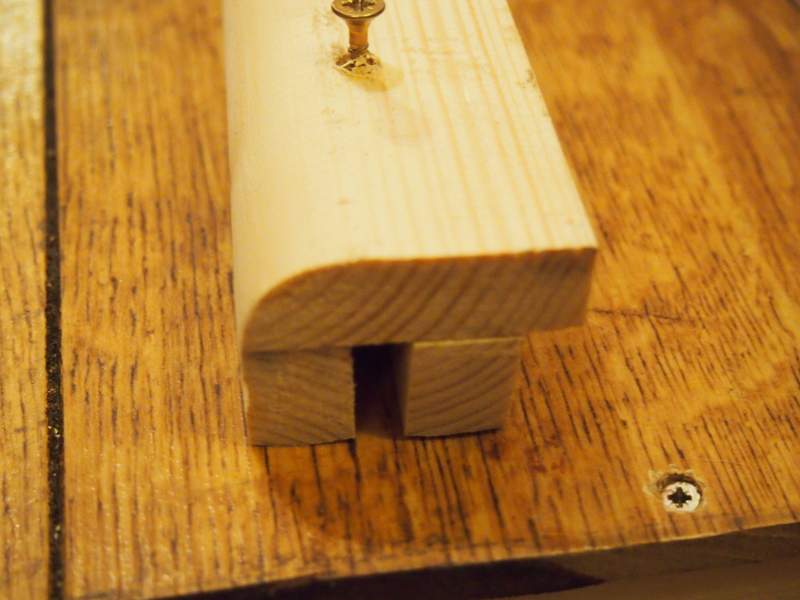
At one of the independent stores we found trim that was 2½” x ⅝” with a nice big radius on one edge. It was exactly the kind of profile that Ben wanted. We cut a piece to length, and held it flush with the top of the laminate floor. Then we measured the gap beneath this piece to sitting room floor. The gap was ½” at one end, and ¾” at the other.
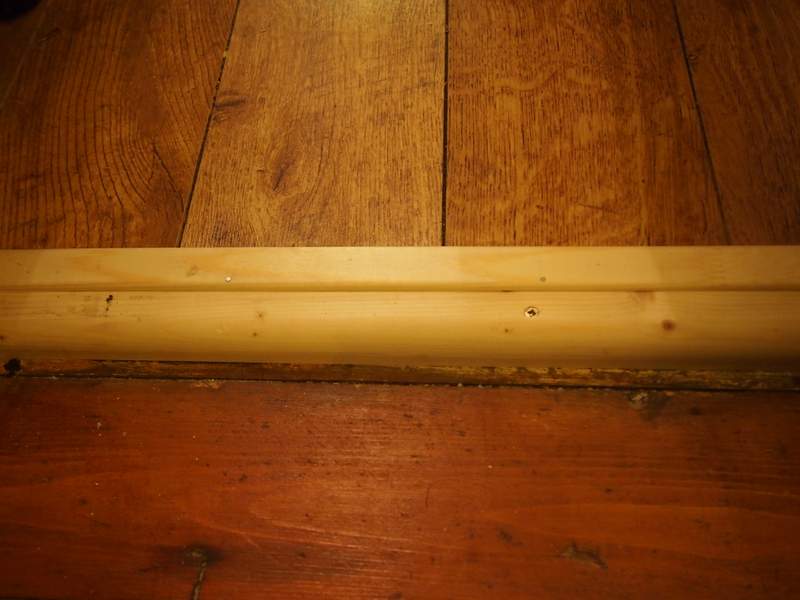
Using a jig saw, and Ben’s newly acquired workmate, we cut two strips of the 2½” x ⅝” to this profile so the trim piece would run along the slope of the floor. These strips were attached to the top piece. Once the joint on the front had been sanded it was virtually invisible.
At this point, Ben’s cousin Tom and Tom’s girlfriend Ruth arrived. We took a break and went for a walk along the canal to a pub, where we had lunch. All projects should have a pub lunch break.

Image from That’s How the Light Gets In.
Once we got back to work, it was time to fit the whole thing. First, we had to take off the door, because the bottom edge of the door was too low to go over our fabricated end cap. Then, we put packing under the edge of the kitchen floor so the laminate would be supported, and screwed it into place through the the top of the laminate.
The transition piece was attached with three screws. The heads of the screws were countersunk so that they can be hidden with wood filler prior to sanding and staining.
Once that piece was in place, we attached a strip of 1¼” x ¼” trim to cover the gap between the transition piece and the laminate floor. This trim holds down the edge of the laminate. Unfortunately, we couldn’t find any small finish nails or pins, so the nail heads are still visible. But Ben will countersink and fill these spots before he finishes the whole thing to match the sitting room floor.
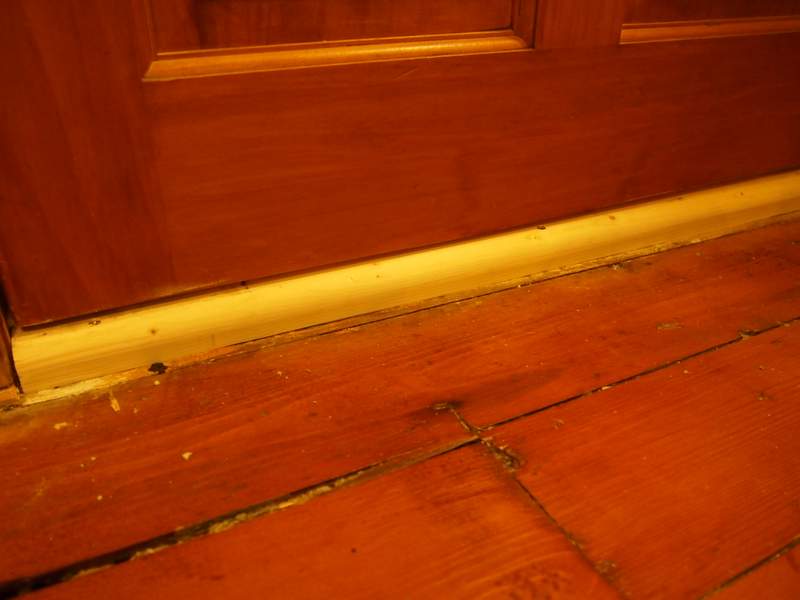
The last thing was to trim the bottom of the door. I held the door in position, while Ben marked a line along the top of the new piece. The jig saw came in useful once again.
With the door back in place, the job was done. All that was left was for us to sit and admire our work. Oh, and tidy up the considerable mess we’d made before Lois came home to cook the green Thai curry she’d offered to make for dinner. And very nice it was, too.


