If you really want something in life you have to work for it. Now quiet, they’re about to announce the lottery numbers.
– Homer Simpson
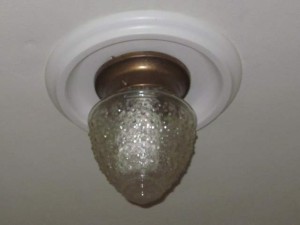
Skills are learned. Some of my biggest d’oh moments involve undoing something I did once upon a time in a mediocre fashion. Case in point: the hallway light.
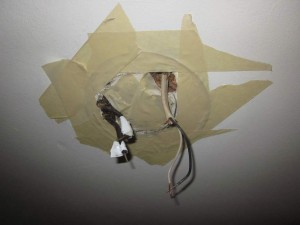
Old house, old infrastructure. For the original electrical installations, this means knob and tube wiring exiting a frame member into a light fixture canopy without benefit of a box. I was in a hurry to change the fixture, so I just swapped it out without retrofitting the box. I wasn’t sure how to do it, and I didn’t want to figure it out. Meaning that every time I walked down the hall, I thought about (a) my unacceptably high tolerance for mediocrity and (b) the likelihood of the house burning down.
EVERY TIME.
Needless to say, a re-do was on my personal List.
Seriously, though, adding a box to house old light fixture wires is pretty simple. For plaster ceilings, you just need a ceiling pan (like this one from Viking Electric Supply). This is about the depth of the plaster, so you can knock just the plaster out and pull wires into a nice safe space without having to saw through laths. (Note that this won’t do it for a ceiling fan, but that’s a whole other story.)
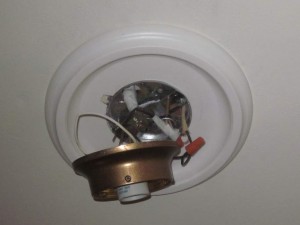
I used a 4-inch ceiling pan (update: I read somewhere that 3-inch pans may allow too much heat to build up, so go bigger than that). After TURNING OFF THE BREAKER and removing the fixture, I held the pan up to cover the holes the wires were coming through and traced around the outside of the pan. I applied masking tape over the area to reduce plaster fallout, then used a chisel and hammer to knock out the plaster to fit the pan.
Pull the wires through and shimmy the pan up into place (adjusting the hole if needed). Use wood screws to attach the pan to the frame.
Now you can attach standard fixture mounting hardware and reattach the light. Make sure the switch is off, then turn your breaker back on and do a blue smoke test.
It’s still knob and tube in part, yes. We’re replacing that in pieces each time we open up the floor in the attic. In the meantime, I enjoy not using the hallway as my own personal Walk of Shame.
I needed more than skills to do this little project. Working on this house taught me something unexpected. It taught me patience. Not the abiding patience of the Kev, born at Patience General Hospital in Patientville. Patience is not my natural state—cut to the chase, done is good, HIT IT WITH A HAMMER ALREADY! But after dozens of projects done shoulder to shoulder with my husband (including many re-dos of jobs I did in haste), I know the value of care and craft, of measuring twice…and of taking a damn break instead of doing something regrettable!
Happy anniversary, sugar.


