
Bart: Now is the winter of our discontent.
Ralph: Oh, no! Run!
– The Simpsons
What do a pile of recycling and a snowdrift have to do with gardening?

Surprisingly, quite a lot! For several years, winter sowing has been our biggest source of new plants. Trudi Davidoff developed this technique, which uses plastic containers as small greenhouses to start seeds over winter, even in places like our frigid Zone 4. Her site gives detailed instructions on winter sowing and provides lists of the best seeds to use.
The short version: cut open and add drainage holes to plastic containers (especially milk jugs), add a bit of soil and some hardy seeds, water and close them up, then stick ’em outside in the snow. The containers keep the seeds warmer than the outside, but there’s still enough of a freeze/thaw cycle to work open the seeds. As the sun warms a winter sowing container, the water in the soil will create a moist environment, with condensation dripping back into the soil. New snow or rain adds more water, and the seedlings make a move usually before the snow is gone. It’s a virtually free way to populate your garden, and you don’t even need to harden off your seedlings!
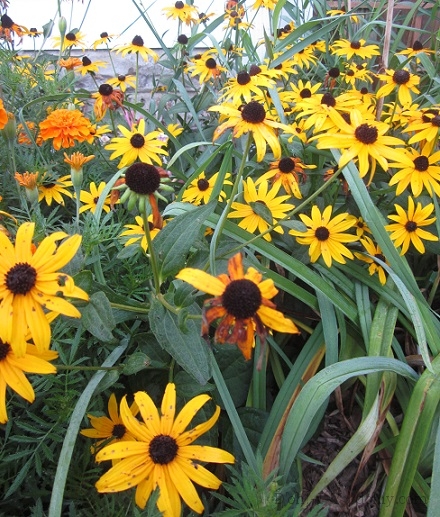
Wintersown rudbeckia
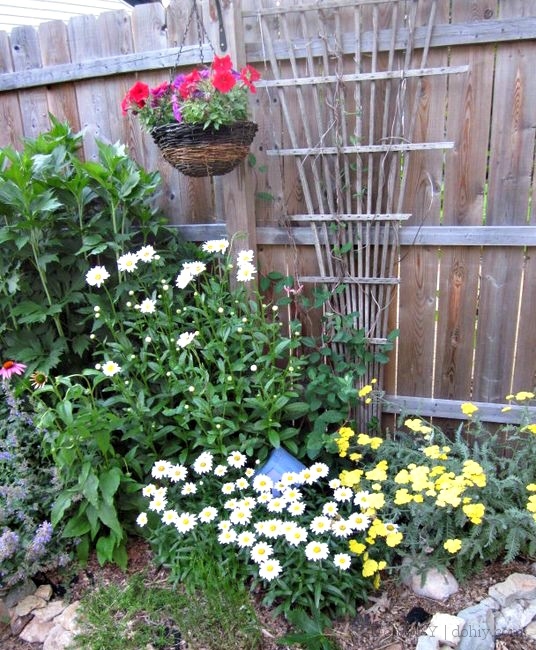
Wintersown daisies and coneflower
With a few years of winter sowing experience, I have a few tips to add to the basics.
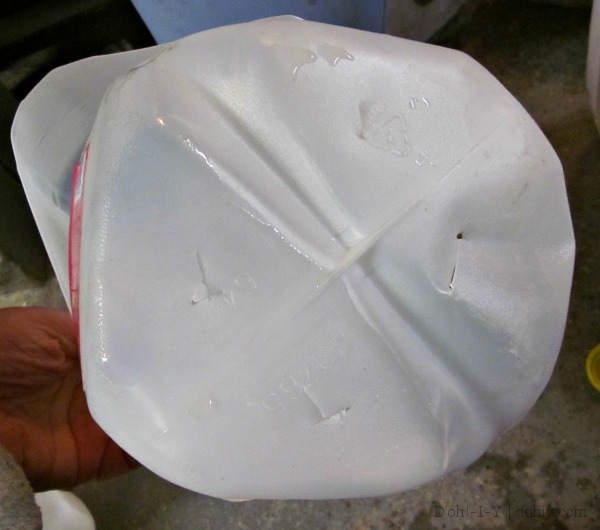
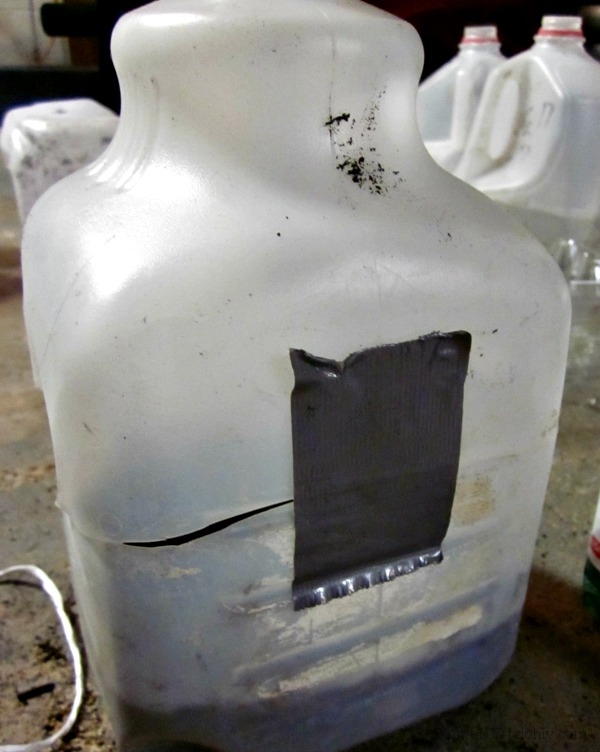
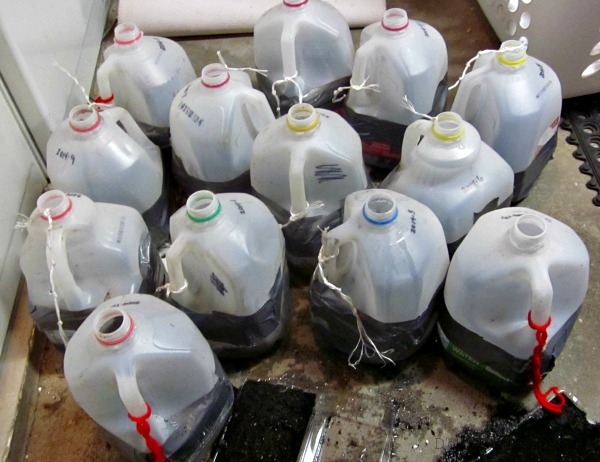
As most winter sowers would agree, gallon or half-gallon milk jugs are the way to go. Similar containers, such as those jugs for windshield wiper fluid, are also good options. (Obviously, clean them first.) If you aren’t plowing through milk at a great rate, you can build up a stock by asking your friends and neighbors for their empties. The containers are also reusable year to year, if you have a place to stow them. They do eventually become completely warped or fall apart, at which point they can just be recycled.
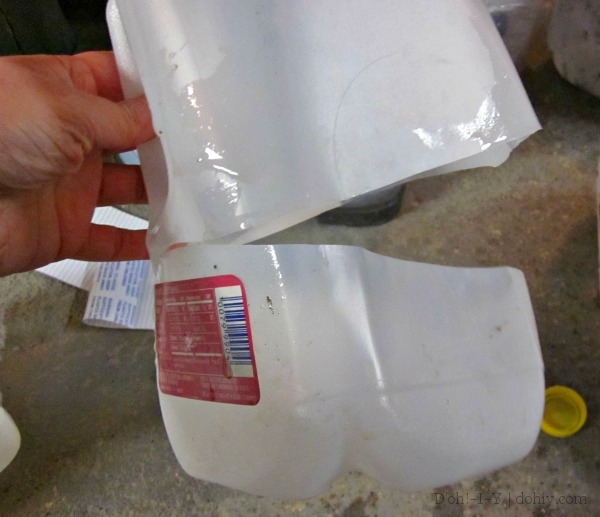
Cut your drainage holes before cutting around the jug; otherwise, the jug gets too floppy to easily cut through the bottom. Simple slits are often not enough for adequate drainage. I cut “V” shapes, and bend up the flap to make sure the seeds won’t become water-logged.
Then I cut around the jug, using the handle side for the “hinge.”
I use regular potting soil or seed starting mix for winter sowing. Just a couple of inches in the bottom is plenty, plus whatever you put over the seeds. To close up the jugs, I use cheap duct tape. I use one piece to “latch” the jug shut on the side opposite the hinge. This piece helps hold the jug in line while I tape around the cut.
To date, I’ve not been able to adequately label my winter sowing stuff. Between the sun and the snow, even permanent marker fades. Wintersown.org recommends writing on duct tape attached to the underside of the container, thereby avoiding the sun issue. You might have noticed in the first photo that one jug does have a number on the bottom (number 45–that was a big year!), but I like to know what I have without moving the containers. Tape failures can happen! This year, I came up with a new system to try. I labeled the containers with permanent marker, but I also used a knot code.
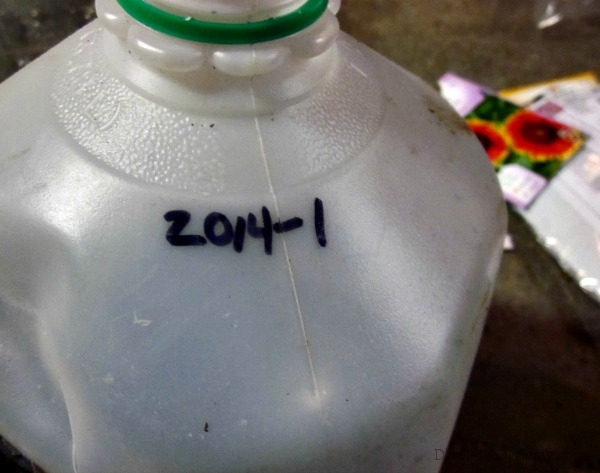
Numerical label
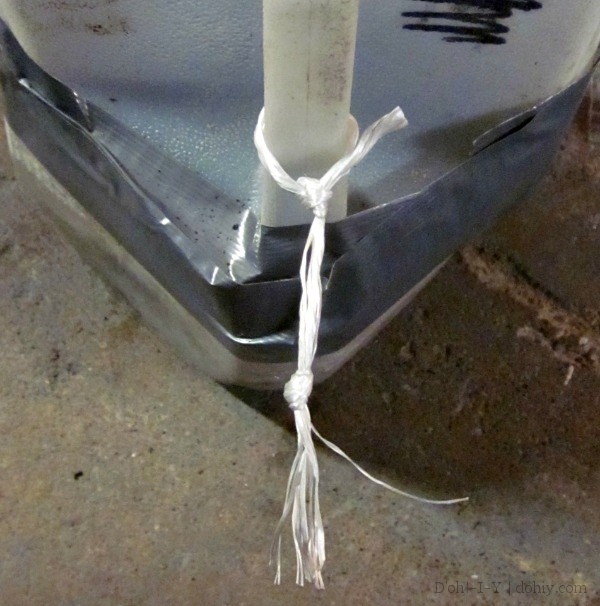
Unfade-able bit of twine with one knot in it
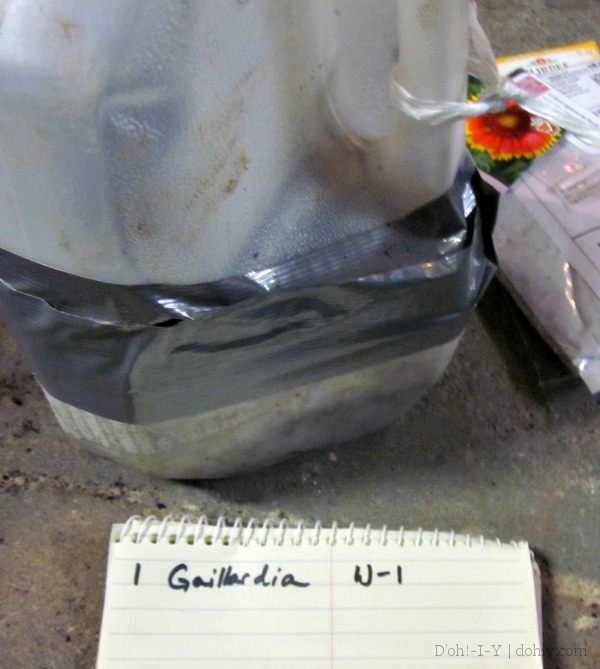
Reference list: number, seed type, and knot code (W-1 is one knot in white twine)
I’m not overly fussy about our garden, which is what people kindly refer to as a “cottage garden” (read: wild floral mess), but I do like to know what’s what when planting. Last year, I wasn’t able to tell what a few containers were, and ended up carefully nurturing a weed after a rogue seed germinated. Garden genius! But between the marker and my fabulous knot code, I should be able to keep track…assuming I don’t lose the reference list.
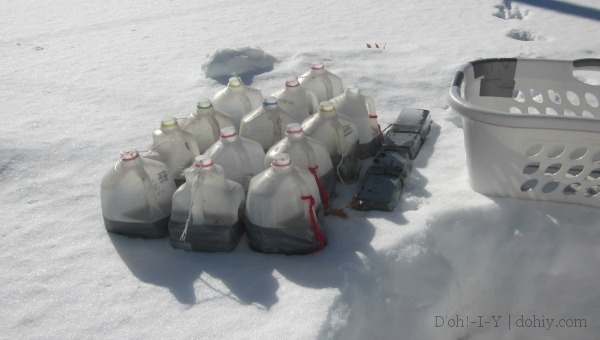
Fortunately, we have a floor drain in the basement, so I clustered the jugs there to water them, then let them drain overnight. I toted my comparatively modest baker’s dozen of jugs outside in a laundry basket.
And that’s it! All over but the waiting. They shouldn’t require any serious maintenance, except to throw some water on them if it’s unusually dry, and watch for late frosts after the seeds have sprouted. It’s fun to peek into the jugs and see a bit of green when the season is still trying to break out. And when the winter is lingering like this one is, any bit of green is very welcome!
