
Little Miss Springfield, which one will it beeeeeee?
-Krusty the Klown
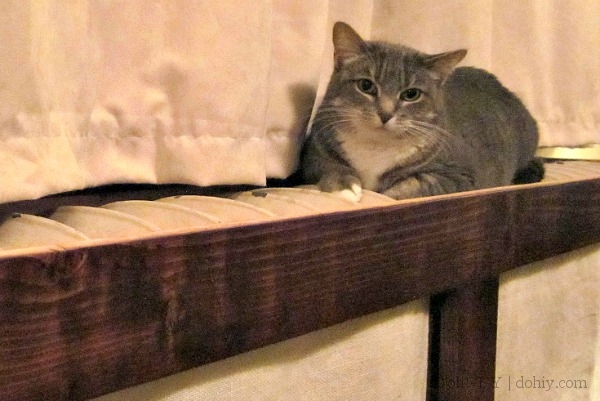
Our Mayya is a heat-seeking feline who worships at the Holy Shrine of the Radiator. Her technique is to stretch out as much as possible to take in all the available heat. This tendency leads to some amusing (and clickable) centerfold-style poses.
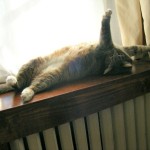
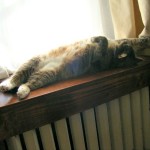
This little photo session reminded me of a project I’ve been meaning to get around to — adding a screen to the radiator cover on which Mayya is writhing.
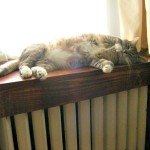
This radiator runs under double window (width: approximately 2.5 stretched Mayyas), and must weigh over 400 lbs. (182 kilos). The Kev build a radiator cover for it a few years ago (or is it a cat performance space?) with the intention of adding a screen to the front openings. After he finished it, though, we liked the look of the fins, so we left it open, intending to strip the radiator at a later date.
Our radiator cover is a Kev Original, but there are lots of great plans online. Check out this one from the DIY Network, or this diagram from RadiatorCover.org:

Stripping a radiator is a messy business, so professional sandblasting is the usual solution. If you can move the radiator to the sandblasting company, it’s a very affordable proposition. But we are NOT moving a 400 lb. radiator. “I bet there are enterprising people who are willing to come pick up a radiator and bring it back sandblasted and painted!” I thought.
There aren’t.
“Or maybe there’s a cool way to wrap it up and blast it in place!”
There isn’t.
So, back to the screen idea! The classic radiator screen is a decoratively perforated metal sheet, and several radiators in the house already have such a cover.
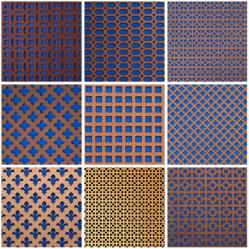
Some screen patterns (via)
But I still cherish the fond hope of someday stripping this particular ridiculously heavy radiator, so I looked for a cheap and temporary option that wouldn’t block heat or otherwise annoy me. We’ve used wicker caning (that flat stuff used on dining chair seats and backs) in the past, but I didn’t have enough left to cover these gaps.
But I did have burlap! And duct tape and tacks. WOOD STAIN MATCHING DUCT TAPE!

I used pinking shears to cut two pieces of burlap to size, then I folded duct tape over the edges of the pieces–pinking is not enough to stop this stuff from unraveling in a big old hurry. (Obviously, I made the pieces big enough to keep the duct tape behind the edges of the radiator cover.) I ironed the pieces, then thumb-tacked them inside the cover.
“What did you do with the top? This is not comfy for writhing!”
It’s not super-tight because the weave is so loose that there’s just no getting it super-tight. But the loose weave is good for letting heat through.
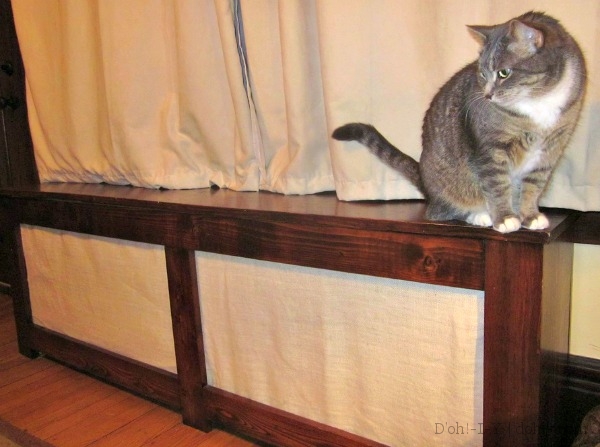
Whole thing took not long (but too long by Mayya’s reckoning), and effectively covers up the chipped radiator paint, for the time being.
We meet again, my nemesis.
The photo captures the fact that APPARENTLY, I CAN’T IRON. This is no news to the Kev, whose mother (hi, Jean!) could iron for England.
But here’s my brilliant idea: spritz the not-quite-ironed part (all of it, both pieces) with water, turn the radiator on, and let physics sort it out.
Always thinking, me.
